Most Magical Cookie Riff with Chocolate Chips
- Time: Active 25 minutes, Passive 12 minutes, Total 37 minutes
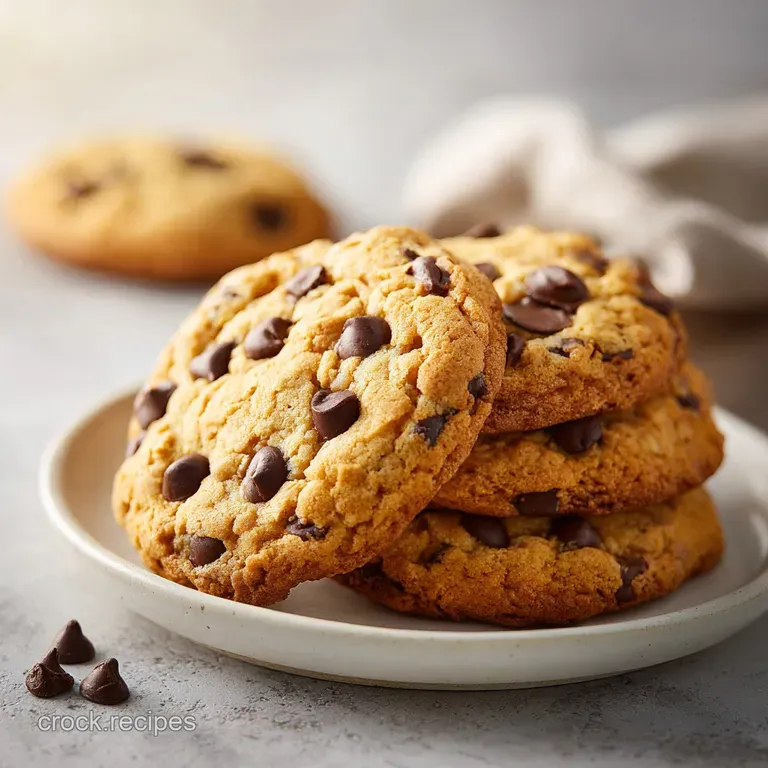
- Flavor/Texture Hook: Shatter crisp edges with velvety, molten chocolate pools
- Perfect for: Weekend baking marathons or showing off at a dinner party
- Bake the Most Magical Cookie Riff with Chocolate Chips
- The Chemistry of Toasted Milk Solids
- Precision Specs for Optimal Results
- Selecting Elements for Hearty Flavor
- Essential Gear for Flawless Riffs
- Mastering the Cookie Riff Method
- Solving Common Baking Texture Problems
- Creative Variations for Every Craving
- Smart Storage and Waste Reduction
- Hearty Pairings for Satisfying Snacks
- Dispelling Common Baking Myths
- Recipe FAQs
- 📝 Recipe Card
Bake the Most Magical Cookie Riff with Chocolate Chips
The first time I smelled butter browning on my stovetop, I knew my baking life had changed forever. It wasn't just melting; it was transforming into something liquid gold and heady, filling my kitchen with an aroma that reminded me of toasted hazelnuts and cozy afternoons.
I remember standing there, whisk in hand, watching the milk solids dance at the bottom of the pan until they reached that deep amber hue that signals pure flavor.
I’ve spent years tweaking this specific recipe because I wanted a cookie that felt substantial something hearty and comforting but with a sophisticated edge. This version isn't just another sweet snack; it’s a study in contrasts.
You get the crunch of the outer rim followed by a center so tender it almost feels like fudge, all punctuated by the bite of sea salt that cuts through the richness of the dark chocolate.
Baking this most magical cookie riff with chocolate chips is about more than just following steps; it's about leaning into those sensory cues. When the dough hits the hot tray and the kitchen starts to smell like toasted vanilla and caramel, you’ll understand why I can’t go back to a basic recipe.
Let’s get into the mechanics of why this works so well and how you can nail it on your first try.
The Chemistry of Toasted Milk Solids
The Maillard Boost: Adding toasted milk powder increases the protein to fat ratio, accelerating the Maillard reaction for deeper caramelization. This creates a savory, nutty depth that mimics hours of slow cooking in just minutes of baking.
| Method | Time | Texture | Best For |
|---|---|---|---|
| Stovetop | 5-8 mins | Deep amber, very nutty | Maximum flavor intensity |
| Oven | 10-15 mins | Evenly golden | Batch browning for large recipes |
| Microwave | 3-5 mins | Lightly toasted | Quick fixes but lacks depth |
The stovetop remains my preferred method for browning butter because you have total control over the sizzle and scent. It allows you to catch the butter at its peak before it crosses the line from nutty to burnt, which is vital for this magical chocolate chip cookie recipe.
Precision Specs for Optimal Results
To get those iconic ripples and a satisfyingly thick center, we need to be precise with our measurements and temperatures. I always tell my friends that a kitchen scale is the difference between a good cookie and a masterpiece.
When you're working with 325g of all purpose flour, even a few extra grams from a "packed" measuring cup can turn your dough into a dry, crumbly mess.
- 1. Butter Temperature
- Brown 115g of the butter until deep amber, then whisk in the remaining 110g of cold butter to emulsify.
- 2. Oven Calibration
- Bake at exactly 180°C (350°F). Use an oven thermometer if you can; many home ovens run 10-15 degrees off.
- 3. Weight Accuracy
- Ensure the 50g of bread flour is exact to provide the necessary gluten structure for that hearty chew.
Selecting Elements for Hearty Flavor
We are using a combination of fats and sugars to achieve a specific "bend but-not break" texture. The inclusion of bread flour might seem unconventional, but trust me, it’s what gives these giant chocolate chip cookies their incredible structure.
It holds onto moisture much better than standard flour, ensuring the centers stay velvety for days.
- Unsalted Butter (225g): Divided to allow for browning while maintaining moisture.
- Dark Brown Sugar (200g): High molasses content for a fudgy, chewy interior.
- Granulated Sugar (100g): Essential for achieving those shatter crisp edges.
- Large Egg + Yolk: The extra yolk adds fat and lecithin for a richer mouthfeel.
- Vanilla Bean Paste (1 tbsp): Provides those beautiful black flecks and a more intense floral aroma than extract.
- Toasted Milk Powder (1 tbsp): My "secret" ingredient for a professional, bakery style finish. Why this? It boosts caramel notes without altering the hydration of the dough.
- Flour Blend (325g AP, 50g Bread): The bread flour adds a satisfyingly hearty bite.
- Chocolate Mix: 150g dark chocolate (70% cacao) for bitterness and 100g semi sweet chips for classic sweetness.
| Component | Science Role | Pro Secret |
|---|---|---|
| Dark Brown Sugar | Hygroscopic moisture retention | Pack it tight to ensure accurate volume |
| Bread Flour | Gluten development | High protein creates a "bendy" cookie |
| Vanilla Paste | Aromatic depth | Use the seeds for visual "gourmet" cues |
Essential Gear for Flawless Riffs
You don't need a professional kitchen, but a few specific tools make the process much smoother. I personally love using a heavy bottomed stainless steel pan for the butter it makes it so much easier to see the color change against the silver background.
A dark non stick pan can hide the browning solids, leading to a bitter, burnt mess before you even realize it.
A sturdy stand mixer or a high-quality hand mixer is also a must. We need to whip the sugars and eggs until they are pale and voluminous, which takes more muscle than most of us want to provide by hand. For the chocolate, I highly recommend a sharp chef's knife.
Roughly chopping that 70% dark chocolate creates varying sizes of "pools" and "shards," which is much more satisfying than uniform chips alone.
Similar to the technique used in our Indulgent Dark Chocolate recipe, getting the right emulsion between your fats and sugars is the foundation of the entire structure. If the mixture looks split or oily before the flour goes in, the cookies will spread too thin.
| Original Ingredient | Substitute | Why It Works |
|---|---|---|
| Bread Flour | All purpose flour | Same weight works, but the cookie will be slightly softer and less chewy. |
| Vanilla Bean Paste | Vanilla Extract | Use 1.5 tbsp. Note: You'll lose the visual flecks but the flavor remains. |
| Dark Brown Sugar | Light Brown Sugar | Adds 1 tsp molasses. Note: The color will be slightly paler. |
Mastering the Cookie Riff Method
This process is all about building layers of flavor. Don't rush the cooling of the butter; if it's too hot when it hits the sugar, it can melt the granules prematurely, affecting the final rise. We want a cohesive dough that feels almost like clay, not a greasy paste.
1. Brown the Magic Component
Place 115g of the unsalted butter in a small saucepan over medium heat. Melt it, then continue cooking as it begins to foam and pop. Once you see brown flecks and smell a nutty aroma, remove from heat and immediately stir in the remaining 110g of cold butter.
Note: Adding the cold butter stops the cooking process and brings the temperature down quickly.
2. Build the Flavor Base
In your mixer, combine the browned butter mixture with the 200g dark brown sugar and 100g granulated sugar. Beat for 3-4 minutes until the mixture looks like wet sand.
Add the egg, egg yolk, and vanilla bean paste, then whip for another 2 minutes until the mixture is pale, thick, and ribbony.
3. Prepping the Dry Mix
In a separate bowl, whisk together the 325g all purpose flour, 50g bread flour, 1 tsp baking soda, and 1 tbsp toasted milk powder. Make sure there are no lumps of milk powder, as they can create salty/bitter pockets in the finished bake.
4. The Gentle Fold Process
Turn your mixer to the lowest setting and slowly add the dry ingredients to the wet. Mix until just a few streaks of flour remain visible. Overmixing here will lead to a tough, bread like cookie rather than a tender one.
5. Folding in the Inclusions
Add the 150g of chopped dark chocolate and 100g of semi sweet chocolate chips. Use a spatula to fold them in by hand. This ensures the chocolate is evenly distributed without overworking the gluten in the dough.
6. Flash Chill and Bake Steps
Scoop the dough into large balls (about 85g each for giant chocolate chip cookies). Place them on a tray and chill in the fridge for 30 minutes. Preheat your oven to 180°C. Arrange 6 balls per tray to allow for spreading.
7. The Finishing Touch
Bake for 12 minutes until the edges are golden brown and the centers look slightly underdone. Immediately upon removing from the oven, sprinkle with the 1 tsp of flaky sea salt. Let them rest on the hot pan for 5 minutes to set.
Solving Common Baking Texture Problems
Even with the best instructions, baking can be fickle. If your cookies aren't looking like the pictures, it's usually a matter of temperature or timing. For instance, if you find your cookies are spreading into one giant sheet, your butter was likely too warm when you started the mixing process.
Cookies are Too Flat
When cookies spread too much, it’s often because the dough was too warm or the butter wasn't properly emulsified. If this happens, try chilling your scooped dough balls in the freezer for 10 minutes before baking.
This helps the fats stay solid longer, allowing the edges to set before the center melts completely.
Lack of Ripples or Texture
Those beautiful ripples come from a technique called "pan banging." About 8 minutes into the bake, lift the tray and drop it against the oven rack. This causes the risen center to collapse, pushing the dough outward and creating those iconic ridges.
Repeat this every 2 minutes until the bake is finished.
| Problem | Root Cause | Solution |
|---|---|---|
| Greasy bottom | Butter was too hot | Chill dough for 60 mins instead of 30. |
| Tough texture | Overmixed flour | Fold dry ingredients by hand next time. |
| Burnt bottoms | Dark baking sheet | Use parchment paper or a silicone mat. |
Common Mistakes Checklist: ✓ Always use room temperature eggs to ensure they emulsify with the fats. ✓ Don't skip the bread flour; that 50g is vital for the "hearty" structural integrity. ✓ Measure your flour by weight (325g), not by volume, to avoid dry cookies.
✓ Let the trays cool completely between batches so the dough doesn't melt instantly. ✓ Chop your own chocolate rather than using only chips for better texture.
Creative Variations for Every Craving
Once you've mastered the base, you can start playing with the 5 ingredient magic cookies concept or adding your own flair. This dough is incredibly resilient and handles add ins beautifully. For another decadent treat that uses similar flavor profiles, you might enjoy my Chocolate Chip Cookie recipe which focuses on a softer, bite sized experience.
The Great Harvest Variation
To lean into the great harvest chocolate chip cookies style, swap 50g of the all purpose flour for whole wheat flour or rye flour. This adds a nutty, earthy tone that complements the brown butter perfectly. You can also toss in 50g of toasted walnuts for an extra crunch.
The Espresso Riff
Add 1 tablespoon of finely ground espresso powder to the dry ingredients. The coffee doesn't make the cookies taste like a latte; instead, it acts as a flavor booster for the chocolate, making it taste darker and more intense. This is my favorite version to serve with a cold glass of milk.
| Variation | Change | Outcome |
|---|---|---|
| The Nutty One | Add 100g toasted pecans | Adds crunch and a savory toasted note. |
| The Salty Sweet | Use Miso instead of salt | Adds a deep umami, fermented funk. |
| The Festive Mix | Add orange zest | Brightens the rich chocolate and butter. |
Smart Storage and Waste Reduction
These cookies are best enjoyed within the first 24 hours while the edges are still crisp, but they keep remarkably well. Store them in an airtight container at room temperature for up to 4 days.
If they start to lose their "shatter," a quick 10 second zap in the microwave will bring back that velvety chocolate center.
For Long term storage, you can freeze the raw dough balls. Flash freeze them on a tray for an hour, then toss them into a freezer bag for up to 3 months. When the craving hits, you can bake them straight from frozen just add 2-3 minutes to the total bake time.
To reduce waste, save those tiny chocolate "dust" fragments from your chopping board; they are fantastic stirred into morning oatmeal or sprinkled over vanilla ice cream.
Hearty Pairings for Satisfying Snacks
While a glass of milk is the gold standard, these cookies are rich enough to stand up to more complex pairings. If you're looking for a holiday themed pairing, the spicy notes in these cookies go beautifully with the flavors found in a Winter Wonderland Chocolate recipe.
I also love serving these alongside a sharp, aged cheddar cheese. I know it sounds wild, but the salt and fat in the cheese highlight the caramel notes in the brown butter. For a more traditional route, a strong, bitter black coffee or a smoky Earl Grey tea provides the perfect contrast to the sweet, molten chocolate chips.
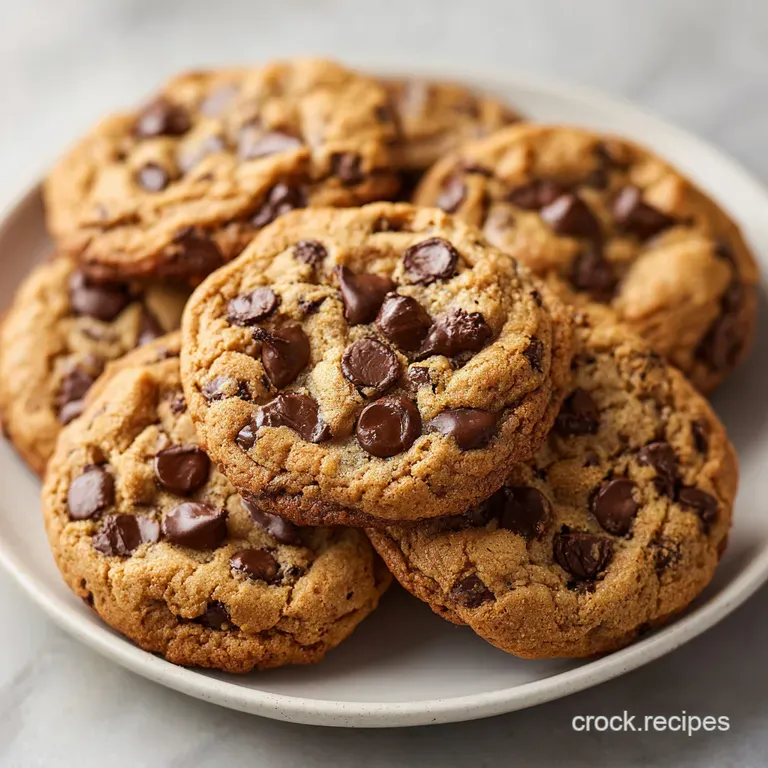
Chef's Tip: If you want that professional "puddle" look, press 2-3 extra chocolate chips onto the top of the dough balls immediately before they go into the oven. As they bake, the chips will melt into beautiful, glossy pools on the surface of your most magical cookie riff with chocolate chips.
Dispelling Common Baking Myths
There is a persistent myth that "overnight chilling" is mandatory for a good cookie. While it does develop flavor, 30 minutes in the fridge is usually enough to prevent excessive spreading for this specific recipe.
Long term chilling can actually dry out the dough if not wrapped tightly, leading to a crumbly edge rather than a crisp one.
Another misconception is that you must use expensive "European style" butter. While the higher fat content is nice, regular unsalted butter browns just as beautifully and creates a fantastic result. The key is the technique of browning and emulsifying, not the price tag of the dairy.
Finally, don't fear the baking soda; it doesn't just provide lift, it also aids in the browning process by creating an alkaline environment, which is essential for that golden brown finish.

Recipe FAQs
Who is the most powerful cookie in Cookie Run?
Unknown. This recipe is based on flavor science and texture balance, not the game Cookie Run.
What is Oprah's favorite chocolate chip cookie?
Unconfirmed. Oprah has favored many recipes, but this recipe’s focus on brown butter and sea salt aligns with sophisticated flavor profiles often celebrated.
What is the trick to making the best chocolate chip cookies?
Browning the butter and using a precise flour ratio. Browning the butter develops deep, nutty caramel notes that elevate the entire flavor profile significantly.
What is the #1 cookie in the US?
The chocolate chip cookie reigns supreme. While market share fluctuates, the classic chocolate chip remains the top-selling and most frequently baked variety nationwide.
Is it true I must chill chocolate chip cookie dough overnight for the best results?
No, this is often overemphasized. Chilling for 30 minutes is usually sufficient to firm up the fats and prevent excessive spreading for this specific recipe.
How to achieve those beautiful, wrinkly edges on thick cookies?
Lift the baking tray and drop it hard against the oven rack. This technique, called pan-banging, forces the center to deflate, creating ripples.
How to store these cookies so the edges stay crisp?
Store them airtight at room temperature, away from heat sources. Avoid stacking them until they are completely cool to prevent steam softening the edges.
Magical Chocolate Chip Riff

Ingredients:
Instructions:
Nutrition Facts:
| Calories | 475 kcal |
|---|---|
| Protein | 5.7 g |
| Fat | 24.1 g |
| Carbs | 60.8 g |
| Fiber | 2.2 g |
| Sugar | 33.4 g |
| Sodium | 295 mg |
