The Black Magic Chocolate Loaf a Deeply Moist Foolproof Cake
- Unlocking the Secret to the Ultimate Moist Chocolate Cake Experience
- Why This Recipe Dominates the Dessert Landscape
- Curating Your Dark Chocolate Arsenal: Essential Components
- The Alchemy of Dry Goods and Wet Essentials
- The Seven Secrets Unveiled: Mastering the Baking Process
- From Batter to Bliss: Step-by-Step Assembly
- Elevating Your Creation: Frosting, Storage, and Flavor Twists
- Troubleshooting and Customizing Your Perfect Chocolate Cake
- Recipe FAQs
- 📝 Recipe Card
Unlocking the Secret to the Ultimate Moist Chocolate Cake Experience
When the craving hits for something truly rich and deeply satisfying, there is no substitute for a phenomenal Chocolate Cake . This isn't just about slapping cocoa powder into a box mix; we are delving into the realm of decadent desserts that deliver unparalleled texture and flavour.
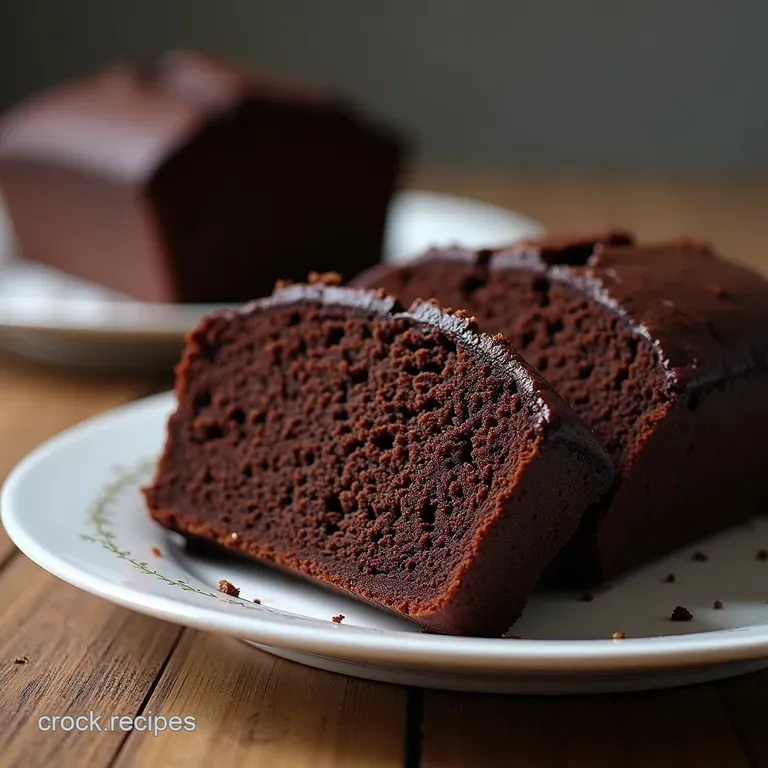
My goal in sharing this recipe, which I call "The Black Magic Chocolate Loaf," is to banish the memory of dry, crumbly sponges forever. This recipe is engineered for deep, dark chocolate flavour and a texture so moist it practically melts on your tongue.
It’s rich, velvety, and reminiscent of those comforting, deep chocolate bakes we all remember from childhood proper comfort food, mate.
Why This Recipe Dominates the Dessert Landscape
Creating a truly great Chocolate Cake From Scratch shouldn't require a culinary degree. It should be accessible, reliable, and, above all, delicious. This particular approach relies on tried and-true techniques that elevate simple pantry staples into something extraordinary.
Dispelling the Myth of Dry, Uninspiring Sponges
Many home bakers struggle with chocolate cakes because cocoa powder is inherently drying. To counteract this, we employ specific ingredients that bind moisture and ensure tenderness. The key lies in activating the cocoa powder correctly while simultaneously using the right fat content and acidic agent.
We achieve this using a couple of sneaky tricks (the 'secrets,' if you will) that ensure a foolproof result every single time.
The Foundation: Our Dependable Classic Approach
At its core, this is a dependable classic method, stripped down to its most essential, high impact components. This formula guarantees a lofty rise and an interior crumb that remains tender even days later.
It’s designed for those moments when your sweet tooth demands immediate satisfaction without compromising on depth of chocolate flavors .
A Guaranteed Success for Every Skill Level
With a prep time of only about 20 minutes and a relatively short bake time of 30– 35 minutes, this is an Easy Chocolate Cake Recipe .
The steps are straightforward: mix the dry components, whisk the wet components (minus the final hot liquid), combine, and then add the secret weapon. This simplicity ensures that even if you are new to cake recipes , you can achieve professional level results effortlessly.
Curating Your Dark Chocolate Arsenal: Essential Components
Before we dive into the mixing process, let's appreciate what makes the ingredients work together so harmoniously. This Chocolate Cake Recipe Easy method relies on maximizing the impact of standard ingredients. We are aiming for a loaf that yields 10 12 generous slices of pure indulgence.
The Alchemy of Dry Goods and Wet Essentials
The beauty of this bake is the clear separation between the dry ingredients and the core wet elements before introducing the final, flavour intensifying liquid.
Measuring Precision: The Golden Ratio for Texture
Accuracy is your friend here. Ensure your dry elements the all-purpose flour (1 ¾ cups, or 210g), the generous 2 cups (400g) of granulated sugar, the essential leaveners (2 teaspoons baking soda and 1 teaspoon baking powder), and 1 teaspoon of fine sea salt are thoroughly whisked together first.
This step ensures the baking soda and powder are evenly dispersed, guaranteeing uniform lift across the entire bake.
The Role of Coffee in Intensifying Cocoa Flavor
This is perhaps the most crucial element for achieving deep chocolate flavors . We call for 1 cup (240ml) of freshly brewed, hot coffee. The heat from the coffee doesn't just thin the batter; it actively "blooms" the cocoa powder, releasing compounds that make the chocolate taste significantly darker and richer without making the final product taste like coffee.
If you absolutely cannot use coffee, boiling water works, but the depth of flavour will be slightly lessened.
Necessary Equipment: Setting Up Your Baking Station
For this bake, you'll need a large mixing bowl for the dry components and a medium bowl for the foundational wet ingredients. A sturdy whisk and a rubber spatula are necessary for gentle folding later on.
Ensure your 9x5 inch loaf pan (or two 8 inch rounds) is properly greased and floured, or lined with parchment paper, to facilitate easy release later.
Related Recipes Worth Trying
- Warm Spiced Nutella Cupcakes with Hazelnut Frosting — Elevate your baking with these rich Spiced Nutella Cupcakes Incredibly moist chocolate cake filled with molten Nutella and topped with hazelnut buttercream
- Chewy Creepy Chocolate Chip Cookies Recipe for Halloween — Bake spooky treats that actually taste incredible Get our recipe for perfectly chewy Creepy Chocolate Chip Cookies using black cocoa
- Foolproof Air Fryer Strawberry Cheesecake Bites Recipe — Skip the oven drama These creamy Air Fryer Strawberry Cheesecake Bites have a crisp crust and vibrant swirl The perfect simple dessert for any occasion
The Seven Secrets Unveiled: Mastering the Baking Process
The success of this recipe hinges on respecting the interaction between the ingredients. While the full method unfolds in the next section, the principle behind the "Seven Secrets to Ultimate Moist Chocolate Cake" is crucial: chemical reaction and gentle handling.
The acids in the buttermilk react with the baking soda, creating immediate lift, which is then stabilized by the addition of hot liquid that melts the sugar and fully incorporates the cocoa. Minimal mixing afterward is non-negotiable for achieving the velvety texture.
From Batter to Bliss: step-by-step Assembly
With your ingredients prepped, the assembly is swift. Begin by preheating your oven to 350° F ( 175° C).
Techniques for achieving maximum aeration
Start by whisking your dry mixture vigorously to ensure everything is homogenous. In a separate bowl, gently combine the 2 large room temperature eggs, 1 cup of buttermilk, ½ cup of vegetable oil, and 2 teaspoons of vanilla extract. Pour this wet blend into the dry ingredients.
Use your spatula to mix just until the flour streaks disappear a few lumps are absolutely fine at this stage. Do not overmix!
The Critical Timing for Oven Entry and Exit
Now for the magic: slowly pour the hot coffee into the batter while whisking very gently until the mixture is smooth and quite thin. Yes, the batter will be runny; this consistency is exactly what we want for supreme moisture. Immediately pour this thin batter into your prepared pan.
Bake for 30 to 35 minutes. The cake is done when a skewer inserted into the centre emerges with moist crumbs clinging to it, but no wet batter. If it comes out completely clean, you may have already baked it a minute too long!
Cooling Protocol: Preventing Cracks and Crumbles
Patience during cooling is key to preserving that tender structure. Allow the Chocolate Cake to cool in the pan on a wire rack for precisely 10 minutes. This short window allows the edges to firm up slightly.
After 10 minutes, carefully invert the cake onto the rack to cool completely. Attempting to frost or slice a warm cake will invariably lead to crumbling.
Elevating Your Creation: Frosting, Storage, and Flavor Twists
Once cooled, this rich base is ready for dressing up. A simple, glossy Dark Chocolate Ganache poured over the top works beautifully, enhancing the deep chocolate flavors .
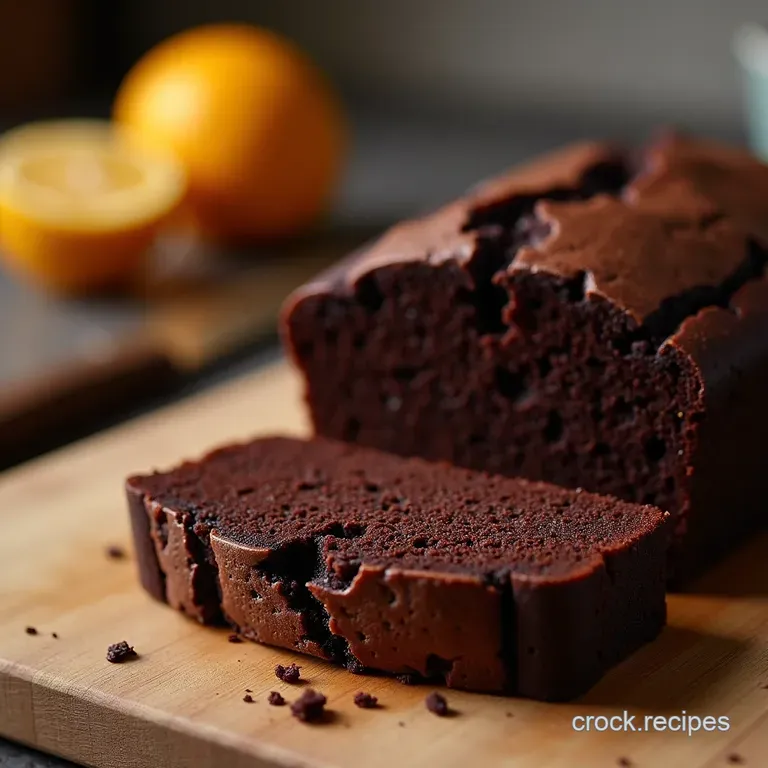
For a lovely contrast, serve warm slices with a dollop of lightly sweetened whipped cream and fresh raspberries; the tartness cuts through the richness masterfully.
Troubleshooting and Customizing Your Perfect Chocolate Cake
While this is an incredibly robust recipe, sometimes bakers need tweaks or guidance for longevity.
Extended Shelf Life: How to Keep This Cake Moist for Days
Thanks to the oil and buttermilk, this Chocolate Cake Recipe stays remarkably fresh. To maximize shelf life, wrap the completely cooled loaf tightly in plastic wrap, then aluminum foil. Stored at room temperature, it maintains excellent moisture for up to four days.
For longer storage, a brief freeze (wrapped well) is recommended.
Flavor Infusions: Beyond Basic Cocoa Powder
If you want to push the Chocolate Flavors further, consider adding ½ teaspoon of instant espresso powder to the dry ingredients for a mocha twist, or introduce ½ teaspoon of ground cinnamon and a whisper of cayenne pepper for a subtle, sophisticated warmth.
Nutritional Snapshot: Understanding Your Indulgence
As a rich bake designed for enjoyment, this cake typically clocks in around 320 kcal per slice (excluding frosting), offering a satisfying balance of carbohydrates and fat inherent in decadent baking.
Adapting the Recipe: Vegan and gluten-free Pathways
This cake is surprisingly adaptable. For a Vegan Chocolate Cake , swap the buttermilk for a plant based milk mixed with a tablespoon of apple cider vinegar (let sit 5 minutes), and substitute the eggs with flax eggs (2 tablespoons ground flaxseed mixed with 6 tablespoons of water, rested for 5 minutes).
For gluten-free bakers, a high-quality 1-to-1 gluten-free baking blend integrates seamlessly in place of the standard all-purpose flour, maintaining the incredible texture you expect from this recipe.

Recipe FAQs
Why is my Chocolate Cake coming out a bit dry, even though I followed the recipe?
Ah, the bane of every baker’s existence! For this rich recipe, the usual culprit is overbaking or overmixing. Remember the secret: only mix the batter until the dry ingredients have just disappeared.
Also, make sure you pull it out when the skewer has moist crumbs attached a completely clean skewer means it’s already starting to dry out. Patience during that last minute of baking is key!
Can I make this cake ahead of time, and how should I store it?
Absolutely, it keeps brilliantly! This moist cake travels well. If unfrosted, wrap it tightly in cling film and foil, and it will be spot-on for up to three days at room temperature.
If you've frosted it, keep it in an airtight container; if your kitchen is particularly warm, a quick stint in the fridge is fine, but let it come back to room temperature for about an hour before serving for the best texture.
What’s the deal with using hot coffee instead of just hot water?
That's one of the main secrets to getting that deep, velvety flavour! The heat of the liquid "blooms" the cocoa powder, releasing its maximum chocolate potential it makes the cake taste richer without actually tasting like coffee.
Don't worry if you aren't a coffee drinker; the flavour doesn't translate strongly, but the intensity of the chocolate certainly does!
My recipe calls for buttermilk, but I haven't got any in the fridge; what’s a proper substitute?
No worries at all, we've all been there when we run out of specific dairy! The simplest fix is to make your own 'sour milk': take 1 tablespoon of white vinegar or fresh lemon juice and stir it into 1 cup of regular milk.
Let that stand for about five minutes until it looks slightly curdled that acidic quality is what you need to react with the baking soda for that lovely lift.
This recipe seems quite rich; can I make a lighter version or add fruit?
While it is designed to be deeply indulgent, you can certainly lighten the mood! For a twist, fold in half a cup of fresh raspberries or chopped glacé cherries along with the chocolate chips if you fancy a fruity surprise.
Also, serving it with lightly sweetened whipped cream rather than a heavy buttercream will cut through the richness nicely it’s all about balance, isn’t it?
Moist Chocolate Loaf Recipe
Ingredients:
Instructions:
Nutrition Facts:
| Calories | 334 kcal |
|---|---|
| Protein | 4.1 g |
| Fat | 11.6 g |
| Carbs | 29.7 g |
| Fiber | 3.9 g |
| Sodium | 6752 mg |
