Chocolate Mug Cake: Ultra Moist
- Time: Active 3 minutes, Passive 1 minute 15 seconds, Total 4 minutes 15 seconds
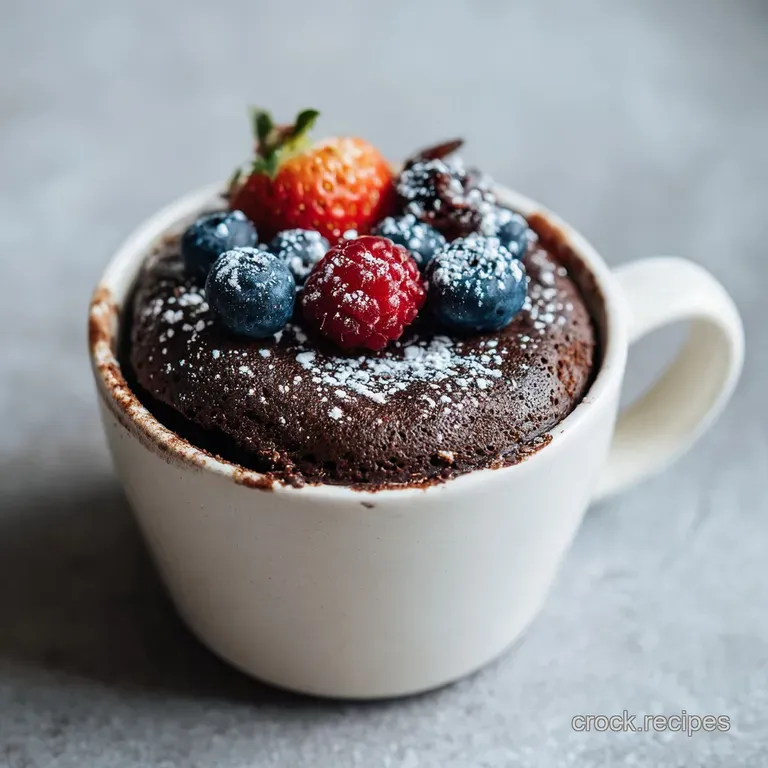
- Flavor/Texture Hook: A velvety, molten core surrounded by a hearty, chocolate sponge
- Perfect for: Late night cravings, solo celebrations, or a satisfying weeknight comfort food fix
- New Mug Cake Recipe with Chocolate you'll want to try instantly
- Why Most Microwave Cakes Fail
- Technical Specs and Time Requirements
- Selecting Your Best Quality Components
- Tools for a Perfect Bake
- Preparing the Chocolate Cake Batter
- Avoiding a Rubbery Cake Texture
- Creative Ways to Customize Flavor
- Storage and Zero Waste Tips
- Serving for Maximum Satisfaction
- Recipe FAQs
- 📝 Recipe Card
New Mug Cake Recipe with Chocolate you'll want to try instantly
Have you ever found yourself staring into the pantry at 9:00 PM, desperate for something sweet but completely unwilling to wash a dozen cupcake liners or wait an hour for a cake to cool? I know that feeling all too well.
Last Tuesday, after a particularly long day, I tried to whip up a quick cocoa fix and ended up with something that had the texture of a pencil eraser. It was heartbreaking. But that failure led me to experiment with the moisture ratios and the specific way heat interacts with a ceramic mug.
Get ready to bake our amazing new mug cake recipe with chocolate that you'll want to try instantly. This isn't just another dry microwave sponge; it is a carefully balanced bit of kitchen magic that relies on the contrast between a firm outer cake and a gooey, molten center.
The aroma of blooming Dutch cocoa will fill your kitchen in seconds, creating that immediate sense of hearty comfort that only a warm chocolate dessert can provide.
We are going to focus on a method that traps steam directly inside the batter. This solves the number one problem with microwave baking: the dreaded "rubber effect." By adding a tiny splash of water right before the microwave starts humming, we create a miniature sauna for our cake.
The result is a satisfying, rich experience that feels much more like a restaurant lava cake than a three minute snack.
Why Most Microwave Cakes Fail
Most people treat a mug cake like a tiny version of a regular cake, but the physics are completely different. In a traditional oven, heat moves from the outside in. In a microwave, it excites water molecules throughout the entire dish simultaneously.
If you don't have enough fat or moisture, the cake dries out before it even finishes rising.
- The Steam Barrier: Drizzling water on top creates a localized humid environment that prevents the surface from becoming tough and leathery.
- Fat Stabilization: Using a combination of whole milk and neutral oil ensures the crumb stays velvety even as it cools down.
- Aeration Physics: Whisking the dry ingredients with a fork isn't just about mixing; it introduces tiny pockets of air that the baking powder can then expand.
- Egg Emulsification: The large egg acts as both a binder and a leavening agent, providing the hearty structure needed to hold up the heavy chocolate chips.
This specific method creates a beautiful contrast between the fluffy crumb and the molten chocolate chips tucked inside. It reminds me of the deep, satisfying mouthfeel of my sinfully smooth chocolate pudding, which also relies on a high fat to liquid ratio to achieve that professional finish.
| Cook Method | Time | Texture | Best For |
|---|---|---|---|
| Standard Microwave | 1 minute | Spongy and slightly dry | Quickest fix with no frills |
| Steam Chamber Method | 1 minute 15 seconds | Velvety with molten core | True dessert lovers |
| Toaster Oven | 12 minutes | Crispy edges, dense center | Those who hate microwaves |
The steam chamber method is what sets this recipe apart from the thousands of other "easy chocolate mug cake recipe" options you might find online. It turns a simple snack into a real culinary experience.
Technical Specs and Time Requirements
When we talk about precision in the kitchen, we usually think of a 5 course meal, but here, seconds actually matter. Because we are working with such a small volume of batter, overcooking by even 10 seconds can turn a "moist chocolate mug cake" into a "chocolate brick."
| Component | Science Role | Pro Secret |
|---|---|---|
| Dutch Cocoa | Flavor and Acidity | Use Dutch processed for a darker, smoother, less acidic profile |
| Neutral Oil | Moisture Retention | Oil stays liquid at room temperature, keeping the cake soft |
| Baking Powder | Chemical Leavening | Ensure it is fresh to get that satisfying, hearty rise |
You want to use a neutral oil like canola or vegetable oil here. While butter tastes great, oil actually yields a superior texture in microwave baking because it doesn't solidify as quickly when the cake starts to cool. This ensures every spoonful remains satisfying from the first bite to the last.
Selecting Your Best Quality Components
To make this the best new mug cake, we need to be picky about our pantry staples. This is a "3 ingredient mug cake with cocoa powder" at its heart, but with a few extra additions to make it truly spectacular.
- 4 tbsp All purpose flour (30g): Why this? Provides the essential structure without making the cake too dense or chewy.
- 3 tbsp Granulated sugar (35g): Why this? It sweetens and also helps tenderize the crumb by interfering with gluten.
- 2 tbsp Dutch processed cocoa powder (10g): Why this? Offers a richer, darker chocolate flavor than regular natural cocoa powder.
- 1/4 tsp Baking powder: Why this? The engine that makes the cake climb up the sides of the mug.
- 1/8 tsp Fine sea salt: Why this? Vital for cutting through the sugar and intensifying the chocolate notes.
- 1 Large egg: Why this? Adds richness and prevents the cake from crumbling into dust.
- 3 tbsp Whole milk (45ml): Why this? Provides the liquid base and a bit of creamy fat for mouthfeel.
- 2 tbsp Neutral oil (30ml): Why this? Guarantees a moist result that doesn't go rubbery as it sits.
- 1/2 tsp Pure vanilla extract: Why this? Acts like a highlighter for the chocolate, making the flavor pop.
- 1 tbsp Semi sweet chocolate chips (15g): Why this? These sink slightly and create that glorious, molten chocolate center.
- 1 tsp Water: Why this? The "secret" ingredient that creates the steam during the cooking process.
If you are looking for a "3 ingredient mug cake no egg" version, you can substitute the egg with a tablespoon of applesauce, though the cake will be significantly denser and less "hearty" in its structure.
Tools for a Perfect Bake
You don't need a stand mixer or a blowtorch for this. This is about simplicity. However, the vessel you choose is the most important piece of equipment in your arsenal.
- 12 oz Ceramic Mug: This size is non negotiable. If you use a smaller 8 oz mug, you will face a "chocolate lava overflow" on your microwave glass. A ceramic mug retains heat better than glass or plastic.
- Small Whisk or Fork: A fork is actually better here because the tines help break up the stubborn clumps of cocoa powder.
- Measuring Spoons: Precision is key. Since we aren't using a scale for most of this, level your tablespoons with a knife.
Chef's Tip: Before you start, check the bottom of your mug for the "microwave safe" label. Some older ceramic mugs can get dangerously hot or even crack under the intense vibration of microwave energy.
Preparing the Chocolate Cake Batter
This is a "quick microwave mug cake," so the process moves fast. Follow these steps exactly to ensure the chemistry works in your favor.
- Place the flour, sugar, cocoa powder, baking powder, and sea salt into your 12 oz mug.
- Whisk the dry ingredients vigorously with a fork for about 30 seconds until the mixture is a uniform pale brown and no lumps remain. Note: This aerates the flour for a lighter crumb.
- Crack the egg directly into the mug and add the milk, oil, and vanilla extract.
- Stir the mixture with your fork, making sure to scrape the "corners" at the bottom of the mug where flour likes to hide.
- Continue whisking until the batter is smooth, glossy, and shows no visible streaks.
- Drop the semi sweet chocolate chips directly into the center of the batter; do not stir them in.
- Drizzle exactly one teaspoon of water over the top of the batter without mixing it. Note: This creates the steam chamber.
- Place the mug in the center of the microwave and cook on high for 1 minute 15 seconds until the top is set but slightly tacky to the touch.
- Remove carefully (the mug will be hot!) and let it rest for exactly one minute before eating.
| Version | Quality | Outcome |
|---|---|---|
| Fresh Made | High | Fluffy, moist, and molten |
| Shortcut Mix | Medium | Can be overly sweet or artificial |
| Pre packaged | Low | Often has a metallic or chemical aftertaste |
While it is tempting to dig in the second the microwave beeps, that one minute rest is crucial. It allows the internal temperature to stabilize and the "molten core" to reach the perfect, velvety consistency.
Avoiding a Rubbery Cake Texture
If you find that your "easy chocolate mug cake recipe" results in a chewy or tough texture, you are likely dealing with over mixing or over cooking. When you whisk the flour and egg together, you are developing gluten.
In a cake, we want just enough gluten to hold things together, but not so much that it becomes bread like.
Why Your Mug Cake is Dry
The most common culprit for a dry cake is the microwave power setting. Not all microwaves are created equal. If yours is a high wattage model (1200W+), you might need to reduce the cook time to 1 minute or drop the power level to 80%.
| Problem | Root Cause | Solution |
|---|---|---|
| Cake is "tough" | Over mixing the batter | Stir until just combined; don't over work the flour |
| Top is wet | Under cooked center | Add 10 seconds, but check after 5 |
| Overflowing | Mug is too small | Always use at least a 12 oz capacity vessel |
Common Mistakes Checklist
- ✓ Forgetting to whisk the dry ingredients first (results in cocoa "pockets").
- ✓ Using a cold egg (can cause the oil to clump; use room temp if possible).
- ✓ Skipping the teaspoon of water on top (leads to a dry, crusty surface).
- ✓ Eating it immediately (the "carryover" heat finishes the cooking process).
- ✓ Using "natural" cocoa instead of Dutch processed (makes the cake taste acidic).
Creative Ways to Customize Flavor
Once you've mastered this "new mug cake recipe with chocolate," you can start playing with the profile. The base is sturdy enough to handle a few additions without collapsing.
If you want a "Salted Peanut Butter Swirl," simply drop a teaspoon of creamy peanut butter on top along with the chocolate chips. It will sink and create a satisfying, savory sweet surprise in the middle. For a deeper, more sophisticated flavor, you can add a pinch of espresso powder to the dry ingredients.
It won't make the cake taste like coffee; it simply makes the chocolate taste "more like chocolate."
For those looking for a dairy-free alternative, you can swap the whole milk for oat milk or almond milk. The fat content is slightly lower, so the cake might be a tiny bit less "hearty," but it still works beautifully.
You can also replace the chocolate chips with white chocolate or even a few frozen raspberries for a bright, tart contrast to the rich cocoa.
Storage and Zero Waste Tips
This recipe is designed for instant gratification, but if you happen to have leftovers (unlikely, I know!), you can store the mug in the fridge for up to 2 days. Cover it tightly with plastic wrap to prevent the fridge from sucking out the moisture. To reheat, just pop it back in the microwave for 15-20 seconds.
It won't be quite as fluffy as the first time, but it still makes a satisfying snack.
Regarding zero waste, if you have a half used bag of chocolate chips that are starting to look "ashy" (this is just sugar bloom, they are still safe!), this is the perfect way to use them up. The heat of the microwave will melt them down into that velvety core regardless of how they look on the outside.
If you have leftover coffee from the morning, use a tablespoon of that instead of one of the tablespoons of milk for a "mocha" version.
Serving for Maximum Satisfaction
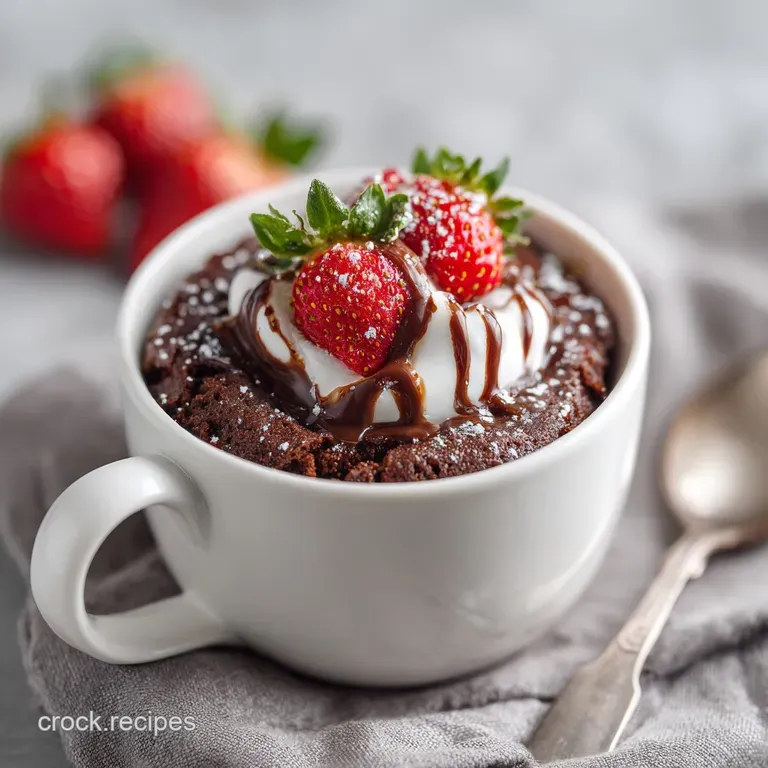
To truly enjoy this comfort food, I recommend a contrast in temperatures. A cold scoop of vanilla bean ice cream on top of the steaming cake creates a wonderful "hot and cold" sensation that is incredibly satisfying. As the ice cream melts, it mingles with the chocolate chips to create a makeshift sauce.
If you want to keep it simple, a light dusting of powdered sugar or a dollop of whipped cream works wonders. This recipe is so rich that it doesn't need much. It reminds me of the elegance of a classic chocolate mousse, but with the hearty, warm soul of a freshly baked cake. Whether you're sitting on the couch under a blanket or sharing a quick treat with a friend, this mug cake is the ultimate low effort, high reward dessert. Trust me, once you try the steam chamber method, you'll never go back to those dry, rubbery "5 new mug cake recipes youll want to try instantly" lists again. This is the only one you need.
If you want a gooey center, do not stir the chips.If you want a firmer cake, skip the teaspoon of water.If you want a darker flavor, add 1/2 tsp of espresso powder.

Recipe FAQs
Is it true I have to use Dutch processed cocoa powder for this recipe?
Yes, use Dutch processed to ensure the best flavor. Using natural cocoa powder makes the cake taste overly acidic and disrupts the intended chocolate balance; if you enjoy mastering flavor profiles, see how we use the same principle in our strawberry swirl cookies.
How to prevent the cake from having pockets of dry flour?
Whisk the dry ingredients thoroughly before adding any liquids. This step aerates the flour and cocoa, ensuring there are no hidden clumps that could remain dry during the one-minute cook time.
Why is the surface of my mug cake crusty?
You likely skipped the teaspoon of water. Drizzling water over the batter before microwaving creates a vital steam chamber that keeps the top moist and prevents it from drying out.
Is it true that I can eat the mug cake the second the microwave stops?
No, this is a common misconception. You must wait for the cake to sit for a moment to allow the carryover heat to finish the cooking process, resulting in a much better texture.
How to keep the egg from causing clumps in the batter?
Use a room temperature egg. Cold eggs can shock the oil and cause the batter to lose its smooth, glossy consistency before it even hits the microwave.
Can I store leftovers if I cannot finish the whole mug?
Yes, store it in the fridge for up to two days. Cover the mug tightly with plastic wrap to maintain moisture, then reheat for 15-20 seconds when you are ready to eat it again.
How to identify if my chocolate chips are still good to use?
Check for sugar bloom, which looks like an ashy film. This is perfectly safe to consume and will melt down just fine when heated inside the batter.
Moist Chocolate Mug Cake

Ingredients:
Instructions:
Nutrition Facts:
| Calories | 683 kcal |
|---|---|
| Protein | 13.4 g |
| Fat | 39.5 g |
| Carbs | 76.1 g |
| Fiber | 3.5 g |
| Sugar | 52.4 g |
| Sodium | 495 mg |
