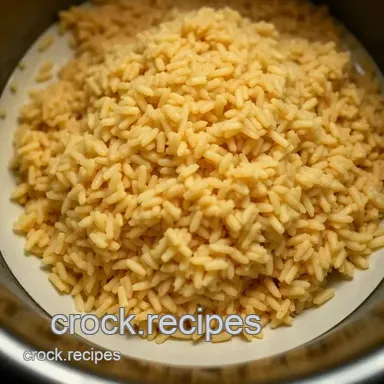
Perfectly Cooked Brown Rice in the Instant Pot
- Look into Into the World of Brown Rice in the Instant Pot
- The Essential Ingredients Guide: Unpacking the Basics for Brown Rice in the Instant Pot
- Mastering the Art of Cooking Brown Rice in the Instant Pot
- Pro Tips & Secrets to Perfect Brown Rice
- Perfect Presentation of Your Dish
- Storage & Make-Ahead Essentials
- Creative Variations of Your Rice Journey
- Complete Nutrition Guide
- Frequently Asked Questions
- 📝 Recipe Card
Look into Into the World of Brown Rice in the Instant Pot
Oh my gosh, have you ever found yourself standing at the stove, staring at a pot of water waiting for it to boil while your hangry self looks at the clock? i totally relate! that’s when i stumbled upon brown rice in the instant pot, and let me tell you, it changed everything.
It’s like magic! you throw in some rice, press a button, and boom perfectly fluffy brown rice without the hour of waiting.
I swear, it feels like a kitchen miracle.
The truth is, brown rice has a rich history. since ancient times, folks have been enjoying its nutty flavor and chewier texture.
It’s been a staple for many cultures around the world. recently, it’s made a comeback as people are going for healthier options.
Did you know that brown rice is loaded with fiber, vitamins, and minerals? talk about a super grain! nowadays, it’s as popular as avocado toast on instagram.
Now let’s talk about timing and effort. this recipe is easy peasy ! you’re looking at about 40 minutes total , with only 5 minutes of prep .
Seriously, even if you’ve burned water before, you can nail this. and if you’re wondering about cost, don't sweat it brown rice is super affordable.
A pound is just a few bucks, and it yields about 4 servings , so it’s a win for your wallet too!
The Perks of Brown Rice
What’s not to love about brown rice? first off, it’s a healthier alternative to white rice. it retains the bran and germ, meaning more nutrients.
Plus, it’s gluten-free and can fit into pretty much any diet. it’s fantastic for meal prep, too; you can whip up a batch and use it all week.
Need a quick lunch? throw it in a salad or mix it with your favorite veggies.
And let’s talk occasions! whether it’s a family holiday feast or just a lazy sunday dinner, brown rice has got you covered.
It pairs beautifully with anything from curry to stir fries you know, the perfect base to soak up all those flavors.
Plus, it’s a great option if you have vegetarian guests. i mean, who doesn’t love a big, hearty bowl of rice with some killer toppings?
What sets brown rice cooked in the instant pot apart? for one, it is way easier and faster than the traditional stove method.
This stuff comes out fluffy and on point every time, thanks to the pressure cooker’s magic. you don’t have to babysit it; just set and forget.
So, if you’ve been on the fence about trying pressure cooker brown rice , now’s the time!
Before we dive into the ingredient list, here’s a thought. cooking should be fun, not fierce! the instant pot makes it a breeze, leaving you more time to enjoy your meal or kick back with a good show.
So grab your instant pot and let’s get this going. here’s what you’ll need to bring this tasty recipe to life!
The Essential Ingredients Guide: Unpacking the Basics for Brown Rice in the Instant Pot
Hey there, friend! let’s talk about something we all know and love: the perfect bowl of rice . seriously, whether it’s for a weeknight dinner or meal prep madness, we gotta get the basics right.
Today, we’re focusing on brown rice in the instant pot , but first, let’s chat about some essential ingredients for cooking.
Think of this as your go-to guide for making every grain count!
Premium Core Components
When it comes to cooking rice, precision is key. Here’s a quick rundown of what you need:
- Measurements : For long grain brown rice , you typically want 1 cup of rice (200 g) to 1 ¼ cups water (300 ml) . Easy peasy, right?
- Quality Indicators : Look for brown rice that’s whole grain, with a nice nutty aroma. If it smells musty, ditch it.
- Storage Guidelines : Store rice in a cool, dry place. It’ll last about 6 months in the pantry, but if you put it in the fridge, you can stretch that to 18 months .
- Freshness Tips : Always check expiry dates and give it the sniff test. Fresh is best!
Signature Seasoning Blend
Now, let’s spice things up! Here’s how to elevate that brown rice into something magical.
- Essential Spice Combinations : A pinch of salt and a flip of pepper is classic, but don’t stop there. How about a dash of cumin or a sprinkle of turmeric?
- Herb Selections : Try pairing your rice with parsley or cilantro for a fresh bite. Ooh, maybe add some dried thyme for depth!
- Flavor Enhancers : Toss in a bit of garlic powder or onion powder for an aromatic kick. Use broth instead of water for extra flavor.
- Regional Variations : Think about adding some coconut milk for a tropical twist or salsa for a spicy vibe. The possibilities are endless!
Smart Substitutions
Sometimes, life throws a curveball, and you need alternatives. Here’s a cheat sheet for when you're out of an ingredient.
- Common Alternatives : No brown rice? Don’t sweat it! You could go for quinoa or wild rice instead. Just adjust the water measurements.
- Dietary Modifications : If you're avoiding grains, try cauliflower rice —it’s super trendy and low-carb!
- Emergency Replacements : Stuck in a pinch? Use couscous or even farro if that’s what you’ve got lying around.
- Seasonal Options : In summer, why not throw in some fresh herbs and veggies? You can mix in seasonal greens to brighten things up.
Kitchen Equipment Essentials
Okay, now let’s chat tools. You don’t need a chef’s arsenal to get this right.
- Must Have Tools : The best gadget for our brown rice adventure is, of course, the Instant Pot ! You’ll also need measuring cups and a fine mesh sieve for washing your rice.
- Alternative Equipment Options : Got a stovetop rice cooker? You can still make it work! Just follow the same water-to-rice ratio.
- Preparation Tips : Rinse that rice! Seriously, rinsing removes excess starch and helps prevent stickiness.
- Storage Solutions : Store any leftovers in an airtight container in the fridge, and they should last for about 4 days —but let’s be real, it usually gets gobbled up way before then!
Jumping Into Instructions
Now that you’ve got all the basics down, let’s roll into making that amazing brown rice in the Instant Pot . Trust me, you’ll feel like a total rockstar whipping this up.
But hang tight if you stick around, I've got a super simple recipe that will make this whole process a breeze! So grab your Instant Pot and let’s get cooking!
Mastering the Art of Cooking Brown Rice in the Instant Pot
Okay, let’s chat about something that's a game changer for every busy kitchen warrior out there: making brown rice in the instant pot .
If you think cooking rice is tricky, i get it. been there, done that! but trust me, this method is a breeze and so foolproof, you'll find yourself whipping up this wholesome grain before you even finish scrolling through your instagram feed.
So, let’s dive into the essentials.
Essential Preparation Steps
First up, we gotta talk about mise en place . sounds fancy, right? but it simply means having everything ready before you get cooking.
Measure your 1 cup of brown rice , and gather your 1 ¼ cups of water (or broth, if you're feeling gourmet).
Toss in a bit of salt if that floats your boat. and don’t forget to rinse the rice seriously, it helps keep it from being too sticky!
Time management is also crucial. set a timer for 5 minutes to get everything prepped. i promise you, the time you invest upfront will save you from any “uh-oh” moments later on.
Next, let’s touch on organization . keep your tools handy. grab your instant pot, and maybe even the measuring spoons. trust me, muscle memory kicks in and you won’t be running all over the place.
And we can’t skip out on safety . Make sure your Instant Pot lid is sealed properly no one wants rice all over the kitchen. Plus, watch those steam vents! Ouch!
Step-by-step Process
Rinse the rice: this one’s simple. place your brown rice in a fine mesh sieve and give it a good rinse under cold water until the water runs clear.
This helps remove excess starch.
Add to Instant Pot: Dump the rinsed rice in the pot. Pour in your 1 ¼ cups of water , and sprinkle that ½ teaspoon of salt if you’re using it.
Seal the Pot: Secure the lid and ensure the valve is on sealing. You've got this!
Set Cooking Time: Hit "Manual" or "Pressure Cook," then set it for 22 minutes . Keep your eyes on the prize!
Natural Pressure Release: When the timer goes off, let it naturally release for about 10 minutes before flipping that vent to venting position. You don’t want to rush things here!
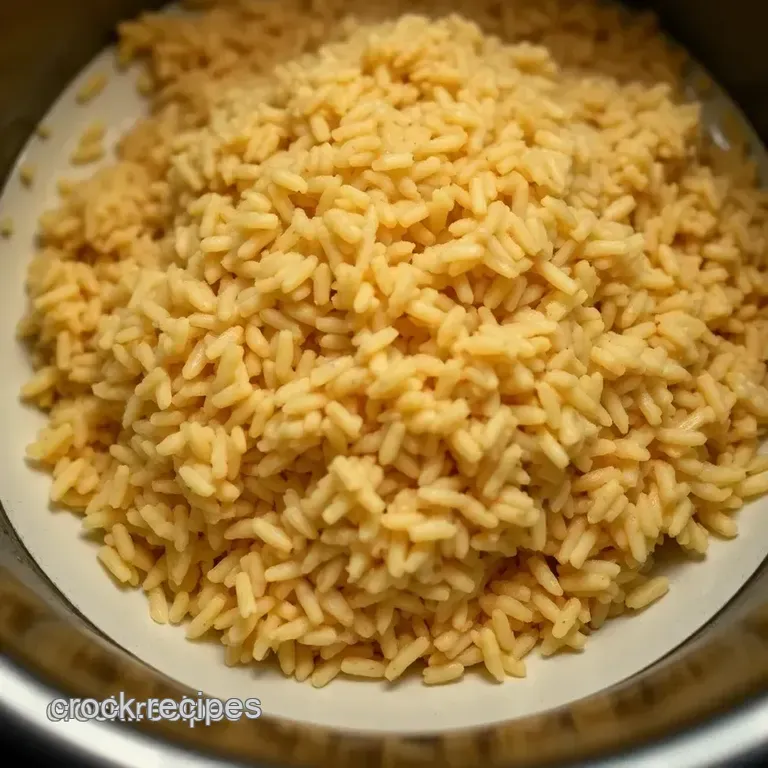
Fluff the Rice: Carefully open the lid, fluff with a fork, and if you want, stir in a little olive oil or butter.
Serve Warm: Voila! Enjoy your bowl of fluffy goodness. I like to treat it as a base for a spicy chickpea curry. Yum!
Expert Techniques
Want to go pro? here are some expert tips. if your rice looks undercooked, don't panic! just add a splash more water and put the lid back on for an extra 2- 3 minutes .
Mastering temperature control is key by making sure you press the buttons right, so follow the numbers.
Visual cues help too! If the rice looks chewy and isn’t mushy, you’re on the right track. And if it’s stiff, just add a bit more water next time, no biggie!
Success Strategies
Let’s avoid common mistakes, shall we? One major one is not rinsing the rice. Trust me! Rinse it! You don’t want that gummy mess.
Be mindful of portion sizes. that 1 cup of brown rice yields about 4 servings . if you cook too much, no worries! you can store leftovers in an airtight container for up to 4 days .
Speaking of make-ahead options, try prepping your rice for meal prep! It can sit perfectly in the fridge, waiting to join your other Instapot meals .
Additional Information
Now, you’re well on your way to being the brown rice champion of your kitchen! with these simple steps, you can master not just brown rice, but also feel more confident in your cooking game overall.
So give it a whirl and remember: cooking should be fun, not fussy! happy cooking, and may your next meal be a delicious success!
Pro Tips & Secrets to Perfect Brown Rice
Cooking brown rice in the instant pot is like finding the holy grail of grain cooking. i can still remember my first time wrestling with the stove and pot what a tragedy! if only i had these pro tips back then.
Here’s the scoop from my kitchen to yours!
1. rinse, rinse, rinse!
honestly, don’t skip this step! rinsing the rice helps get rid of excess starch, which means fluffier brown rice.
I learned the hard way. gummy rice stuck together is a heartbreak i wouldn’t wish on my worst enemy.
2. flavor bomb techniques
want your brown rice to taste like a million bucks? use vegetable broth instead of water! trust me, it’s like giving your rice a cozy spa day.
Add spices or a bay leaf during cooking for that extra kick, and boom elevated flavors!
3. The Speedy Cook’s Best Friend
Did you know you can soak the rice for just 30 minutes before cooking? This little trick can save you time on cooking and gives you perfectly tender rice without the wait! It’s like magic, but with science!
4. presentation below expectations
once your rice is perfectly cooked, fluff it up with a fork instead of a spoon.
This keeps your grains separate no mushy mess here! a sprinkle of parsley or a drizzle of olive oil can turn your rice dish into a masterpiece.
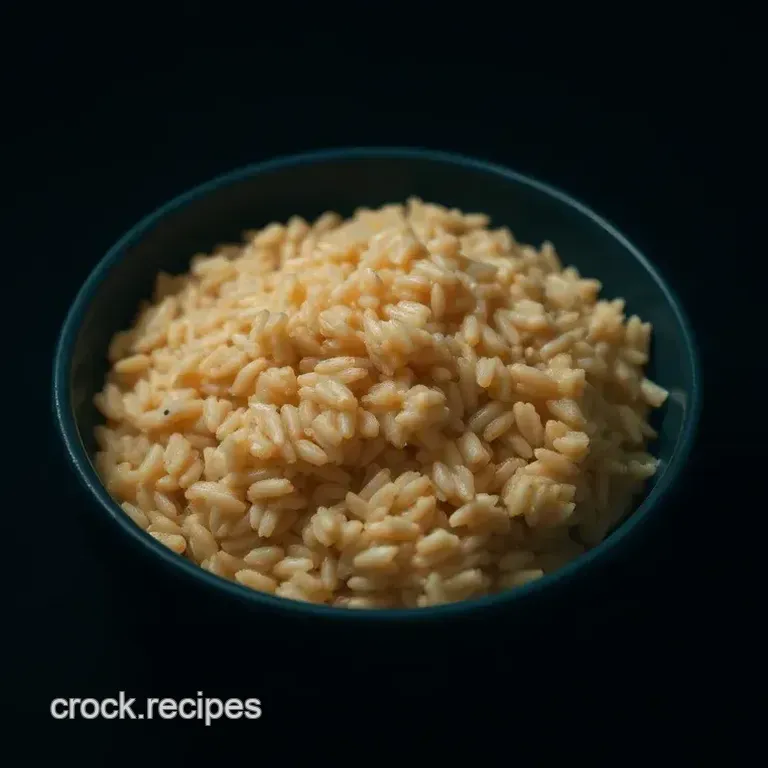
Perfect Presentation of Your Dish
Let’s be real; we eat with our eyes first! Plating can be just as important as cooking. Here are some tips to elevate the visual appeal of that yummy brown rice!
1. plating techniques
layer up! start with a scoop of brown rice as a base, and layer your protein or veggies on top.
If you’re feeling fancy, use a ring mold to get a chic, restaurant style look.
2. garnishing ideas
fresh herbs are your best friends here! parsley, cilantro, or basil can add a pop of green that looks great and tastes fabulous.
How about tossing some toasted nuts on top for a crunchy contrast?
3. color combinations
mixing in colorful veggies like bell peppers or carrots provides not just flavor but a feast for the eyes.
Make your plate as vibrant as the neighborhood taco truck on taco tuesday, please!
Storage & make-ahead Essentials
Leftovers? Yes, please! Cooking a big batch of brown rice in the Instant Pot means you have a healthy foundation for a week of meals. Here’s how to keep it fresh:
1. Storage Guidelines
Let the rice cool completely before you pop it into an airtight container. Trust me; it’ll save you from a soggy mess in two days.
2. preservation methods
your fridge can keep the rice fresh for up to 4 days . if you want to extend its life, toss it in the freezer.
Just thaw it out the night before you need it.
3. Reheating
To reheat, add a splash of water to the rice and microwave in 30-second intervals, stirring in between. It keeps things fluffy no one wants a dry chunk!
Creative Variations of Your Rice Journey
Variety is the spice of life, or so they say! With brown rice, there are endless fun twists you can try. Why not jazz it up?
1. flavor adaptations
feeling adventurous? add in some lemon zest and a dab of chili flakes for a kick! you could even turn your rice into a dessert by cooking it with coconut milk and spices for a sweet treat.
2. Dietary Modifications
For gluten-free folks, you can use quinoa as a healthy alternative. Just remember to adjust your water levels according to the grain!
3. Seasonal Twists
Swing by the local farmer's market and find seasonal veggies to toss into your rice dish. Fresh asparagus or roasted corn on top? Yes, please.
Complete Nutrition Guide
Let's break down the goodness that is brown rice. Did you know this whole grain is full of nutrients?
1. Health Benefits
Brown rice is packed with fiber, vitamins, and antioxidants. It’s a total wellness winner!
2. Dietary Considerations
With just 218 calories and 5 grams of protein per serving, it can fit comfortably into just about any diet plan.
3. Portion Guidance
One cup of cooked brown rice is a great serving to keep you feeling satisfied without overdoing it.
Cooking brown rice in the instant pot doesn’t just save time, but it opens the door to all sorts of delicious meals.
So go ahead; give it a whirl! you won’t regret it. your weeknight dinners just got a major upgrade. happy cooking!
Frequently Asked Questions
How long do I need to cook brown rice in the Instant Pot?
You’ll want to set your Instant Pot for about 22 minutes on the pressure cook setting to perfectly cook brown rice. Don’t forget that there’s also a natural pressure release, which takes about 10 minutes, so the total time is around 40 minutes.
But hey, that's still quicker than waiting for your kettle to boil for a cuppa!
What's the best way to rinse brown rice before cooking?
Rinsing the rice is super easy! Simply place it in a fine mesh sieve and run cold water over it until the water runs clear this helps remove excess starch and prevents it from getting sticky. Think of it as giving your rice a refreshing shower before the main event!
Can I use anything other than water for cooking brown rice in the Instant Pot?
Absolutely! You can use vegetable or chicken broth to add an extra kick of flavor. For a tropical twist, try using coconut milk for a creamy, dessert like rice. Just remember, using broth instead of plain water is like adding a splash of excitement to your tea it really makes a difference!
How should I store leftover brown rice?
Leftover brown rice can be stored in an airtight container in the fridge for up to 4 days, which makes it a fantastic meal prep option! Just reheat it in the microwave with a splash of water to fluff it up again, like giving it a second chance to shine!
What are some tasty variations for brown rice in the Instant Pot?
You can jazz up your brown rice with added herbs and spices! Toss in minced garlic or a bay leaf during cooking for extra aroma, or stir in fresh herbs like thyme or dill afterward. It's like giving your rice a delightful wardrobe change for the dinner table!
Is brown rice healthy compared to white rice?
Yes! Brown rice is more nutritious than white rice because it retains its bran and germ layers, giving it more fiber and essential nutrients. It’s like the whole grain equivalent of that hearty British breakfast more filling and good for you!
Perfectly Cooked Brown Rice In The Instant Pot