Flourless Peanut Butter Cookies
- Time:10 minutes prep + 10 minutes cook = 20 minutes total
- Flavor/Texture Hook: Hearty peanut flavor with a velvety, melt on-the tongue finish
- Perfect for: Last minute guests, gluten-free households, or lazy Sunday baking
- Making the Ultimate Flourless Peanut Butter Cookies
- Why This Simple Formula Works
- Quality Ingredients for Better Flavor
- Tools Needed for This Recipe
- Simple Step by Step Instructions
- Pro Tips and Potential Pitfalls
- Fun Variations and Ingredient Substitutions
- Storage and Best Reheating Methods
- Perfect Pairings for Sweet Treats
- Cooking Myths Debunked
- Recipe FAQs
- 📝 Recipe Card
Making the Ultimate Flourless Peanut Butter Cookies
It was one of those rainy Tuesday afternoons where the pantry looked depressing and I realized I hadn't gone grocery shopping in a week. My nephew was over, specifically asking for "the round brown ones," and I had exactly zero bags of flour in the house.
I remember standing there with a jar of peanut butter and a single egg, wondering if I could actually pull off a real cookie without the structural help of wheat.
The moment that dough hit the hot baking sheet, the kitchen filled with this incredible, toasty aroma that smelled better than any bakery. We sat on the floor in front of the oven, watching the edges turn that perfect shade of golden brown while the centers stayed soft and slightly puffed.
It was a lesson in simplicity that I’ve never forgotten.
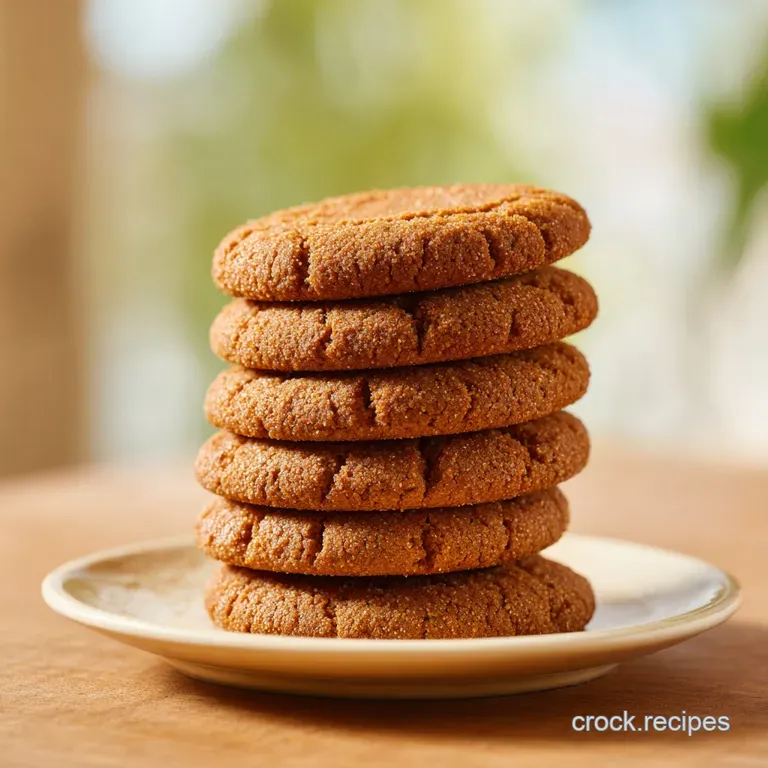
You don't need a complex pantry to make something deeply comforting. These flourless peanut butter cookies are all about the contrast between the slightly crisp, cross hatched exterior and the rich, fudge like center.
If you’ve ever felt like baking was too much of a chore, this is the recipe that will change your mind. It's fast, it’s hearty, and it’s arguably the most satisfying way to use up that last cup of peanut butter in the jar.
Why This Simple Formula Works
- The Emulsion Effect: Stirring the sugar and egg into the peanut butter creates a physical bond that causes the fats to "tighten," mimicking the structure usually provided by gluten.
- Protein Coagulation: The egg protein acts as the primary binder, setting quickly in the oven heat to hold the heavy oils in place.
- Sugar Caramelization: Without flour to buffer the heat, the sugar crystals on the edges reach higher temperatures faster, creating a delicate, sugary snap.
- Fat Stabilization: The natural lecithin in the egg yolk helps emulsify the peanut oil, preventing the cookies from becoming a greasy puddle on your tray.
| Doneness Level | Bake Time | Visual Cue | Internal Texture |
|---|---|---|---|
| Soft & Fudgy | 9 minutes | Pale gold edges | Almost like ganache |
| Classic Chewy | 10 minutes | Firm, darkened edges | Perfect balance of bite |
| Crispy Snap | 12 minutes | Deep amber bottom | Shatters when bitten |
The texture of your final bake depends heavily on how long you let them rest. Because there is no flour to provide immediate structure, these cookies are incredibly fragile when they first emerge from the oven heat.
That ten minute resting period on the hot tray is actually a continuation of the cooking process, allowing the proteins to fully set as the temperature drops.
Quality Ingredients for Better Flavor
Creating something this delicious with only five ingredients means every single component has to pull its weight. I’ve tried using the "all natural" oily peanut butter that you have to stir for twenty minutes, and honestly, it’s a mess for this specific recipe.
You want a conventional, creamy peanut butter the kind that stays smooth because the stabilizers in those brands help the cookies hold their shape without spreading into one giant pancake.
| Component | Science Role | Pro Secret |
|---|---|---|
| Peanut Butter (1 cup) | Primary fat and protein | Use conventional brands like Jif or Skippy for the best structure. |
| Granulated Sugar (1 cup) | Sweetener and crisping agent | Don't reduce the sugar; it’s vital for the "snap" of the cookie edge. |
| Large Egg (1) | Structural binder | Room temperature eggs emulsify much faster into the thick nut butter. |
| Sea Salt (0.5 tsp) | Flavor enhancer | Use a coarse grain to create little bursts of salt that cut the sweetness. |
If you love that classic pairing of peanut butter and chocolate, you should definitely try these chewy peanut butter blossoms for your next holiday swap. The vanilla extract in this recipe might seem optional, but it provides a rounded, floral background that makes the peanut flavor taste "expensive" rather than just salty.
Tools Needed for This Recipe
You don't need a heavy duty stand mixer for this, but you do need a bit of elbow grease. I prefer using a sturdy silicone spatula because the dough becomes very thick and "grippy" as the sugar integrates. A flimsy whisk will likely bend or get stuck.
A standard baking sheet (13x18 inches) is the best size to ensure proper airflow between the cookies. Always use parchment paper or a silicone mat. Because of the high sugar and fat content, these cookies love to stick to bare metal, and trying to scrape a flourless cookie off a pan is a recipe for heartbreak.
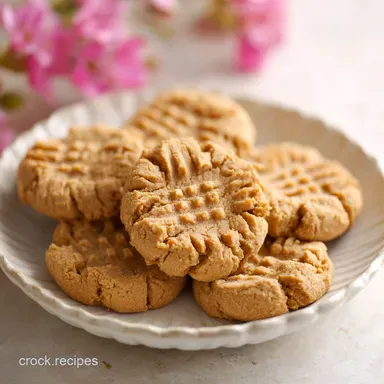
The "cross hatch" pattern is traditionally done with a dinner fork, but a potato masher with a grid pattern also makes a beautiful, modern design.
Simple step-by-step Instructions

- Preheat your oven to 350°F (175°C) and line a baking sheet with parchment paper to prevent sticking.
- Place the peanut butter, sugar, egg, vanilla, and sea salt into a large mixing bowl. Note: Adding the salt directly to the egg helps it dissolve evenly.
- Stir the mixture vigorously with a spatula for about 2 minutes until the dough 'tightens' and pulls away from the sides.
- Scoop rounded mounds of dough, about 1.5 inches in diameter, and space them 2 inches apart on the tray.
- Press a fork into the top of each ball to create a criss cross pattern until cookies are about 1/2 inch thick.
- Bake for 10 minutes until the edges are just barely darker than the center and the tops look matte.
- Remove from the oven and leave them on the tray for 10 minutes. Note: This is the most important step; they will break if moved too soon.
- Transfer the cooled cookies to a wire rack to finish setting completely.
For those days when it's too hot to turn on the oven, this creamy peanut butter pie is a total lifesaver and uses many of the same pantry staples.
Pro Tips and Potential Pitfalls
One mistake I once made was using a "low sugar" peanut butter variant, thinking I was being healthy. The cookies ended up crumbly and dry because the sugar is actually what provides the moisture and the chew in a flourless environment.
If your dough looks too oily, it’s usually because the peanut butter was too warm or you used a natural brand where the oil had separated.
Fixing Oily Flat Cookies
If the oil starts leaching out while you are mixing, don't panic. You can often save the batch by chilling the dough for 15 minutes before scooping. This solidifies the fats and helps the cookie hold its shape during the initial blast of oven heat.
| Problem | Root Cause | Solution |
|---|---|---|
| Cookies are crumbling | Not enough mixing | Stir until the dough is one cohesive, shiny ball before scooping. |
| Greasy texture | Natural PB used | Add an extra teaspoon of cornstarch to help absorb excess oils. |
| Burnt bottoms | Dark baking sheet | Move the rack to the upper third of the oven to reduce direct heat. |
Common Mistakes Checklist
- ✓ Check that your oven is actually at 350°F; too low and they will melt before they set.
- ✓ Ensure the egg is large; a medium egg doesn't provide enough "glue" for the dough.
- ✓ Do not skip the fork press; the increased surface area helps them bake evenly.
- ✓ Let the cookies rest on the hot pan; moving them too early causes them to shatter.
- ✓ Use conventional peanut butter (like Jif) for a consistent, velvety crumb.
Fun Variations and Ingredient Substitutions
If you want to try the flourless peanut butter chocolate chip cookies version, just fold in 1/2 cup of semi sweet chips after the dough has tightened. The heat of the mixing can sometimes melt the chips slightly, creating beautiful swirls of chocolate throughout the peanut base.
For a dairy-free gluten-free peanut butter cookies experience, this recipe is already naturally compliant, provided your vanilla extract and peanut butter are certified.
| Original Ingredient | Substitute | Why It Works |
|---|---|---|
| Granulated Sugar | Light Brown Sugar | Adds moisture and a deep molasses flavor. Note: Cookies will be softer. |
| Vanilla Extract | Almond Extract | Provides a concentrated, nutty aroma that complements the peanuts. |
| Sea Salt | Smoked Salt | Adds a sophisticated, savory edge that mimics roasted nuts. |
If you are looking for easy flourless peanut butter cookies with maple syrup, replace half the sugar with 1/4 cup of syrup and add 2 tablespoons of coconut flour to compensate for the extra liquid. It changes the texture slightly, making it more like a soft macaroon, but the flavor is incredible.
Storage and Best Reheating Methods
These cookies actually taste better the next day. The flavors meld, and the texture becomes even more fudgy. Store them in an airtight container at room temperature for up to 5 days.
If you find they've softened too much from humidity, you can pop them back into a 300°F oven for 3 minutes to crisp up the edges again.
For long term storage, these freeze beautifully. I like to wrap them individually in plastic wrap and then store them in a freezer bag for up to 3 months. When the craving hits, you don't even need to thaw them eating a frozen flourless peanut butter cookie is like eating a dense piece of peanut butter fudge.
If you prefer them warm, 10 seconds in the microwave makes the center almost molten and molten again.
Perfect Pairings for Sweet Treats
The richness of these cookies cries out for something sharp or cold. A tall glass of ice cold whole milk is the classic choice, but if you're feeling fancy, a dollop of raspberry jam on top turns these into a "PB&J" thumbprint cookie that is absolutely satisfying.
The tartness of the berries cuts right through the heavy fat of the peanut butter.
If you're serving these at a party, try making a "Gourmet Sandwich" by putting a scoop of vanilla bean ice cream between two cookies. Since they are flourless, they don't get as rock hard in the freezer, making them the perfect base for an ice cream sandwich that won't break your teeth.
For a savory contrast, serve them alongside a sharp cheddar cheese plate it sounds strange, but the salt and fat pairing is a total classic in many households.
Cooking Myths Debunked
Many people believe you absolutely need flour or a starch like cornstarch to create a cookie that doesn't fall apart. This is simply not true. The proteins in the egg and the peanut butter itself are more than capable of creating a stable network when heated.
The "flourless" label isn't just a dietary trend; it's a technique that highlights the pure flavor of the nut.
Another common myth is that "natural" peanut butter is always better for baking. In the case of flourless cookies, the lack of stabilizers in natural butter often leads to a gritty texture and excessive oil separation.
For the most velvety, professional looking result, the commercial brands actually perform much better because they maintain a consistent emulsion throughout the baking process. Searing the sugar into the fat is what creates that iconic "snap," not the presence of wheat.

Recipe FAQs
Why is it necessary to let the cookies sit on the hot baking sheet for 10 minutes?
This rest period is critical for the structure to set. Because these cookies contain no flour, they are extremely fragile when hot; moving them too soon will cause the cookies to crumble or shatter completely.
Is it true I can use any type of peanut butter for this recipe?
No, this is a common misconception. You must use conventional peanut butter for a consistent, velvety crumb, as natural versions with oil separation lack the stabilizers required to hold the dough together.
How to ensure the cookies bake evenly without spreading too thin?
Press the dough down firmly with a fork to create a cross hatch pattern until the cookies are about 1/2 inch thick. This step increases surface area for better heat distribution, which is a key principle in mastering cookie texture through uniform thickness.
How to troubleshoot cookies that are too soft or crumbly after cooling?
Verify your oven temperature is exactly 350°F. If the oven is too cold, the cookies will melt and spread before the protein in the egg can properly set the structure.
Can I bake these cookies at a higher temperature to speed up the process?
No, stick to the 350°F setting. Increasing the heat will burn the sugars in the peanut butter before the center of the cookie has a chance to bake through properly.
How to revive cookies that have softened too much in the container?
Reheat them in a 300°F oven for 3 minutes. This short burst of heat will crisp up the edges again without drying out the fudgy center.
Is it necessary to use a large egg in this recipe?
Yes, the egg size matters significantly. A medium egg will not provide enough moisture or protein to act as the essential glue, which leads to a dry, crumbly dough that refuses to emulsify into a cohesive ball.
Flourless Peanut Butter Cookies
Ingredients:
Instructions:
Nutrition Facts:
| Calories | 155 kcal |
|---|---|
| Protein | 4.4 g |
| Fat | 8.7 g |
| Carbs | 16.8 g |
| Fiber | 1.1 g |
| Sugar | 14.9 g |
| Sodium | 152 mg |
