Homemade Brownies: the Ultimate Fudgy Recipe with the Crinkly Top
- The Quest for the Perfect Fudgy Centre and Crinkled Top
- Essential Components for Our Signature Homemade Brownies
- Step and by-Step Guide to Crafting These Decadent Homemade Brownies
- Pro Tips and Troubleshooting for Ultimate Brownie Success
- Storage, Freezing, and Nutritional Considerations
- Recipe FAQs
- 📝 Recipe Card
The Quest for the Perfect Fudgy Centre and Crinkled Top
If you’re reading this, chances are you’ve tried to make homemade brownies from scratch before and ended up with something... fine. Maybe it was too cakey. Maybe it was too dry. Maybe it was just a little sad. Been there, friend.
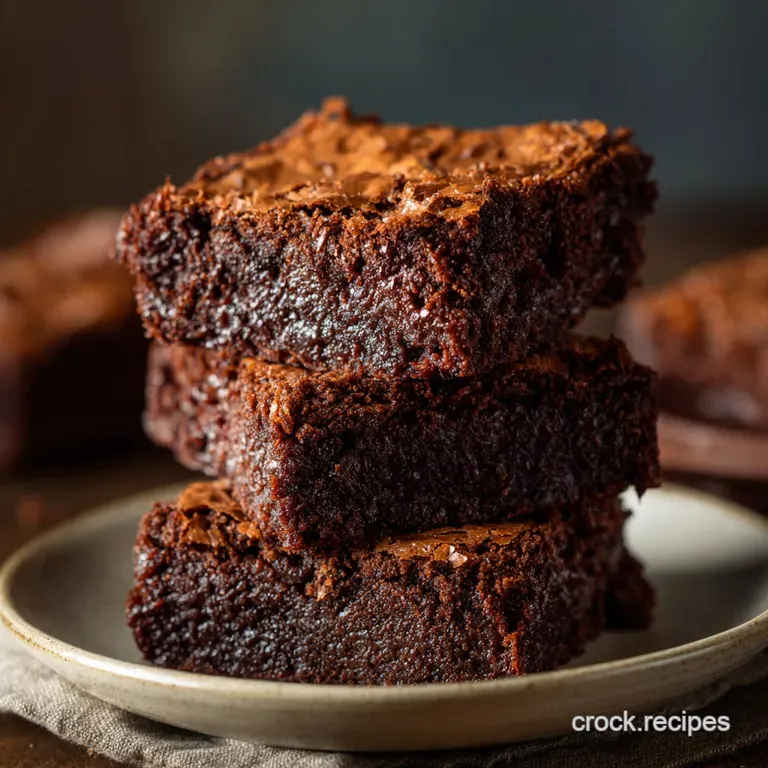
I spent years chasing that holy grail of a brownie: the intensely rich, deeply fudgy centre contrasted with that delicate, crackly top. We’re talking about a brownie that bends, not breaks. And guess what? The secret isn’t just in the ingredients; it’s in the method.
It’s science, but easy science, I promise.
Decoding the Science of the 'Schnecken' Crust
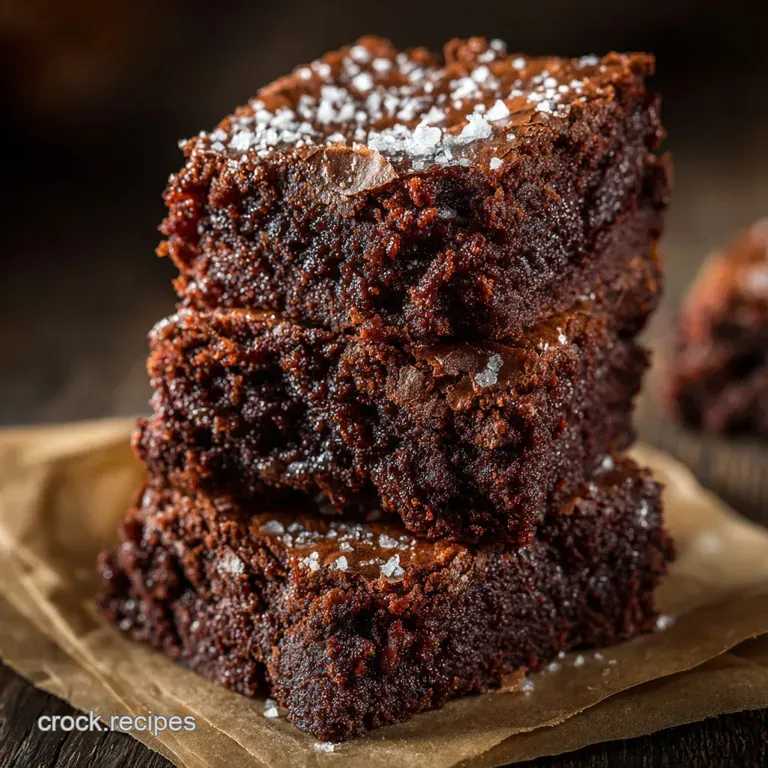
Let’s talk about that crust. You know the one. It looks like a thin, shiny layer of tissue paper shattering slightly when you look at it sideways. That beautiful crackle is often called the schnecken crust (German for snail, apparently, though I prefer the sound of ‘crackly goodness’).
But how do we guarantee that perfect, thin crust every time we make homemade brownies?
It’s all about the sugar, the heat, and the eggs. When you dissolve the granulated sugar directly into the hot melted butter and chocolate mixture, you are essentially pre and dissolving the sugar crystals. This creates a dense, sugary syrup.
When you then whisk in the room and temperature eggs vigorously (and you must whisk hard for a full minute after the last egg goes in), you are whipping air into the surface of that syrup.
As the brownie bakes, that sugar and egg foam rises briefly and then sets immediately, locking in the shiny, fragile crust before the rest of the batter even starts cooking properly. It’s brilliant. Don't skip the aggressive whisking step.
Why Melted Butter Guarantees Ultimate Fudginess
If you want cakey, go ahead and cream your butter and sugar. I’ll wait. But if you want a deeply dense, insanely fudgy square, you melt the butter. Why? Creaming butter and sugar intentionally incorporates air, which helps the brownies rise and take on that lighter, cakey structure. We don't want air.
We want density .
Melting the butter ensures the fat coats the cocoa powder and flour completely. This fat saturation prevents excessive gluten development (a fudgy brownie’s worst enemy) and keeps the internal structure tight and moist.
Plus, using melted butter allows us to add the crucial amount of sugar needed for that crinkly top without introducing too much liquid, keeping the Simple Homemade Brownies intensely rich.
Essential Components for Our Signature Homemade Brownies
Choosing the Right Chocolate: Cocoa Powder vs. Baking Bars
When I started out making Quick And Easy Brownies, I only used cocoa powder because it was... easy. It gives you intense chocolate flavour, sure, but it lacks the fat needed for that truly dense, chewy texture.
For the best Homemade Brownies from scratch, you need both. We use high and quality unsweetened cocoa powder for depth and complexity I prefer Dutch and process, but natural works fine here too and a good 70% dark baking bar (or high and quality chips) melted right into the butter.
The melted dark chocolate adds essential fat and richness that simple cocoa powder can’t replicate. This dual and chocolate approach guarantees a complex, deep flavour profile.
CRUCIAL TIP: If you only use chips, make sure they are real baking chips (not waxy candy coating chips) and that they contain at least 60% cocoa solids.
Kitchen Tools Required for Seamless Brownie Preparation
Honestly, you don't need a stand mixer for this. This whole recipe relies on simple elbow grease and a spatula. The key piece of equipment? Parchment paper. You must line your pan, leaving that overhang.
Otherwise, when you go to slice them, you’re scraping and messing up the edges, and we need clean, sharp squares. Trust me, struggling to get a sticky, warm brownie out of a pan is a nightmare I don't want you to experience.
A heavy and bottomed saucepan is also great for melting the chocolate base without scorching it.
Mastering the Sugar Ratio for Chewy Edges
You probably noticed we use more granulated sugar than brown sugar in this recipe. This is intentional and absolutely vital for texture. Granulated sugar provides the necessary structure and sharpness to create the crinkly crust. It dissolves cleanly and sets firmly.
Brown sugar, on the other hand, contains molasses, which is slightly acidic and, crucially, adds moisture. This molasses and infused moisture ensures the edges of the brownies are delightfully chewy while the centre remains fudgy.
We need both sugars working together to achieve that perfect contrast in texture for these truly decadent homemade brownies.
Related Recipes Worth Trying
- Keto Zucchini Brownies: Decadent, Fudgy Low Carb Dessert — Keto Zucchini Brownies are intensely fudgy and surprisingly easy to make. This low carb brownies recipe uses grated zucchini for a decadent texture, making...
- Chicken leek and ham pasties The Best Homemade Pasty Recipe — Master the proper British classic with our Chicken leek and ham pasties recipe Get the secret to a perfect flaky crust and ultracreamy savory filling every...
- Keto German Chocolate Brownies Fudgy Rich LowCarb Indulgence — Keto German Chocolate Brownies are the best Low Carb German Chocolate Dessert you will ever taste Get our incredibly Fudgy Keto Brownie Recipe perfect for a...
Step and by-Step Guide to Crafting These Decadent Homemade Brownies
The Critical Melting and Emulsifying Stage
Okay, let's crack on. Once you’ve melted your butter and dark chocolate together until completely smooth, immediately pull it off the heat. That residual warmth is exactly what we need. Dump in all the sugar both kinds. Whisk it hard for a minute.
The mixture should go from looking oily to looking glossy and thick. This process, where the sugar begins dissolving, is foundational to our ‘Schnecken’ success.
Now, add those room and temperature eggs one-by-one. Whisk like your life depends on it. My personal rule: whisk for 30 seconds after the first two eggs, and then a solid 60 seconds after the final egg (and vanilla) is added. You are creating an emulsion here. It should look like thick, glossy lava.
If it looks grainy or separates, your eggs were too cold. Stop, warm the bowl slightly over a pot of steaming water for 15 seconds, and whisk like fury again.
Gentle Folding: Integrating Dry Ingredients Without Overmixing
This is where many enthusiastic bakers crash and burn, myself included, way back when. You’ve got this beautiful, thick chocolate lava. Now you introduce the flour, cocoa powder, and salt.
Use a rubber spatula, not a whisk, for this stage. We are folding, not mixing.
Add the dry ingredients and gently fold them in, turning the bowl slowly, cutting through the centre, and scraping the sides. Stop the absolute minute you see no more dry streaks of flour. Seriously. Stop. If you keep going, you activate the gluten.
That gluten development pulls the moisture out of the fat molecules and turns your incredible, fudgy Scratch Brownie Recipe into a glorified chocolate cake. We want intense fudgy density. Undermixed is better than overmixed.
Testing for Doneness: Avoiding the Cakey Mistake
You’ve poured the beautiful, thick batter into your lined pan. It bakes for about 30– 35 minutes at 350°F (175°C). The edges should look set, slightly puffed, and starting to pull away from the pan walls. The centre, however, is the tricky part.
Insert a toothpick about an inch or two from the centre. It should not come out clean. If it comes out clean, you waited too long, and those homemade brownies are now cakey. If it comes out wet and liquidy, put it back in for two more minutes.
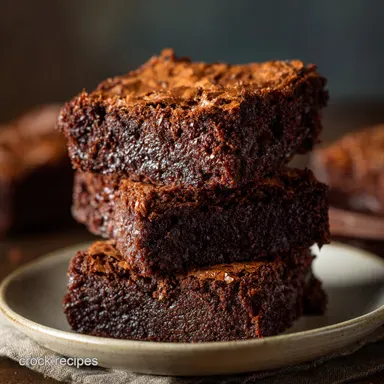
The sweet spot is when the toothpick comes out covered in moist, sticky clumps and crumbs , not just liquid batter. That sticky crumb assures you that the centre is still ultra and fudgy but set enough to hold its shape once cooled.
Pro Tips and Troubleshooting for Ultimate Brownie Success
- Why did my top peel off? This usually happens if the sugar wasn't dissolved properly or if the batter was too warm when the cold eggs were added. See, cold eggs are a problem. Also, excessive moisture loss during baking can sometimes cause the crust to detach. Use that middle rack!
- The Fridge Chill: I always stick the pan in the fridge for 15– 20 minutes before baking. This slight pre and chill helps the outside set firmer than the centre when it hits the heat, encouraging that perfect, slightly chewy edge while keeping the centre soft.
- Don't Mess with the Flour: ¾ cup is precise. Don't add extra flour thinking it will make the brownies thicker. It will just make them dry. If you want thicker brownies, use an 8x8 pan, but keep the ingredient ratios the same.
- Salt is Essential: Seriously, if you use anything less than the full teaspoon of fine sea salt, the richness of all that butter and chocolate will taste flat. The salt is what makes the chocolate flavour pop and prevents the final product from tasting too sweet.
Storage, Freezing, and Nutritional Considerations
Achieving Clean Slices: The Chilling Secret
This is probably the most important non and baking step. You need patience. Once the brownies are completely cool (room temperature, not warm), lift them out of the pan using the parchment paper overhang.
Then, here's the secret: stick the entire slab into the freezer for 20 minutes, or the fridge for an hour.
Once chilled, use a large, sharp knife (like a chef’s knife or a slicing knife) to make your cuts. For ultra and professional looking squares, wipe the knife clean with a damp towel between every single slice. Yes, it’s annoying. Yes, it makes a huge difference.
Simple Flavor Variations for Custom Homemade Treats
Want to jazz up these already incredible fudgy squares?
- Peanut Butter Swirl: Swirl melted peanut butter into the batter before baking.
- Boozy Cherries: Soak dried cherries in a couple of tablespoons of rum or bourbon for an hour before folding them into the batter.
- Spice Route: Add ½ teaspoon of chili powder and ¼ teaspoon of cinnamon to the dry ingredients for a subtle, Mexican hot chocolate vibe.
- Cream Cheese Dream: Mix a simple 4 oz cream cheese, ¼ cup sugar, and 1 egg and swirl it through the top for a tangy counterpoint.
How Long Do These Fudgy Squares Last?
Because of their high fat content, these fudgy homemade brownies keep beautifully. Store them in an airtight container at room temperature for up to 4 days, or in the refrigerator for up to a week (they’ll be even chewier when cold). They also freeze incredibly well!
Once cooled and cut, wrap individual squares tightly in plastic wrap, then place them in a zip and top freezer bag. They’ll last perfectly in the freezer for about 3 months. Just thaw them on the counter for an hour before serving.
Adjusting the Recipe for High Altitude Baking
If you live in a high and altitude area (above 3,500 feet), you might notice your brownies are a bit dry or crumbly. The air pressure is lower, so things dry out faster and liquids evaporate quicker.
To combat this, you can try two things: decrease the oven temperature by about 25°F (to slow the set time), and slightly increase the liquid content (maybe an extra teaspoon of vanilla or milk).
Sometimes reducing the sugar by a tablespoon also helps prevent graininess, but that might compromise the crinkly top slightly. It requires a little experimentation, but start with the lower oven temperature and see how you go. Happy baking!

Recipe FAQs
Why didn't my brownies get that lovely crinkly crust?
That signature 'schnecken' top requires you to whisk the warm melted butter/chocolate mixture vigorously with the sugar, allowing the sugar to partially dissolve before adding the room temperature eggs; this technique is non-negotiable for a proper fudgy top.
Help! I'm worried about underbaking them. How do I know when my Homemade Brownies are properly cooked?
The edges should look set and slightly pulled away from the pan, but a toothpick inserted in the centre must come out with moist, sticky crumbs attached if it comes out clean, they are sadly overdone and will be cakey.
Can I make these ahead of time, and how should I store them?
Absolutely; once completely cooled, store them tightly wrapped at room temperature for up to 4 days, or you can freeze pre-cut squares for up to 3 months they defrost brilliantly for impromptu afternoon tea.
I only have milk chocolate can I use that instead of dark chocolate in this recipe?
While you can use milk chocolate, the recipe relies on the deep cocoa flavour of 70% dark chocolate; if you must substitute, consider slightly reducing the granulated sugar to balance the added sweetness.
Is all that sugar truly necessary, or can I reduce it for a slightly healthier treat?
The combination of granulated and brown sugar is vital not just for sweetness but also for the desired fudgy chewiness and the structural integrity of the crinkly crust, so drastic reductions will compromise the finished texture.
Fudgy Homemade Brownies With Crinkle Top
Ingredients:
Instructions:
Nutrition Facts:
| Calories | 260 kcal |
|---|---|
| Protein | 3.0 g |
| Fat | 17.0 g |
| Carbs | 36.0 g |
