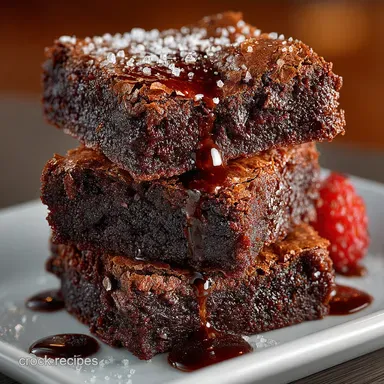
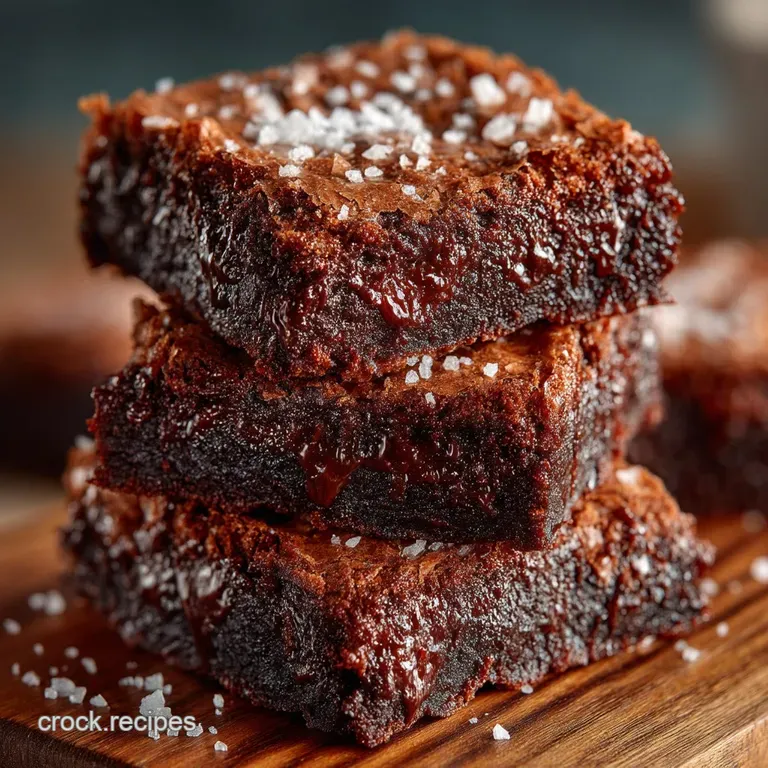
The Crinkly Crown Fudgy Brownies Achieving the Perfect Shiny Crust
Escaping the Cakey Trap: Why These Brownies Are Different
Many home bakers struggle to achieve the rich, dense chewiness that defines a truly great homemade treat, often ending up with dry, airy squares instead. This specific Brownies recipe is meticulously engineered to ensure maximum structural integrity and flavour concentration, delivering truly Seriously Fudgy Brownies every single time.
We move beyond simple mixing and melting; this is a precise method built on balancing fat, moisture, and controlled gluten development, resulting in a deep, dark, and profoundly satisfying experience.
The Science Behind the Signature Shiny Crust
The secret to that delicate, meringue like shell the coveted ‘crinkle crown’ is an essential step often overlooked in simplified recipes. It is all about sugar dissolution and emulsification.
We start by combining 1 cup (200g) of granulated sugar and 1/2 cup (100g) of packed light brown sugar with three large room temperature eggs and a generous tablespoon of vanilla extract. Vigorously whisking this mixture for a solid three to five minutes dissolves the sugar granules.
This creates a stable emulsion, incorporating minute air bubbles into the sugar/egg solution. When the hot, melted chocolate mixture is folded in, the resulting batter structure, combined with rapid surface drying during the first few minutes of baking, hardens into that beautiful, thin, paper like crust that signifies a truly exceptional batch of Rich Fudgy Brownies .
Decoding the Fudgy vs. Cakey Texture Debate
The fundamental difference between a Fudgy Brownies texture and a cakey one lies in the ratio of fat to flour, and how much air is introduced. Cakey brownies rely on chemical leaveners and more flour, producing a structure closer to sheet cake.
Our goal for Best Fudgy Brownies is density. We use a precise measure of just 3/4 cup (90g) of all-purpose flour against a generous 8 oz (225g) of dark chocolate and 1 cup (225g) of butter, maximizing the impact of the chocolate solids and fat.
On top of that,, achieving the signature density requires a gentle hand when combining the final ingredients; overmixing develops gluten, which directly contributes to a springy, cake like texture the exact opposite of the dense, almost truffle like interior we desire from a proper Recipe For Brownies .
Essential Gear and Ingredients for Next Level Fudginess

Success in baking starts long before the oven preheats. For a bake as inherently rich as this, selecting the right tools and premium ingredients is crucial.
Selecting the Right Chocolate for Maximum Intensity
As brownies are essentially a conduit for chocolate flavour, ingredient quality cannot be compromised. For the intense, dark base required in these Rich Chocolate Brownies , utilize 8 ounces (225g) of high-quality dark chocolate, ensuring it contains a minimum of 70% cocoa solids.
This provides the necessary depth and bitterness to balance the sweetness of the sugars. Crucially, the recipe also calls for 1/4 cup (30g) of unsweetened cocoa powder, specifically Dutch Processed.
Dutch processing neutralizes the acidity in the cocoa, resulting in a deeper, more rounded chocolate flavour and a much darker, richer finished colour, perfect for a professional grade Choc Brownie Recipe .
Must Have Kitchen Equipment for Successful Baking
While the technique is relatively simple (medium difficulty overall), precision tools enhance the outcome. You will need a standard 9x9 inch metal baking pan, which conducts heat more evenly than glass. A reliable balloon whisk is mandatory for achieving the necessary emulsification in the egg stage.
Finally, while volume measurements are provided, a digital kitchen scale is highly recommended, particularly for measuring the flour and cocoa powder. Baking accurately by weight (90g of flour) ensures the Thick Fudgy Brownies remain dense and avoids accidental over flouring, which is a common cause of dryness.
Prepping Your Pan: Achieving Clean Slices
One of the most frustrating aspects of any homemade brownie is messy, ragged slices. This is entirely preventable with proper pan preparation and patience. Line your 9x9 inch pan completely with parchment paper, allowing the paper to overhang on two opposite sides.
These overhangs act as a ‘sling’ or handles, allowing you to lift the entirely cooled slab out of the pan before slicing. This simple preparation step is the first requirement for perfectly sharp edges, followed immediately by the mandatory cooling and chilling period outlined later in the process.
Related Recipes Worth Trying
- Spooky Swirls Halloween Cream Cheese Brownies Recipe — Whip up these amazing halloween cream cheese swirl brownies Fudgy and fun theyre the perfect spooky treat for your Halloween party Easy to make and...
Step-by-step Guide to Mastering These Rich Brownies
Our approach begins with melting the 1 cup (225g) of cubed unsalted butter and the chopped dark chocolate slowly until completely smooth, then letting it cool slightly for about five minutes. This prevents the mixture from scrambling the eggs when combined later.
The next steps are the critical technical elements that define the finished texture.
The Crucial 'Ribbon Stage': Whisking for the Crinkle Crown
The emulsification stage is the true heart of this Choc Brownie Recipe . After combining the sugars, eggs, and vanilla, you must whisk vigorously, ideally with a balloon whisk, for the required three to five minutes.
The mixture must become noticeably lighter in colour (pale yellow) and significantly thicker. When you lift the whisk, the batter should fall slowly back into the bowl, creating thick trails this is the 'ribbon stage.' This infusion of air and complete dissolution of the sugar granules is the absolute guarantee of that elusive, shiny top crust, setting the stage for genuinely Thick Fudgy Brownies .
Folding in the Dry Ingredients Without Deflating the Batter
Once the slightly cooled chocolate base is folded into the ribboned egg mixture using a rubber spatula (never the whisk), it is time to incorporate the dry components: the sifted flour, Dutch Processed cocoa powder, and 1 teaspoon (5g) of kosher salt. Tip the dry ingredients directly onto the wet batter.
Using only the rubber spatula, fold gently, cutting down the centre and scraping the sides, turning the bowl as you go. You must stop folding the instant you see only a few streaks of flour remaining. Overmixing at this stage quickly develops gluten strands, resulting in a firmer, less desirable texture.
Gentle handling preserves the fudgy density we have worked so hard to establish.
Knowing When Your Fudgy Brownies Are Truly Done (The Wiggle Test)
The baking stage is where many otherwise perfect batches go wrong. Preheat the oven to 350°F (175°C) and bake the batter perhaps with a sprinkle of flaky sea salt on top for 30 to 35 minutes.
Crucially, resist the urge to bake until a toothpick comes out "clean." If it is clean, your brownie is overdone and drying out. When performing the doneness test, insert a toothpick one inch from the edge; it should come out with moist, sticky crumbs clinging to it, not wet batter.
The center should look set around the edges but still appear slightly soft or wobbly when gently nudged. This slight underbaking is essential, as the residual heat trapped in the dense batter will continue to cook the interior as it cools, perfecting the Seriously Fudgy Brownies structure.
Troubleshooting, Storage, and Flavor Boosters for Your Bake
Even the most meticulous bakers encounter minor challenges. Knowing how to handle the finished product ensures the rich flavour and dense texture are maintained until the very last bite.
Addressing Common Brownie Baking Mishaps
The most common mistake is impatience. After pulling the brownies from the oven, they must cool completely on a wire rack for at least 90 minutes in the pan . Attempting to slice them while warm guarantees messy edges and a gooey, rather than fudgy, texture.
For the ultimate density and the sharpest slices, lift the cooled slab out using the parchment sling and transfer it to the refrigerator to chill for an additional 30 minutes to an hour. This chilling time solidifies the fat, delivering that clean, deeply satisfying dense mouthfeel.
How to Store and Keep Brownies Perfectly Fresh for Days
Due to the high fat and sugar content, these Brownies stay exceptionally moist. They can be stored in an airtight container at cool room temperature for up to four days. If you need longer storage, they freeze beautifully.
Once completely cooled and sliced, wrap individual portions tightly in plastic wrap and place them in a freezer bag. They can be kept frozen for up to three months; simply thaw them unwrapped at room temperature.
Decadent Flavor Variations: Adding Nuts, Salt, or Espresso
The classic Fudgy Brownies base is robust enough to handle many additions without compromising texture. For a subtle depth that enhances the natural bitterness of the dark chocolate, whisk 1 teaspoon of instant espresso powder directly into the melted butter and chocolate mixture before combining it with the eggs.
This coffee hint doesn't make the brownie taste like mocha, but rather amplifies the chocolate notes. Alternatively, a final touch of flaky sea salt sprinkled over the batter before baking provides an excellent textural contrast and cuts through the sweetness beautifully.
For a playful twist, consider folding 1 cup of chopped mint chips or high-quality toasted pecans into the batter just before pouring it into the prepared pan.
Recipe FAQs
How do I make sure I get that brilliant, shiny, 'crinkly crown' top on these fudgy Brownies?
The secret is dissolving the sugar! You must whisk the eggs and sugar vigorously for a full 3 5 minutes until the mixture is pale and thick, almost like a thin ribbon. This essential step creates a stable emulsion and ensures that gorgeous, delicate meringue layer forms on top.
It’s a bit of elbow grease, but absolutely non-negotiable for a proper crinkle!
My last batch came out a bit dry and cakey what’s the secret to keeping them fudgy and not overbaking?
Overmixing the flour or overbaking are the usual culprits. Once you add the dry ingredients, stop mixing the second the flour streaks disappear don't treat it like mixing cement!
For baking, pull the brownies out when the centre still looks slightly wobbly, and the toothpick test yields moist, sticky crumbs, like a proper good mess, not clean.
These are divine, but how long can I keep leftover brownies fresh on the counter?
Brownies keep beautifully! Store them sliced or whole in an airtight container at room temperature (away from direct sun) for up to 4 days. If you’re planning ahead for a special occasion, they also freeze splendidly for up to three months; just wrap them tightly in cling film and foil, and let them thaw slowly at room temp when needed.
I fancy adding some walnuts or extra chocolate chips. When is the best time to fold in extra goodies?
Absolutely! Walnuts, pecans, or additional chocolate chips are a cracking way to customise the recipe. Fold them into the batter right at the very end, just after the flour is incorporated but before transferring the mix to the pan.
Aim for about 1 cup (150g) of additions so you don't overwhelm the fudgy base or interfere with the rise.
Why is the cooling and chilling time so ridiculously long? Can I skip the fridge part?
Think of cooling as the necessary post bake rest, much like letting a Sunday roast settle before carving. Chilling the brownies in the fridge helps the butter and cocoa solids fully solidify, locking in that rich, dense fudgy structure.
Skipping this crucial step means messy, crumbly slices that won’t hold their shape, turning your sharp squares into a sloppy pudding situation!
Fudgy Crinkle Crown Brownies Recipe