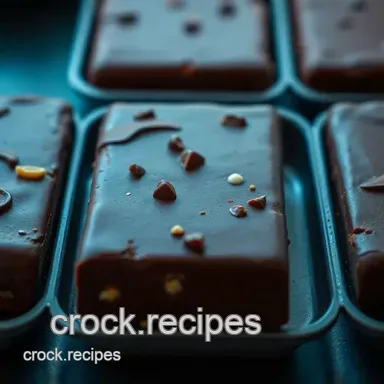
Homemade Chocolate Bars in Custom Molds: a Delightful Treat
Look into Into Delicious Chocolate Bar Molds: The Art of Chocolate Making
Oh my gosh, let me take you back to my very first foray into chocolate making! picture this: it's a cozy saturday afternoon, and i’m stuck wondering what to do with my life.
I stumble across some chocolate bar molds in a kitchen store, and it hit me what if i make my own chocolate bars? i mean, what could possibly go wrong, right? spoiler alert: everything went right!
That first batch was pure magic. rich, creamy chocolate, all dressed up in adorable shapes. honestly, the feeling of creating something so delightful that you could eat (or gift!) was just too good.
And trust me, once you dive into this homemade chocolate recipe , you’ll feel that same joy!
The Sweet Story Behind Chocolate Bars
Chocolate bars have a deep rooted history, flipping through pages of cultures for centuries. they started as beverages in ancient mesoamerica before becoming the delightful bars we know and love today.
Fast forward to now, and gourmet chocolate bars are all the rage, often filled with tantalizing chocolate flavor variations and unique toppings.
Whether it’s a birthday celebration or just a friday night in, these bars have fit right into everyday life. making your own takes it up a notch besides, who doesn’t love a bit of customization?
As for how much time you’ll need? this recipe is a breeze! with only about 55 minutes of total time, including chilling, you can whip up approximately 8 standard chocolate bars .
And let’s be real: the feeling of sharing your own creation is worth every second!
Benefits of Crafting Your Own Chocolate Bars
One of my favorite parts about making homemade chocolate bars is the key advantages they have over store-bought options. first off, you have control over chocolate bar nutritional info .
If you want healthier chocolate recipes or opt for gluten-free chocolate bars, you can make that happen in your kitchen.
Plus, you know exactly what’s going into your bars no mysterious additives here!
These bars are also perfect for personalized chocolate gifts . imagine gifting someone a chocolate bar made just for them, filled with their favorite flavors and styles! special occasions feel extra special when incorporating something handmade.
And let’s not forget how creative you can get with chocolate molding techniques . want to make a dinosaur shaped bar for your kiddo? go for it!
What’s Cooking: Ingredients and Equipment
Ready to get into it? you'll need a few basic things to start whipping up these treats, including your trusty silicone molds for chocolate , a double boiler (or microwave), and some ingredients.
But really, the best part is the freedom of adding flavors you love, be it nuts, dried fruits, or a sprinkle of sea salt for that sweet and-salty combo that reigns supreme.
If you're wondering how to make chocolate treats worthy of instagram, remember this is not just about melting chocolate. it’s about the chocolate creation process , taking that melted goodness and transforming it into beautiful bars that are drool worthy.
Expect lots of smiles when you unveil these beauties.
So, ready to make some delightful DIY chocolate bars? Let’s get rolling into the ingredients, and trust me, they’re just as easy to gather as they are to work with!
Essential Ingredients Guide for Homemade Chocolate Bars
Making your own homemade chocolate bars is not just fun; it’s creative, rewarding, and oh-so-yummy! but before we dive into the chocolate molding techniques, let’s talk about the essential ingredients you’ll need to whip up your perfect batch.
Trust me, understanding these core components will make your chocolate game stronger than ever!
Premium Core Components
When you're gearing up for a sweet adventure, quality matters . Here’s the inside scoop:
Detailed measurements : you’ll need about 1 cup (170g) of high-quality dark chocolate and 1/2 cup (85g) of milk chocolate.
Don’t worry about being too precise you can eyeball it a bit. after all, what’s a little spontaneity in the kitchen?
Quality Indicators : Look for chocolate that boasts at least 70% cocoa for that rich flavor. Don’t be lured by cheaper options; you’ll taste the difference in your DIY chocolate bars.
Storage guidelines : store your chocolate in a cool, dry place. if you can keep it away from sunlight, you're golden! chocolate typically has a shelf life of up to two years if stored properly, but let's be real it won't last that long.
Freshness tips : always check for a shiny exterior and a snap sound when you break it. that’s a sign of freshness! if your chocolate looks dull or has a chalky texture, it's time to say goodbye.
Signature Seasoning Blend
Believe it or not, it’s not just about the chocolate. The right seasonings can elevate your bars into gourmet delights.
Essential Spice Combinations : A pinch of sea salt can bring out the chocolate’s richness. Feeling adventurous? Try adding cinnamon or even a hint of chili powder for a kick!
Herb Selections and Pairings : Fresh herbs can seem unexpected, but chopped mint pairs beautifully with chocolate. Whoa, right?
Flavor Enhancers : Don't overlook vanilla extract just a 1/2 teaspoon can take your chocolate to the next level.
Regional Variations : Explore flavors like matcha powder or local spices. Your homemade chocolates could be a surprise adventure for your taste buds!
Smart Substitutions
Sometimes life throws a curveball like when you're out of an ingredient. No stress! Here’s how to keep your chocolate game strong with smart substitutions:
Common Alternatives : Out of milk chocolate? Swap in some carob or a dairy-free chocolate for a vegan twist!
Dietary Modifications : If you're looking for gluten-free options, most chocolates fit the bill. Just check that package!
Emergency Replacements : No coconut oil? Olive oil can work in a pinch, although it’ll give a slightly different flavor.
Seasonal Options : Seasonal ingredients can change the game. Pumpkin spice in fall, maybe? Yum!
Kitchen Equipment Essentials
You’ll want some trusty tools in your corner, so here are the must haves you shouldn't skip:
Must Have Tools : You definitely need chocolate bar molds (I swear by silicone molds for chocolate they’re so easy to work with!).
Alternative Equipment Options : No double boiler? Use a microwave safe bowl; just keep an eye on your chocolate!
Preparation Tips : Always keep a spatula handy for that last minute stir. It’s the unsung hero of chocolate making!
Storage Solutions : Use an airtight container for your finished chocolate bars. You’ll want to keep those flavors locked in!
So, are you ready to get down to business and start crafting those delicious custom chocolate bar shapes ? Grab your chocolate crafting supplies , and let’s get to the exciting part: how to make these delightful treats!
Remember, the world of chocolate is vast, and you can personalize it however you like. just think of all the flavors for chocolate bars , toppings, and fillings waiting to be explored.
So roll up your sleeves, embrace the chocolate creation process, and let’s make some fabulous bars!
From Kitchen to Confection: The Professional Cooking Method Unwrapped!
Oh my gosh, who doesn’t love chocolate? seriously! there’s just something magical about it, right? so, let’s dive into how to make your own gourmet chocolate bars in custom molds! believe me, bringing the art of chocolate making into your kitchen can be such a delightful treat.
I’m about to share my tips and tricks, so buckle up!
Essential Preparation Steps
First things first, let’s talk about mise en place . it’s a fancy way of saying, “get your stuff together before you start cooking.
” have all your ingredients measured and ready. this means chopping your chocolate (at least 1 cup of dark chocolate and 1/2 cup of milk chocolate ) and any add-ins you fancy, like nuts or dried fruit.
Time management is your best friend here! set a clock for 15 minutes to prep everything. when you’re melting chocolate (which takes about 10 minutes ), keep an eye on it because nobody wants burnt chocolate what a nightmare! trust me, i’ve done it.
Use a double boiler or a microwave, and if you're using a microwave, melt it in 30-second bursts to avoid any accidents.
Organization strategies come into play, too. keep your workspace tidy, and if you’re like me and easily distracted, consider putting on your favorite playlist nothing too intense, just something to keep the vibes good.
And let’s not forget about safety considerations . hot chocolate can burn, and spills can get messy. always have a cloth nearby to wipe hands and spills, especially when handling your silicone molds for chocolate .
Step-by-step Process
Ready for the magic? Here’s how we do it, step by delicious step:
Melt the chocolate:
set your double boiler or microwave safe bowl up and pour in your chopped dark and milk chocolates oh, the smell is heavenly! if you’re feeling fancy, throw in a tablespoon of coconut oil for that shiny finish.Stir until it’s all smooth and melted that should take about 10 minutes max.
Mix in flavors:
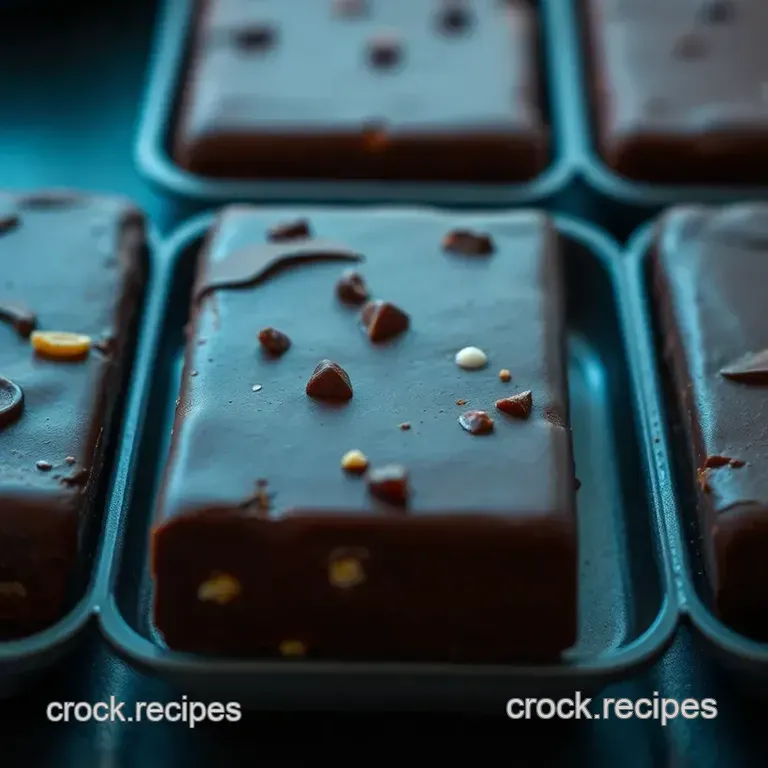
once it’s melted, take it off the heat and add any of your favorite flavors. vanilla extract, spices, or even a sprinkle of sea salt for that salted caramel twist? yes, please! mix well to combine.Fill the Molds:
Now, pour your chocolate goodness into your molds! Tap the molds gently so any air bubbles can escape trust me, it makes a difference.Chill:
Put those molds on a baking sheet and slide them into the refrigerator for about 30 minutes , or until set. Hang tight!Unmold and Enjoy:
Once they're solid, pop them out! Store them in an airtight container, and you’re all set for a sweet treat.
Expert Techniques
Okay, so let’s get real. Making DIY chocolate bars might seem simple (and it is!), but there are some expert techniques that can take you from average to chef level.
Quality Checkpoints: Always go for high-quality chocolate like a 70% cocoa dark chocolate that melts beautifully. If you’re using chopped chocolate, check that it’s even sized for consistent melting.
Troubleshooting Tips: If your chocolate is grainy, it’s usually because it was overheated. If that happens, add a bit of hot cream and stir to rescue it.
Timing Precision: Pay attention to your melting times. Overheating can make your chocolate thick and unworkable!
Visual Cues for Doneness: You want that chocolate glossy and smooth when it looks like melted heaven, you're good to go!
Success Strategies
Listen, we all mess up sometimes. Here are some common mistakes to avoid:
Overheating the Chocolate: As mentioned before, keep it low and slow, folks. If it looks like it's going to burn, add a bit of room temperature chocolate to help it cool down.
Ignoring Quality Assurance: Don’t skimp on the chocolate. Your results are only as good as what you put in go for organic or high-quality varieties; you won’t regret it.
Storing Incorrectly: Once you’ve made these little beauties, either keep them at room temperature for a few days or in the fridge if you want to extend their life.
And hey, don’t forget about make-ahead options ! You can prep these bars and have them on hand for snack attacks or as holiday chocolate gifts .
So, whether you're looking for that perfect no-bake chocolate bars recipe or just wanting to indulge in some chocolate molding techniques , making your own chocolate bars is a fantastic adventure! now, let's wrap this up with some additional information .
..
Unlocking the Joy of Making Homemade Chocolate Bars
Making homemade chocolate bars is a sweet adventure that i can't recommend enough! seriously, there's something magical about melting chocolate and pouring it into chocolate bar molds .
It's like being a kid again fun and exciting! let's dive into some pro tips and secrets for crafting your own chocolate masterpieces, shall we?
Pro Tips & Secrets
First off, let’s talk about some game changing insights . when melting chocolate, try using a double boiler or a microwave safe bowl.
If you're going the microwave route, just melt in short bursts . you don’t want your chocolate burned. we’re after rich, velvety goodness here!
Want to save time? get everything prepped before you start melting! chop your chocolate, gather your add-ins (like nuts or dried fruit), and have your molds ready to go.
Trust me; this makes the whole process flow smoothly.
Flavor enhancement tips are key. try adding a pinch of sea salt or a splash of vanilla extract to elevate your chocolate base.
I once threw in a bit of cinnamon, and boy, was that a game changer! it’s all about those flavor variations that make your creations pop!
Now, about presentation : this is where you can be really creative. after pouring the chocolate into your molds, tap them gently on the counter.
This helps pop any air bubbles and gives you a smooth finish. who doesn't love instagram ready treats?
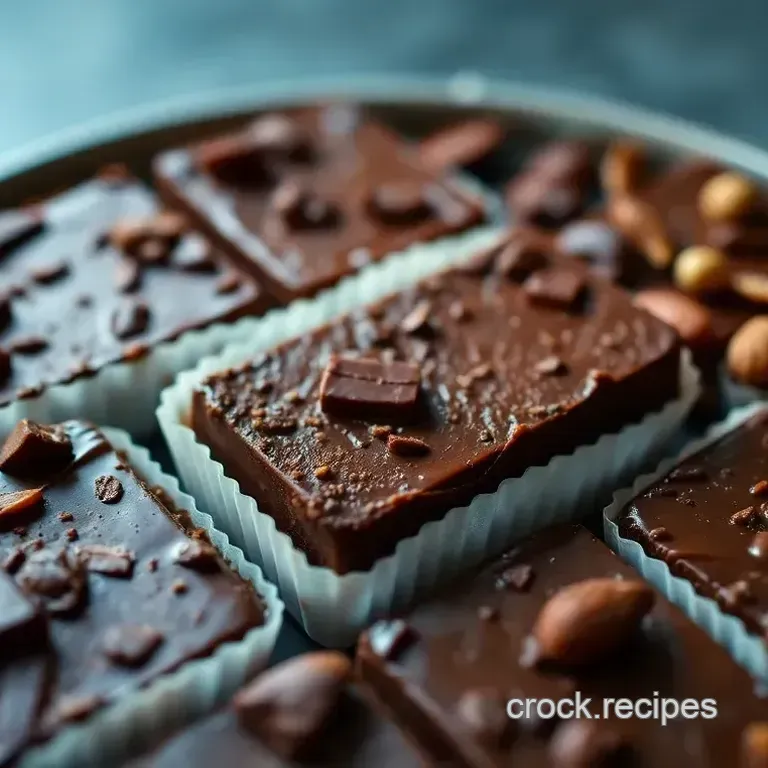
Perfect Presentation
Speaking of presentation, let’s chat about how to make your bars look as decadent as they taste. consider plating techniques stacking your bars or laying them out like a chocolate display can really impress guests.
For garnish ideas , think of toppings! drizzle some melted white chocolate on top or sprinkle edible decorations. you could even use those creative chocolate molds for unique shapes.
Stars, hearts, you name it! and don’t forget about color combinations ; a mix of dark chocolate with bright dried fruits looks gorgeous!
Storage & make-ahead
Alright, let’s get down to some storage guidelines . Store your chocolate bars in an airtight container at room temperature. They'll generally keep fresh for about a week , but I doubt they’ll last that long yummy treats have a way of disappearing fast in my house!
If you want to make these bars ahead of time, they’re perfect for gift ideas ! Wrap them up with pretty ribbons, and you've got a personalized chocolate gift that screams thoughtfulness.
Reheating and remolding? Not normally necessary, but if you find yourself with leftover chocolate, just melt it back down. That’s where the chocolate crafting supplies really shine!
Creative Variations
Now, let's get creative! try a no-bake chocolate bar recipe where you don't even need to turn on the stove.
Mix melted chocolate with nuts, and just press it into a mold easy peasy! for those on specialized diets, substitute milk chocolate with dark or make gluten-free chocolate bars .
Keep it seasonal! Halloween? Shape them into pumpkins and add spooky toppings. Winter holidays? Think peppermint flavored bars with crushed candy canes. The options are endless!
Complete Nutrition Guide
You might be curious about what’s going into your delicious creation. Here’s a quick nutrition breakdown : One serving (about a standard bar) has roughly 220 calories . Perfectly indulgent, right?
Plus, utilizing high-quality ingredients means you can feel good about what you’re eating. these chocolates can fit into a balanced diet, especially if you throw in healthy chocolate recipes like adding nuts or dried fruits for added nutrients.
Always a win!
Final Thoughts
So, my friends, making diy chocolate bars is not only fun but also a way to unleash your creativity! whether you're sharing these with family, friends, or just enjoying a little treat on your own, the joy of chocolate making is unmatched.
Remember, life is too short not to indulge in your favorite flavors.
Grab those chocolate molds , gather your favorite add-ins, and start crafting your very own gourmet chocolate bars. Embrace the messiness, enjoy the process, and relish each delicious bite! Happy chocolate making!
Frequently Asked Questions
What are the best chocolate bar molds to use?
Silicone molds are a fantastic choice for homemade chocolate bars, as they make it easy to pop the chocolates out without breaking them. Plastic molds are also great, but make sure they’re high-quality and flexible. If you're feeling adventurous, try novelty shapes to add a fun twist!
Can I use different types of chocolate in the chocolate bar molds?
Absolutely! You can mix and match dark, milk, and white chocolate according to your preferences. Just remember that the melting point of each type may vary slightly, so melt them separately if needed, then combine before pouring into the molds.
How do I properly store my homemade chocolate bars?
Store your chocolate bars in an airtight container at room temperature or in the fridge, especially if it’s warm outside. If you want to maintain that lovely shine, avoid using a fridge unless it’s necessary as moisture can ruin the texture.
Can I add flavors to my chocolate mixture when using chocolate bar molds?
Definitely! You can infuse your melted chocolate with spices like cinnamon, or add essences like vanilla, almond, or mint for a delightful twist. Just be cautious with the quantities start small, as you can always add more, but it’s hard to fix if you overload it!
What are some creative mix-in ideas for my chocolate bars?
The sky’s the limit! Chopped nuts, dried fruits, or even crispy rice can bring a wonderful texture to your bars. For a cheeky treat, try adding crushed mint candies or pretzels for that sweet and-salty vibe that everybody loves.
Are chocolate bars made in molds a healthy snack option?
While chocolate does have some health benefits, particularly dark chocolate, it's important to enjoy them in moderation. You can make your treats healthier by reducing sugar and using high-quality ingredients. Include nutritious mix-ins like nuts or seeds to boost the nutritional profile!
Homemade Chocolate Bars In Custom Molds A Deligh