Ultimate Homemade Crispy Fries
- Look into Into the Crispy World of Homemade Fries Recipe
- Your Essential Ingredients Guide for Homemade Fries Recipe Magic
- Mastering the Art of Professional Cooking: Your Guide to Homemade Fries Recipe
- Extra Nuggets on Your Homemade Fries Recipe: Pro Tips, Presentation, and More
- Frequently Asked Questions
- 📝 Recipe Card
Look into Into the Crispy World of Homemade Fries Recipe
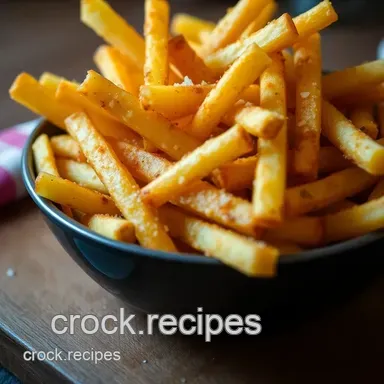
Okay, so picture this: it’s a lazy saturday afternoon, and i’m craving that perfect batch of fries crispy, golden outside and soft, fluffy inside.
You know the type, right? not those sad, limp frozen fries, but the kind you get in those in n out french fries or when you're eyeing that wendy’s fries recipe online dreaming of that crunch.
Well, i finally decided to make your own french fries from scratch, and honestly, it’s a game changer.
There’s just something magic about cooking homemade french fries yukon gold style on the stove, frying french fries in oil properly, with that little double fry step that really seals the deal.
It’s like the ultimate crispy hack. and guess what? it’s not as tricky as it sounds, even though the smell of hot oil can be a tiny bit intimidating at first.
But trust me, once you get the hang of frying french fries in oil on your stovetop, you might never want to go back to frozen.
The truth is, lots of folks search for a homemade fries recipe because they’re tired of bland or overly greasy fast food fries.
They want fresh, real potatoes done right with some simple seasoning that packs a punch, like a classic season french fries recipe with salt or maybe a little paprika if you’re feeling adventurous.
Plus, you control what goes in them, whether that’s oil type, salt amount, or dipping sauces. it’s a small joy that turns a regular meal into something special.
The History and Evolution of Our Beloved Fries
Did you ever stop to wonder where fries even came from? yeah, it’s a bit debated if fries are french or belgian, but what’s cool is how they found their way all over the world’s diners and chip shops.
Back in the day, fries were just humble fried potatoes, but over the decades, places like in n out and wendy’s perfected their own styles, turning fries into regional icons.
Today, everyone’s got their "best way to make french fries" opinions whether it’s how long to soak ’em, the right potato cut, or how to get that perfect crunch without deep frying forever.
The double frying method has really stuck around as a pro tip. honestly, it’s become popular because it’s just that effective for that ideal crunch soft combo we all crave.
Making fries from scratch at home might take around 40 minutes total if you count soaking, drying, and two rounds of frying.
Not exactly a 5-minute snack but definitely worth the patience. a medium difficulty level, for sure, but don’t let that scare you.
Plus, it’s a cost friendly choice. buying a few potatoes and oil is way cheaper than hitting fast food every week, especially if you batch make enough to feed a small gang.
Why Homemade Fries Are Totally Worth It
Okay, now for the juicy part why bother making fries yourself? well, first off, homemade fries aren’t just about taste they actually have some neat health perks compared to fast food versions.
You get to opt for better oils (hello, high smoke-point vegetable or peanut oil), control salt use, and even avoid added preservatives or weird chemicals lurking in frozen fries.
They’re also kind of endlessly customizable, which is my favorite. you can swap potatoes for yukon gold if you want a buttery flavor.
Or season with garlic powder, smoked paprika, or good old sea salt. it’s like creating your own fries vibe. plus, they’re perfect for loads of occasions movie nights, bbqs, casual dinners, or just when you want to treat yourself to some seriously comforting carbs.
And here’s a bonus: compared to oven baked treats, french fries fried in oil deliver that unbeatable crunch that ovens just can’t match.
The texture really sets these fries apart, making them a crowd pleaser every time.
Alright, enough chit chat. Ready to get those potatoes ready for the skillet? Let’s jump in and check out the ingredients you’ll need to rock this homemade fries recipe and get that perfect crispy fry at home!
Your Essential Ingredients Guide for Homemade Fries Recipe Magic
Alright, so you wanna nail that homemade fries recipe that tastes like it came straight out of your favorite american diner, or maybe those legendary fries from in n out or wendy’s? well, buckle up!
I’m gonna spill the tea on the essential ingredients you need, how to pick ‘em right, season ‘em like a pro, and even swap stuff when you’re low on supplies.
Trust me, once you get the hang of these basics, you’ll wanna make your own french fries every weekend.
Premium Core Components: The Real MVPs of Crispy Fries
First off, the potatoes. honestly, russet potatoes are king here because of their high starch, which means crispy outside and fluffy inside.
If you dare wander into the yukon gold territory, you’re flirting with a slightly creamier, less starchy fry, but still tasty kind of like a soft cousin of the classic.
For the perfect batch, you wanna chop your potatoes into sticks about 1/4 to 1/2 inch thick . too thick? you’ll get potato logs, not fries.
Too thin? it’s basically just crispy sticks that might burn faster.
Oh, and don’t forget oil! use a high smoke point oil . think vegetable, peanut, or sunflower oil something that handles 375° f ( 190° c) like a champ without breaking down.
I’ve ruined a batch before by going cheap on oil, and trust me, frying fries in oil that’s not up to snuff will leave you with greasy, sad sticks.
Pro tip? soak those cut potatoes in cold water for at least 30 minutes. it’s like giving your fries a spa day they shed excess starch, reducing the risk of fries sticking together and helping with crispiness during frying.
When it comes to salt, don’t be shy. use about 1 teaspoon of fine sea salt per batch , but season after frying, when the fries are still hot to help that salt cling to the surface like magic.
Storage wise: store raw potatoes in a cool, dark place away from onions, which can turn them bitter. once cut and soaked, it’s best to cook them quickly or store in water in the fridge, but only for a few hours no long term soaking.
Signature Seasoning Blend That’ll Make You Say "Wow"
Let’s be real, salt is classic, but there’s so much fun to be had with seasonings. i personally like to toss my fries in a blend of smoked paprika and garlic powder after frying.
It adds that cozy, smoky twist without overwhelming the potato goodness.
Fresh herbs like rosemary or thyme are also fantastic when tossed in right out of the fryer the heat releases their aromas and makes those fries smell irresistible.
And for a little regional flair, think about the cajun spice mix if you wanna get spicy or some old bay if you’ve got a craving for east coast vibes.
Pro tip: Aromatics like freshly minced garlic or a touch of onion powder can elevate simple fries to something next level without complicated effort.
Smart Substitutions When Life Throws You a Curveball
Ooh, so, you ran out of Russets? No sweat. Yukon Golds work fine but expect a creamier fry. Sweet potatoes? Totally delicious but watch that oil temp; they burn faster.
Don’t have vegetable oil? peanut is a great swap just be mindful of allergies. no deep fryer? no problem! grab a sturdy, heavy bottomed pot and a thermometer (or eyeball it by frying one piece and checking the sizzle).
Need a healthier option? baking fries at 425° f ( 220° c) on a lightly oiled tray is a great alternative won’t be quite the same as french fries fried in oil, but still tasty and less messy.
Kitchen Equipment Essentials: Keepin’ It Real Simple
You really only need a few tools to make these fries happen: a large pot or fryer , a deep fry thermometer to keep your oil at that perfect 300° f blanched and then 375° f crisp temp, a slotted spoon or spider to fish fries out safely, and some clean kitchen towels or paper towels to dry those spuds and drain
Excess oil.
If you don’t have a thermometer (been there!), drop a small piece of potato in the hot oil. If it bubbles steadily without splashing wildly, you’re golden.
Once cooked, place fries on a paper towel lined tray to soak up extra oil. and hey, try to fry in small batches crowding the pot is a rookie mistake that makes fries soggy and greasy.
Wrapping It Up With Some Fry Love
Honestly, making fries at home feels like a little kitchen adventure. there’s something so satisfying about peeling, slicing, soaking, and double frying you get to control everything from the home cooked flavor to the crunch.
Plus, imagine the bragging rights when friends ask, “hey, where’d you get these killer fries?” and you can proudly say, “homemade, baby!”
If you ever wondered about the best way to make french fries , know this: it’s all about the ingredients and the double fry .
Once you get these core components and seasonings right, you’re set for crispy, golden perfection every time, whether you prefer a classic sea salt finishing or those fun homemade seasoning blends.
Alright, now that you know your essential ingredients and how to pick and prep them, let’s jump into the step-by-step instructions to make those fries crispier than your favorite classic roadside diner.
Ready? let’s go fry some fries!
Mastering the Art of Professional Cooking: Your Guide to Homemade Fries Recipe
Alright, let’s talk about making your own french fries at home not just any fries, but those crispy, golden wonders that rival your favorite in n out french fries or wendy’s fries recipe .
Honestly, nailing that crispy-on-the-outside, fluffy-on-the-inside vibe isn’t just luck it’s about technique, prep, and a little love.
Essential Preparation Steps: Mise en Place Is Your Best Friend
Before you get lost in a hot oil haze, let's set you up for success.
Mise en place , or "everything in its place," is a fancy way of saying get everything ready before you start.
Wash and cut your potatoes evenly about a quarter to half an inch thick. i love using yukon gold when i want that buttery flavor, but russets are the classic go-to for fries full of starch and that dreamy fluffiness.
Soaking your cut fries in cold water for at least 30 minutes is the secret weapon here. it pulls out surface starch, which helps avoid fries sticking and ensures they crisp up nicely when fried.
Trust me, skipping this step once led me to soggy fries disaster.
Dry them. Seriously. Use a kitchen towel to get every bit of moisture off. Wet fries + hot oil = dangerous oil splatters and no fun.
For time management, start heating your oil while you soak and dry potatoes. a deep fry thermometer will be your sidekick here because temperature control is everything with frying french fries in oil on the stove.
Keep the oil steady at 300° f ( 150° c) for the first fry, then bump it up later.
Step-by-step Process: Timing Is Key to Crispy Fries
First Fry (Blanching): Heat the oil to 300° F ( 150° C) . Drop your dry fries in small batches for about 4- 5 minutes until soft but not browned.
Drain on paper towels and let them rest for 10 minutes . This lets steam escape and creates a fluffier inside not mushy.
Second fry (crisping): crank your temperature to 375° f ( 190° c) . now fry those taters for 3- 4 minutes until they’re golden and crispy.
The sizzle here is music.
Drain again, season while still hot that salt sticks best now, along with any extras like smoked paprika or garlic powder.
Look for those visual cues when frying— golden brown edges and a light crunch when you tap them.
Expert Techniques: Make Your Fries Stand Out
Professional kitchens swear by double frying for a reason. the first cook softens the potato; the second locks in crispness. oh, and frying in oil that’s too cool? you’ll end up with soggy fries.
Too hot? they’ll burn outside before cooking inside.
Pro tip: Don’t overcrowd your pot during frying. It drops the oil’s temperature drastically, and those fries will steam rather than fry.
When you’re seasoning, do it immediately after frying. Salt sticks better to hot fries, so your season French fries recipe won’t be bland.
Quality checkpoints? fries shouldn’t be limp when picked up. they should hold their shape, with a satisfying crunch and fluffy center.
If they’re greasy or limp, chances are your oil temp was off or you skipped soaking/drying.
Success Strategies: Avoiding Classic Pitfalls and Perfecting Fries
Oh man, the biggest mistake i see is people frying just once. you might get an edible fry, but it won’t have that crispy appeal like french fries fried in oil the right way.
Also, don’t forget to dry your fries thoroughly. Wet fries = splattery kitchen nightmares and dull fries.
You want to make sure your oil is fresh and not reused too many times old oil leads to off flavors and soggy fries.
For those hours when you want to prep ahead, you can do the first fry, cool your fries, and store them in the fridge for up to a day.
When ready to serve, just heat that oil up for the second fry. it’s a great way to make hosting easier without sacrificing crispness.
One last thing? try swapping russets with yukon golds for a richer flavor. depending on your oil, peanut or sunflower oil work well too they handle high temps nicely and avoid that bad taste you sometimes get with some oils.
Whew! so that’s my take on a homemade fries recipe that feels like it came from a fancy kitchen but lives right in your cozy home.
Next up, we’ll dive into some additional information on flavor twists, dipping sauces, and how to pair your fries for that killer snack or meal.
Stay tuned you’re gonna love it!
Extra Nuggets on Your Homemade Fries Recipe: Pro Tips, Presentation, and More
Alright, so you’re all set to make your own french fries and nail that crispy, golden goodness. honestly, nothing beats the smell of fries frying right on your stove whether you’re going for classic french fries fried in oil or inspired by something like in n out french fries vibes, it’s a treat.
But hey, before you dive in, let me spill some secrets i’ve picked up making this stuff a million times in my kitchen.
Pro Tips & Secrets Every Home Fry Chef Should Know
First off, if you want fries that actually wow, soaking your potatoes isn’t just a fad. trust me, soaking russets (or homemade french fries yukon gold , if you like mixing it up) in cold water for at least 30 minutes helps dump that starch, so when you go for the double fry, they crisp up like a dream and don’t stick together.
And don’t skip drying! Seriously dry those spuds with a clean towel. I once blew a minor oil splatter party in my kitchen cause I was lazy about this step your call.
Now, here’s a little trick: during that second frying round ( frying french fries in oil at a hotter temp), keeping the batch size small is key.
Crowding equals soggy fries, and ain’t nobody got time for that.
Oh, and seasoning? salt is king, but feel free to season french fries recipe with a pinch of smoked paprika or garlic powder.
It adds that little zing your taste buds didn’t know they were missing.
Serve ‘Em Up Right: Perfect Presentation Tips
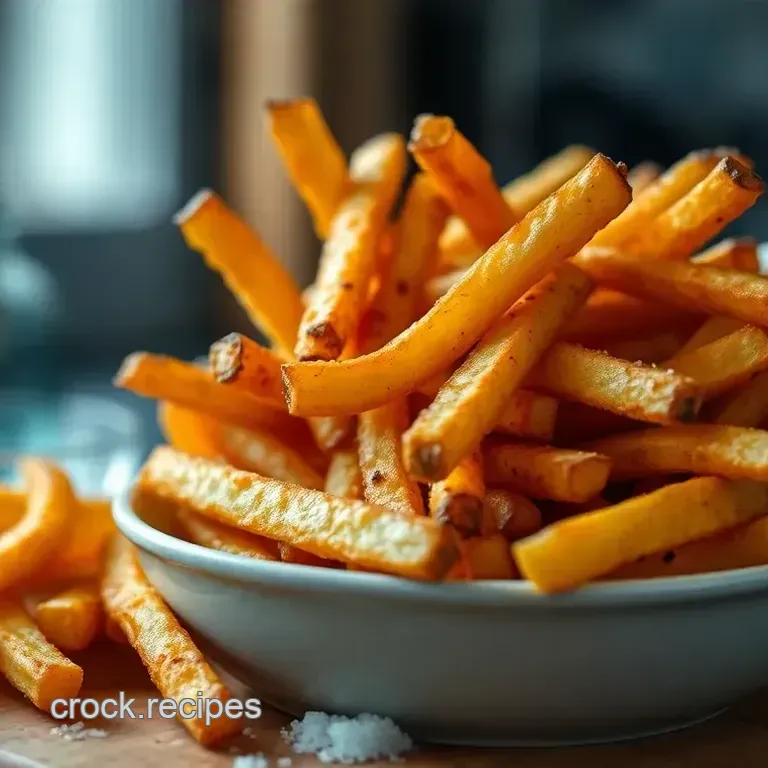
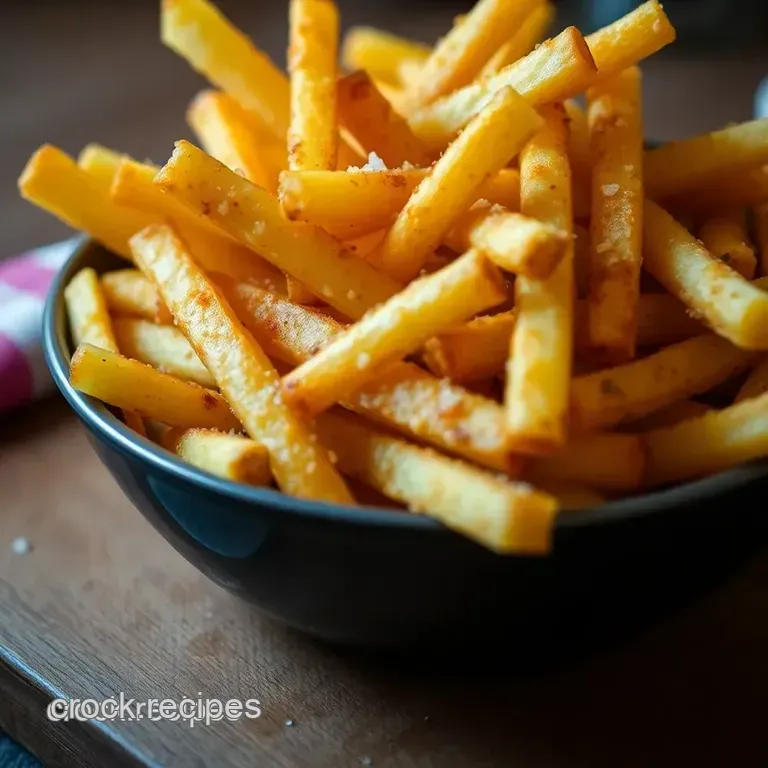
Look, fries aren’t just about taste; they’re a feast for the eyes too. one time i just tossed fries on a plate, and my friends were like, “where’s the love?” so now i play up the colors and textures.
Try plating your fries in a neat pile on a rustic wooden board or in a small metal basket lined with parchment total diner chic vibes reminiscent of wendy’s fries recipe style.
Add a sprinkle of fresh parsley or chopped chives on top for that pop of green.
Also, different dips side by side think ketchup, garlic aioli, and a sassy spicy mayo make your spread look like a snack goddess threw a party.
Keeping It Fresh: Storage & make-ahead Hacks
I get it, sometimes you’re cooking for a crowd, or want fries ready for later binge watching sessions. here’s the deal: fries don’t store super long crispy but here’s how to make it work.
Store cooled fries in an airtight container in the fridge for up to 2 days . to reheat without killing crunch, pop them in a hot skillet or oven at 400° f for a few minutes instead of nuking ‘em in the microwave.
Microwaves turn fries into sad, soggy ghosts of themselves.
If you’re ahead of the game, you can do the first fry batch, freeze the potatoes in a single layer on a tray, then toss frozen fries directly into hot oil later for that final fry when you’re ready.
Mix It Up: Creative Variations to Try
Here’s where the fun begins, especially if you love shaking things up!
- Want a healthier spin? Try oven baked fries with a little olive oil spray. Still delicious, just lighter.
- For a seasonal twist, sprinkle some rosemary and thyme in the second fry; it adds this lovely piney aroma.
- Going vegan or gluten-free? You’re already good with the basic recipe, but you could switch the seasoning to nutritional yeast for a cheesy taste without the dairy rigmarole.
- Maybe try sweet potato fries for something utterly different, but heads up they bake way better than deep fry (they crisp less but hey, flavor is king).
And yes, even regionally, fries differ. if you’ve ever tasted wendy’s fries recipe , you know they do that seasoning differently try a sprinkle of sea salt and a tiny dash of sugar in the mix to get that vibe.
What’s in Your Fries? The Nutrition Scoop
If you’re counting calories (or if you just want to brag with facts in your next bbq convo), a serving of these fries clocks in around 350 calories , mostly from the oil that makes them so tasty but not so healthy.
They pack a decent amount of carbs hello, energy!
The beauty of making fries at home is control. you determine the oil type, the seasoning, and portion size. a portion of these babies can totally fit in a balanced diet, especially paired with a salad or protein.
Wrapping it Up
Honestly, learning the best way to make french fries is like unlocking a little crispy joy. you get to skip the drive thru lines and get your hands dirty, literally, with those potato sticks.
Yes, it takes a bit of love, but once you master this homemade fries recipe , you’ll be the undisputed fry king or queen in your household.
So, next time you crave those crispy delights, grab some russets, heat up your oil, and remember: soak, dry, fry twice, season well, and serve with a smile.
Your taste buds and your friends will thank you. and hey, if you nail it, you might just kick your local in n out french fries and wendy’s fries recipe to the curb.
Not that i’m saying you should actually do that. but you’d be tempted, right?
Frequently Asked Questions
What’s the secret to making homemade fries crispy every time?
The key to crispy homemade fries is the double frying method: first cook the potatoes at a lower temperature to soften them, then fry them a second time at a higher temperature to get that golden crunch.
Also, soaking the cut potatoes in cold water removes excess starch, and drying them thoroughly before frying prevents oil splatters and soggy fries.
Can I use other potatoes or oils in this homemade fries recipe?
Russet potatoes are ideal because their high starch content gives fluffy interiors and a crisp exterior. However, you can try sweet potatoes for a sweeter twist, keeping in mind they crisp differently.
For oil, vegetable oil is great, but sunflower or peanut oil works well too, as long as it has a high smoke point suitable for frying.
How do I store leftover homemade fries, and can I reheat them?
Leftover fries are best stored in an airtight container in the fridge and eaten within 1-2 days. To reheat, avoid the microwave which makes them soggy instead, pop them in a hot oven or air fryer to help restore their crispiness.
Reheating on a baking sheet at about 200°C (400°F) for 5-10 minutes usually does the trick.
Is there a healthier way to enjoy homemade fries without deep frying?
Absolutely! Baking fries in the oven at a high temperature with just a light drizzle of oil is a great lower fat alternative. You can also try an air fryer, which uses far less oil while still producing crispy fries.
Just remember that baked fries won’t be exactly like traditional deep fried ones but can be delicious and healthier.
How can I add flavour variations to the classic homemade fries recipe?
Simple seasonings like smoked paprika, garlic powder, or rosemary can elevate your fries instantly. For a cheesy twist, sprinkle with grated parmesan and a bit of garlic powder while still hot.
Feel free to experiment with spice blends or herbs to match your mood think curry powder for a British twist or Cajun spices for more heat!
Why do my homemade fries sometimes come out soggy instead of crispy?
Soggy fries usually result from overcrowding the frying pan, which drops the oil temperature and steams the potatoes instead of crisping them. Make sure to fry in small batches and keep the oil hot enough (around 375°F or 190°C) during the second fry.
Also, don’t skip drying the fries properly after soaking wet potatoes won’t crisp up well.
Ultimate Homemade Crispy Fries