Red Velvet Cookies: Soft and Chewy
- Time: Active 15 minutes, Passive 10 minutes, Total 25 minutes
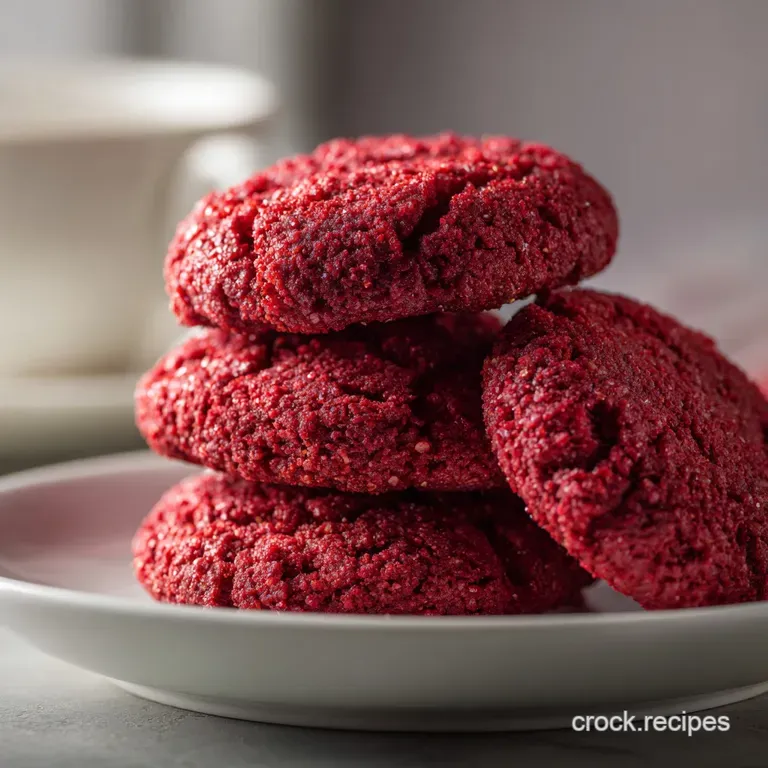
- Flavor/Texture Hook: Fudgy, cocoa rich, and buttery with a velvety crumb
- Perfect for: Holiday gift boxes, Valentine’s Day, or a hearty weekend treat
- Soft and Chewy Red Velvet Cookies Recipe
- Why This Recipe Works
- Component Analysis of Your Ingredients
- The Essential Ingredients List
- Kitchen Tools You Need
- Step-by-Step Baking Guide
- Fix Your Baking Mistakes
- Fun Recipe Variations
- Scalable Batch Sizes
- Kitchen Truths and Facts
- Storing Your Cookies Fresh
- How to Serve Them
- Recipe FAQs
- 📝 Recipe Card
Soft and Chewy Red Velvet Cookies Recipe
The first time I tried making these, I ended up with something that looked like a dry brick and tasted like a mouthful of flour. I remember standing in my kitchen, staring at a tray of dull, brownish circles that had no "velvet" to speak of.
It was a total disaster, but it taught me that you can't just throw red dye into a standard sugar cookie and hope for the best. You need the right balance of acidity and fat to get that iconic tang and that specific, satisfying chew.
Now, whenever I pull a tray of these Red Velvet Cookies out of the oven, the whole house smells like warm vanilla and dark chocolate. It's a comforting, hearty aroma that brings everyone into the kitchen before the timer even goes off.
I’ve refined this method over dozens of batches, focusing on what actually makes the texture work - avoiding that "cakey" feel and aiming for a cookie that has a slight shatter on the edges but remains silky in the middle.
Why This Recipe Works
Getting that specific red velvet profile requires more than just a bottle of food coloring. It is about the interaction between the sugars and the fats to create a structure that holds its shape while remaining tender.
- Maillard Reaction Control: The low cocoa to flour ratio prevents the dark pigments from overpowering the red gel while providing a deep, chocolatey undertone.
- Acidic Activation: Adding white vinegar reacts with the baking soda to create tiny air pockets, ensuring the crumb isn't too dense or heavy.
- Protein Softening: The inclusion of cornstarch weakens the gluten in the all purpose flour, mimicking the delicate nature of cake flour without losing the cookie's bite.
- Fat Emulsification: Using melted butter instead of creamed butter creates a denser, fudgier texture similar to a brownie but in cookie form.
| Baking Time | Texture Outcome | Best For | Visual Cue |
|---|---|---|---|
| 8 minutes | Ultra soft / Gooey | Warm eating | Shiny top, very soft edges |
| 10 minutes | Classic Fudgy | Gifting / Storage | Set edges, soft center |
| 12 minutes | Crispy / Firm | Dipping in milk | Matte top, firm edges |
This table helps you decide exactly how long to keep your tray in the oven based on how you like your sweets. Personally, I find the 10 minute mark to be the sweet spot where the cookie holds its shape but still melts away when you bite into it.
Just remember that cookies continue to cook on the hot tray for a few minutes after you pull them out, so don't wait for them to look "hard" before removing them.
Component Analysis of Your Ingredients
| Ingredient | Science Role | Pro Secret |
|---|---|---|
| Cornstarch (8g) | Gluten Inhibitor | Prevents the cookies from becoming "bready" or tough. |
| Brown Sugar (200g) | Humectant | The molasses content keeps the center moist and adds a caramel note. |
| Egg Yolk (1 large) | Emulsifier | Extra fat from the yolk creates a richer, more velvety mouthfeel. |
| White Vinegar (1 tsp) | pH Balancer | Brightens the red color and reacts with soda for a light lift. |
The Essential Ingredients List
You likely have most of these in your pantry already, but the quality of your cocoa and vanilla makes a huge difference in the final flavor profile.
- 315g (2 ½ cups) all purpose flour: The base of our structure. Why this? Provides enough protein to hold the white chocolate chips without falling apart.
- 25g (¼ cup) unsweetened cocoa powder: For that hint of chocolate. Why this? Natural cocoa works best with the vinegar for color stability.
- 8g (1 tbsp) cornstarch: Our secret for the "velvet" texture.
- 1 tsp baking soda: Our primary leavening agent.
- 0.5 tsp salt: To balance the sweetness of the white chocolate.
- 170g (¾ cup) unsalted butter, melted and slightly cooled: For a chewy, fudgy result.
- 200g (1 cup) light brown sugar, packed: Adds moisture and chew.
- 100g (½ cup) granulated sugar: Helps the edges get that slight crisp.
- 1 large egg, room temperature: To bind the dough.
- 1 egg yolk, room temperature: For added richness and a tender crumb.
- 1 tsp white vinegar: To activate the soda and brighten the red hue.
- 2 tsp vanilla extract: Enhances the cocoa and butter notes.
- 1 tbsp red food coloring gel: Provides that vibrant, iconic look.
- 170g (1 cup) white chocolate chips: For sweet, creamy pockets in every bite.
- 115g (4 oz) cream cheese, softened: The base for our optional frosting.
- 55g (1/4 cup) unsalted butter, softened: For the frosting.
- 240g (2 cups) powdered sugar: To sweeten and thicken the topping.
- 1 tbsp milk: To reach the desired frosting consistency.
If you are looking for a different holiday classic, you might enjoy my Classic Christmas Cookies recipe which uses a similar buttery base.
Kitchen Tools You Need
- Large Mixing Bowl: For combining the wet ingredients and sugars.
- Whisk and Spatula: You won't need a heavy stand mixer if your butter is melted.
- Baking Sheets: Two large ones so you don't overcrowd the cookies.
- Parchment Paper: Essential to prevent the bottoms from browning too fast.
- Cookie Scoop: A 2 tablespoon scoop ensures even cooking for all 24 servings.
step-by-step Baking Guide
- Prep the oven. Preheat your oven to 350°F (180°C) and line two baking sheets with parchment paper. Note: This prevents the cookies from sticking and helps even heat distribution.
- Mix dry ingredients. Whisk together the 315g flour, cocoa powder, cornstarch, baking soda, and salt in a medium bowl until the color is a uniform pale brown.
- Combine fats and sugars. In a large bowl, stir the 170g melted butter with both the brown and white sugars until no lumps of sugar remain.
- Incorporate liquids. Whisk in the egg, the extra egg yolk, vinegar, vanilla, and the red food coloring gel until the mixture is vibrant and glossy.
- Fold in solids. Gradually add the dry ingredients to the wet mixture, stirring gently with a spatula. Note: Overmixing at this stage will make the cookies tough.
- Add the chips. Fold in the 170g of white chocolate chips until they are evenly distributed through the red dough.
- Scoop the dough. Use a cookie scoop to form balls (about 2 tablespoons each) and place them 2 inches apart on the prepared sheets.
- Bake the cookies. Bake for 10 minutes until the edges are set and the tops look slightly soft. Note: The aroma will be a mix of toasted sugar and light cocoa.
- Cool properly. Let the cookies sit on the hot pan for 5 minutes, then move them to a wire rack.
- Frost (Optional). While they cool, beat the cream cheese, 55g butter, powdered sugar, and milk until silky and spreadable, then pipe or spread onto the cooled cookies.
Chef's Tip: For the most intense color, use a "Super Red" gel paste rather than liquid coloring. Liquid coloring adds too much moisture and can leave the cookies looking pink or magenta instead of a deep, satisfying red.
Fix Your Baking Mistakes
Why Your Red Velvet Cookies Spread Too Thin
This usually happens if the butter was too hot when you mixed it with the sugar, or if the dough became too warm while you were working with it. Melted butter is great for chewiness, but it needs to be slightly cooled (just warm to the touch) before adding the eggs.
If your first batch spreads like a puddle, pop the rest of the dough in the fridge for 20 minutes before baking the next tray.
Fixing a Dull Brown Color
If your cookies look more like a dark chocolate cookie than a red one, you might be using too much cocoa powder or a "Dutch processed" cocoa. Dutch processed cocoa is darker and more alkaline, which can neutralize the red dye. Stick to natural unsweetened cocoa powder for the best color results.
Also, ensure you are using enough gel; a measly few drops won't stand up to the brown of the cocoa.
| Problem | Root Cause | Solution |
|---|---|---|
| Cookies are dry/crumbly | Too much flour | Use a scale to measure 315g exactly; don't scoop with the cup. |
| No red color | Not enough gel dye | Use 1 full tablespoon of high-quality gel food coloring. |
| Frosting is runny | Too much milk | Add powdered sugar 1 tablespoon at a time until thickened. |
For those who find the frosting a bit too sweet, you could try the lighter topping style used in my Cinnamon Applesauce Cookies recipe for a different flavor profile.
Common Mistakes Checklist
- ✓ Check that your baking soda isn't expired (test a pinch in vinegar).
- ✓ Use room temperature eggs so they emulsify properly with the fat.
- ✓ Don't skip the cornstarch; it's the key to the soft "velvet" texture.
- ✓ Pull the cookies out when the centers still look a bit underdone.
- ✓ Let the melted butter cool for at least 5 minutes before mixing.
Fun Recipe Variations
If you want to experiment, here are a few ways to change up the classic:
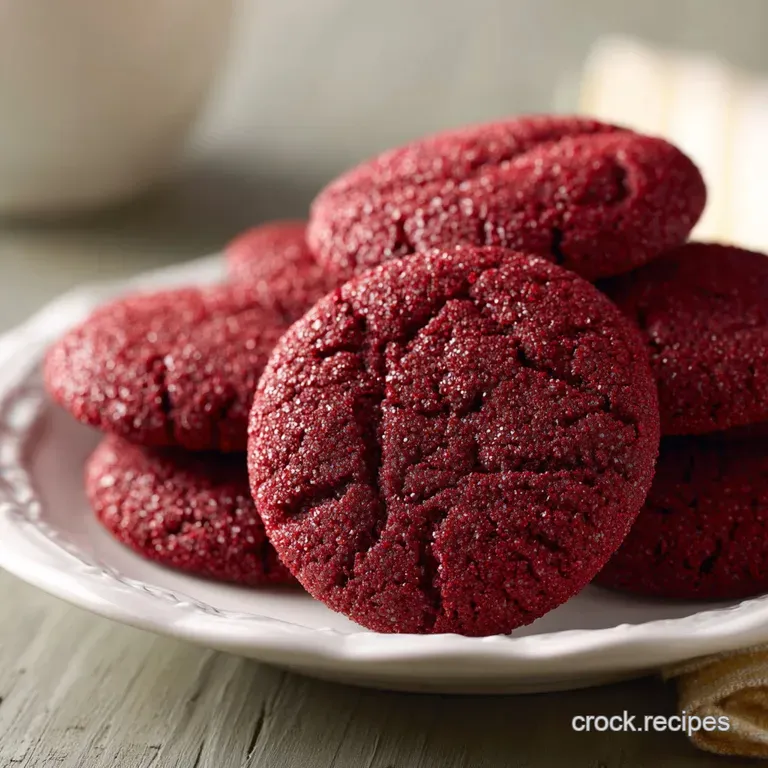
- Red Velvet Crinkle Cookies: Roll the dough balls in granulated sugar, then heavily in powdered sugar before baking. The dough will expand and "crack," showing the red interior against the white sugar.
- Stuffed Cream Cheese Center: Instead of frosting the top, take a small teaspoon of the cream cheese frosting, freeze it into little balls, and wrap the cookie dough around it before baking.
- Dark Chocolate Switch: Swap the white chocolate chips for dark chocolate chunks for a more intense, less sweet flavor profile.
If you're looking for a lower carb option for a party, you can always check out my Keto Snowball Cookies recipe, which offers a similar festive look but with different macros.
Decision Shortcut If you want a softer, cake like cookie, add an extra tablespoon of milk to the dough. If you want a deeper chocolate flavor, increase cocoa to 35g and reduce flour by 10g.
If you want a cleaner look, wait until the cookies are completely cold before adding the cream cheese frosting.
Scalable Batch Sizes
Scaling Down (Makes 12 cookies): Halving this recipe is fairly simple. Use 157g of flour, 13g of cocoa, and 4g of cornstarch. For the eggs, beat one whole egg in a small bowl and use exactly half of it (by weight or volume). Do not use the extra yolk.
Reduce the baking time by about 1-2 minutes as smaller batches often bake slightly faster in smaller pans.
Scaling Up (Makes 48 cookies): When doubling, be careful with the leavening. Use 2 tsp of baking soda, but keep the salt at 0.75 tsp to avoid over seasoning. You can use 2 full tablespoons of red gel. Work in batches; do not try to crowd 48 cookies onto two trays.
The dough can sit at room temperature for about 30 minutes, but if it's a hot day, keep the second half of the dough in the fridge while the first batch bakes.
Kitchen Truths and Facts
Myth: Red velvet is just chocolate cake with red dye. This isn't quite true. While it has cocoa, a true red velvet profile relies on the tang of acid (vinegar or buttermilk) and the specific "velvet" crumb created by the reaction between the acid and the cocoa.
Without the vinegar, it's just a red chocolate cookie.
Myth: You must chill the dough for hours. While some recipes require a long chill, this specific version is designed to be baked immediately. The melted butter and cornstarch combo provides enough structure that they won't turn into pancakes in the oven.
If you do chill the dough, you'll actually end up with a thicker, puffier cookie that loses some of that fudgy center.
Storing Your Cookies Fresh
Fridge and Counter Storage: Because these contain cocoa and a high amount of sugar, they stay fresh at room temperature in an airtight container for up to 4 days. If you choose to frost them with the cream cheese topping, they must be stored in the refrigerator.
In the fridge, they will last about 5-6 days, though they may firm up. I recommend letting a refrigerated cookie sit at room temp for 15 minutes before eating to regain that soft texture.
Freezing and Reheating: You can freeze the un frosted cookies for up to 3 months. Wrap them individually in plastic wrap and then place them in a freezer bag. To reheat, just pop one in the microwave for 10-15 seconds.
This revives the "velvety" feel and makes the white chocolate chips slightly melty again.
Zero Waste Tip: If you have leftover cream cheese frosting, don't toss it! It makes a fantastic dip for graham crackers or apple slices. You can also sandwich it between two plain biscuits for a quick treat. Any leftover cookie crumbs can be toasted and used as a topping for vanilla ice cream.
How to Serve Them
These are hearty cookies, so they don't need much to shine. I love serving them slightly warm with a cold glass of milk to cut through the richness of the white chocolate. If you are hosting a dinner party, a single cookie served alongside a scoop of tart raspberry sorbet creates a beautiful color contrast and a refreshing flavor balance.
For a more decadent presentation, you can create "Cookie Sandwiches." Take two un frosted cookies and smear a thick layer of the cream cheese frosting between them. It’s a satisfying, comforting dessert that feels much more special than a standard tray of sweets.
Whatever you do, make sure you give them enough time to set after baking so they don't crumble when you pick them up. Enjoy the process and the satisfying aroma of fresh baking!

Recipe FAQs
Is the cream cheese frosting absolutely required for the "velvet" texture?
No, the frosting is optional. The true velvet texture comes from the cornstarch and acid reacting in the cookie dough itself; the frosting is purely for added richness and sweetness.
What should I do if my dough spreads too thin while baking?
Chill the remaining dough immediately for 20 minutes. Spreading is usually caused by the melted butter being too warm; chilling solidifies the fats, helping the cookies hold their shape better on the sheet.
How to achieve the deepest red color without making the cookies cakey?
Use a high-quality red food coloring gel, not liquid dye. Gels deliver intense pigment without adding excess moisture that would disrupt the structure created by the melted butter and flour.
Can I substitute the egg yolk for another ingredient to maintain richness?
No direct substitute works perfectly; the yolk is crucial for richness. The extra fat from the yolk emulsifies beautifully, contributing to the dense, fudgy center you seek, much like the technique used to create the smooth base in the Emerald Indulgence Homemade recipe.
If I prefer a firmer cookie, how long should I leave them in the oven?
Bake for 12 minutes for a firmer, crispier edge. Keep in mind that residual heat on the pan will continue to cook them slightly after removal, so aim for a fully set edge but a matte top surface.
Why do some recipes call for chilling the dough when this one bakes immediately?
Chilling is unnecessary here because of the melted butter and cornstarch ratio. Chilling yields a thicker, puffier cookie; this recipe uses that specific combination to achieve chewiness instantly without fridge time, similar to how we manage spread in the Classic Butter Cookies recipe.
How long can I store the frosted cookies safely?
Refrigerate the frosted cookies and consume within 5 days. Because the topping is cream cheese based, it requires cold storage to remain safe and firm; they taste best if you let them warm slightly before eating.
Red Velvet Cookies Recipe
Ingredients:
Instructions:
Nutrition Facts:
| Calories | 224 calories |
|---|---|
| Protein | 2.7g |
| Fat | 11.9g |
| Carbs | 37.8g |
| Fiber | 0.6g |
| Sugar | 26.8g |
| Sodium | 88mg |
