The Showstopper Easter Egg Fruit Pizza with Strawberry Cream Cheese Swirl
- Why This Giant Easter Egg Fruit Pizza Deserves Center Stage
- Decoding the Dessert: The Strawberry Cream Cheese Swirl Secret
- Gathering Your Palette: Essential Ingredients for the Perfect Pizza Base
- Required Kitchen Tools for Shaping and Decorating
- Step-by-Step Guide to Baking the Foundation of Your Easter Egg Fruit Pizza
- Assembling and Decorating Your Edible Showstopper
- Expert Tips: Making Your Easter Fruit Pizza Ahead of Time
- Storage, Serving, and Flavor Variations
- Recipe FAQs
- 📝 Recipe Card
Why This Giant Easter Egg Fruit Pizza Deserves Center Stage
When hosting a spring celebration, especially one centered around the vibrancy of Easter, the dessert table demands a spectacular centerpiece. Forget tedious small bites; this glorious Easter Egg Fruit Pizza offers drama, fresh flavor, and visual appeal that truly stops the show.
Unlike heavy, traditional holiday bakes, this creation is light, bright, and perfectly balanced, making it an ideal choice for pairing with the season’s refreshing palette. It elevates the concept of Easter Desserts Recipes from predictable chocolate to a joyful, fruity spectacle.
It serves 10 to 12 people generously, making it an incredibly efficient and impressive way to handle your main holiday sweet. This dessert functions as both a delightful Easter Snack and a magnificent finale, combining the tender structure of a cookie with the elegance of a tart.
Decoding the Dessert: The Strawberry Cream Cheese Swirl Secret
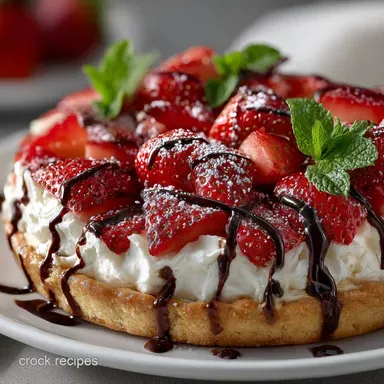
The magic of this particular Easter Egg Fruit Pizza lies in its perfect marriage of textures: the substantial, buttery crust contrasted by a luscious, brightly flavored frosting. Our key to differentiation is the irresistible strawberry cream cheese swirl.
We bypass runny, fresh fruit purees that destabilize the frosting, instead relying on freeze dried strawberry powder. This ensures maximum flavor concentration and color vibrancy, giving the cream cheese a beautiful, stable pale pink hue and a tangy, intense berry note that cuts through the richness of the butter and sugar.
Elevating the Humble Sugar Cookie Crust into a Showstopper
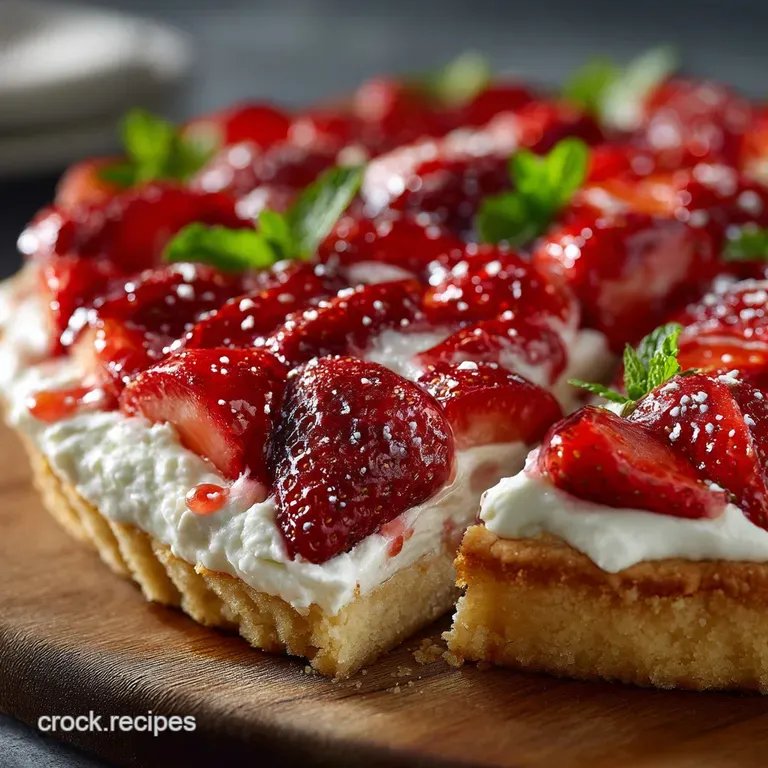
The foundation of this masterpiece is the Fruit Pizza Sugar Cookie . We take standard sugar cookie dough made rich with 2 sticks (225g) of softened unsalted butter and 2 whole eggs and transform it from a simple round into an Easter Egg Shaped Fruit Pizza that measures approximately 14 inches long.
The resulting crust is sturdy enough to hold the generous toppings but remains beautifully tender and soft, ensuring that every slice offers that classic, melt-in-your mouth cookie experience beneath the creamy layer.
This large scale Sugar Cookie Easter Egg Fruit Pizza base is designed specifically for impact.
The Visual Impact of the Oversized Edible Easter Canvas
The Easter Egg Dessert Pizza format provides a unique opportunity for artistry. By baking a single, oversized cookie shaped like a giant egg, we create a beautiful blank canvas.
The flat surface is perfect for arranging colorful fruit sliced strawberries, bright green kiwi, navy blueberries, and cheerful mandarin segments into elaborate, symmetrical patterns reminiscent of hand painted Easter eggs.
It turns dessert preparation into an engaging, artistic endeavor, guaranteeing gasps of appreciation when revealed.
Gathering Your Palette: Essential Ingredients for the Perfect Pizza Base
Creating a tender, buttery base requires attention to basic baking chemistry. For the crust, you will need 2 ¼ cups (280g) of all-purpose flour, paired with 1 teaspoon of baking powder and ½ teaspoon of fine sea salt for structure and balance.
Crucially, the starches must be carefully combined with the fats: 1 cup (225g) of softened unsalted butter and 1 cup (200g) of granulated sugar, creamed until light and fluffy. The quality of the vanilla extract (1 teaspoon) is also important here, as it provides the foundational warmth against the subsequent cold frosting.
Ensure all your dairy fats the crust butter and the frosting butter and cream cheese are brought to room temperature before beginning; this ensures smooth emulsification and prevents a dense, chewy cookie.
Required Kitchen Tools for Shaping and Decorating
While the baking portion requires standard equipment a stand mixer (essential for whipping light frosting), rolling pin, and a large 13x18-inch baking sheet the shaping is where specific tools come in.
Because we are creating such a large, asymmetrical shape, the most critical tool is a pre-cut template . You’ll need a piece of cardstock or thin cardboard cut into a large, symmetrical 14 inch oval.
This template, used with a sharp knife, allows you to maintain clean, proportional edges on your dough without the need for specialized bakeware. Parchment paper is also mandatory, as the large, soft cookie must be handled gently and slid directly onto the rack for cooling.
Selecting the Best Berries for a Vibrant Topping
For maximum visual contrast and a balanced flavor profile, select firm, fresh fruit. The recipe specifies 1 cup of bright red sliced strawberries and ¾ cup of deep blue blueberries. These are classic complementary colors.
The addition of two peeled and sliced kiwi fruits provides a sharp, grassy green, while the juicy, sunny mandarin orange segments offer a touch of acid and sweetness. Aim for variety in shape and color, as this is what allows for the detailed, patterned design characteristic of a successful Easter Egg Fruit Tart .
Tips for Achieving a Smooth, Non-Grainy Cream Cheese Frosting
The key to a silky smooth frosting is the temperature of your ingredients. Ensure the 8 ounces of full fat cream cheese and ½ cup (113g) of unsalted butter are truly soft. Begin by beating these fats together until absolutely no lumps remain.
Next, the 3 cups (360g) of confectioners' sugar must be sifted before introduction to prevent a grainy texture. Finally, the mixing process should start slow and then whip on medium high for a full three to four minutes to incorporate air, making the frosting light and pipeable.
Mastering the Strawberry Reduction for the Swirl
Our strawberry swirl is created using 2 tablespoons (15g) of potent, freeze dried strawberry powder, rather than a fresh reduction. This method is superior because it delivers intense strawberry flavor and a lovely natural pink color without compromising the stability of the frosting with excess moisture.
Simply incorporate the powder directly into the sugar and vanilla mixture, ensuring it is fully distributed during the whipping stage to achieve a uniform, beautiful tint.
Related Recipes Worth Trying
- Silky Deviled Eggs with Caviar The Gentrys Garnish Recipe — Elevate the classic picnic staple with these Silky Deviled Eggs with Caviar featuring a hint of truffle oil Find the easy recipe here
- Classic Deviled Eggs with Pickle Relish The Best Recipe — Whip up the best Deviled Eggs with Pickle Relish This easy recipe guarantees a creamy tangy filling thats perfect for any classic appetizer spread
- Smoky Air Fryer Eggplant Chips Crispy Tender No Breading — Master how to make eggplant in air fryer without breading These smoky slices are crispy outside and creamy inside Easy eggplant recipes for a healthy side
Step-by-step Guide to Baking the Foundation of Your Easter Egg Fruit Pizza
The process of baking the cookie foundation requires patience, especially regarding chilling. First, combine 2 ¼ cups of flour, baking powder, and salt. In a separate bowl, cream the softened butter and sugar until fluffy, then incorporate the eggs and vanilla.
Gradually mix in the dry ingredients until just combined overmixing will develop gluten and result in a tough crust. The crucial step follows: form the dough into a disk and chill it for a minimum of 60 minutes. This chilling time is non-negotiable for stability.
Once chilled, preheat your oven to 350°F (175°C). Roll the dough directly onto a large sheet of parchment paper to about a ¼-inch thickness. Lay your 14 inch egg template over the dough and use a sharp knife to cut the shape, removing excess dough.
Slide the parchment onto a baking sheet and bake for 15– 18 minutes until the edges are lightly golden.
Assembling and Decorating Your Edible Showstopper
The final assembly stage is where your Easter Egg Shaped Fruit Pizza transforms into an edible masterpiece. Timing is crucial here to prevent the frosting from melting or the fruit from slipping.
Creating the Perfect Oversized Egg Shape (No Special Pan Needed)
The technique using a pre-cut cardboard template guarantees symmetry and scale. After cutting the dough, handle the parchment paper gently when transferring it to the rack. The large size of this cookie requires careful attention as it cools to ensure it doesn't crack, though any minor cracks can be cleverly concealed by the thick frosting.
This method also allows for easy adaptation if you choose to make a batch of smaller Mini Easter Egg Fruit Pizza cookies using the same dough.
The Critical Cooling and Chilling Timeline
Remember, the baked cookie must be allowed to cool completely on a wire rack for at least 45 minutes after baking. Applying the frosting prematurely will lead to immediate melting, resulting in a thin, oily mess.
Once frosted and decorated, the finished pizza must be returned to the refrigerator for a final chill of at least 30 minutes. This sets the cream cheese frosting, making the structure firm and facilitating clean slicing later on.
Applying the Swirled Frosting Layer
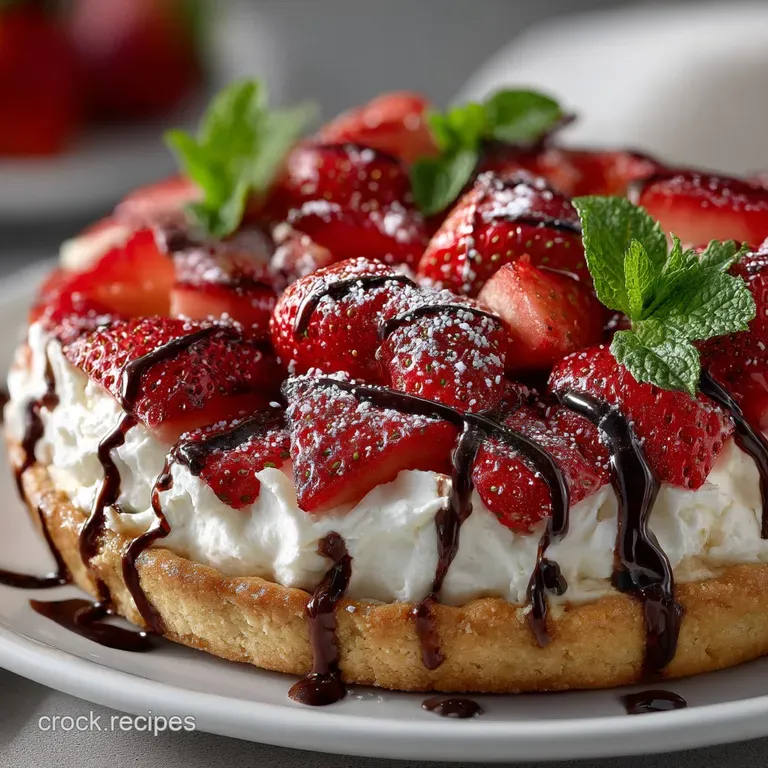
Once the base is stone cold, gently apply the thick strawberry cream cheese frosting. Spread it evenly using an offset spatula, taking care to leave a generous ½-inch border of bare cookie visible around the perimeter. This frame defines the edge of the "egg" and adds visual contrast.
Work quickly to keep the frosting from warming up too much.
Techniques for Artful Fruit Arrangement
This is the artistic phase. Start by planning your design. Geometric patterns, such as stripes or diamond shapes, tend to look the most professional. Use the contrasting colors of the fruit the red, green, blue, and orange to delineate clear sections, making sure the slices overlap slightly to cover the white frosting completely.
Once the fruit is positioned, melt ¼ cup of apricot jam or apple jelly with 1 tablespoon of water or lemon juice. Strain it for maximum clarity, then brush this warm glaze lightly over all the fruit.
This process seals the fruit, prevents browning, and delivers that signature, beautiful, high gloss shine often seen on sophisticated Easter Egg Fruit Pizza Cookies sold in high end bakeries.
Expert Tips: Making Your Easter Fruit Pizza Ahead of Time
The beauty of this recipe is its flexibility for advance preparation. You can bake the sugar cookie crust foundation (Step 1) entirely up to two days ahead of time. Store the completely cooled, unfrosted crust wrapped tightly at room temperature.
The strawberry cream cheese frosting can also be prepared a day in advance and stored in an airtight container in the refrigerator. If chilled, simply allow it to sit at room temperature for about 30 minutes and re-whip it quickly to restore its light, fluffy texture before spreading.
Do not assemble the entire pizza specifically, do not add the fresh fruit until no more than two to three hours before serving, as the fruit glaze can eventually seep, and the fresh fruit may weep moisture onto the frosting.
Storage, Serving, and Flavor Variations
Troubleshooting: Why Is My Cookie Crust Crumbly?
A crumbly cookie crust usually points to two potential issues: either the dry ingredients were drastically over mixed, developing too much gluten and making the final product tough and brittle, or the dough was not chilled properly, causing the fat to melt too quickly in the oven.
Ensure you mix the dry ingredients only until just incorporated, and strictly adhere to the mandatory 60-minute dough chilling time.
How Long Does the Easter Egg Fruit Pizza Stay Fresh?
Due to the cream cheese in the frosting and the freshness of the fruit, the assembled Easter Egg Fruit Pizza must be stored in the refrigerator. When tightly covered with cling film, it will remain fresh and delicious for 3 to 4 days, though the fruit's texture will be best on the first day.
Dietary Swaps: gluten-free and Low-Sugar Options
This recipe adapts well to dietary modifications. For a gluten-free crust, substitute the all-purpose flour with a 1:1 gluten-free baking blend that includes xanthan gum. For a lower sugar option, utilize monk fruit sweetener or erythritol in place of granulated sugar in the cookie dough, and use a sugar-free confectioners’ sweetener replacement in the frosting, adjusting liquid levels as needed for stability.
High-quality vegan butter and dairy-free cream cheese alternatives can also successfully create a delicious, if slightly softer, dairy-free version.
Effortlessly Cutting Clean Slices
To achieve those pristine, bakery quality slices, ensure the pizza is well chilled ideally straight from its final 30-minute rest in the refrigerator. Use a very sharp chef's knife. For the cleanest cuts, dip the knife in hot water and wipe it dry between each slice.
Cut the large egg shape into radiating wedges, much like a standard round pizza, to maintain the decorative elements in each individual piece.
Recipe FAQs
Crikey, how do I stop my giant cookie base from spreading and losing the perfect egg shape in the oven?
The secret is proper chilling it's absolutely mandatory! Ensure the dough is chilled for at least 60 minutes, as cold butter holds its structure beautifully under heat. Also, roll the dough directly onto the parchment paper before cutting the shape; this avoids having to move the fragile egg shape.
If it spreads a tiny bit during baking, you can use a knife or spatula to gently push the edges back into a neat oval shape immediately after pulling it out of the oven, while it's still warm and pliable.
If I make this Easter Egg Fruit Pizza the night before, will the fruit topping stay looking fresh and spiffing?
While the cookie base and the cream cheese frosting can be prepared 1-2 days ahead, it’s best practice to hold off on the fruit and the final glaze until just a few hours before serving.
The moisture from the fresh fruit can start to seep into the frosting over time, leading to a slightly soggy presentation, which would be a right shame! Assemble and glaze 2-4 hours before your guests arrive, then keep it chilled in the fridge.
What’s the point of brushing apricot jam or apple jelly on the finished fruit? Isn't that just a load of old faff?
Not at all, it's the professional chef’s little secret! The warm glaze serves two vital purposes: it gives the fruit a stunning, glossy, 'showstopper' shine, elevating the pizza from homemade to high street bakery standards.
Crucially, it also seals the fruit, preventing the cut edges (like the kiwi and strawberries) from browning or drying out, ensuring the whole dish looks vibrant and fresh for longer.
I worry my strawberry cream cheese frosting will be too runny in the spring heat. Any tips for keeping it stiff?
For a stable frosting, ensure your cream cheese and butter are softened but not warm or greasy before beating. The use of freeze dried strawberry powder instead of wet puree is key here, as it adds intense flavour without liquid.
If you live somewhere particularly tropical, add an extra tablespoon of sifted confectioners' sugar. Always chill the assembled pizza for at least 30 minutes before serving to ensure the frosting is perfectly set and easy to slice.
I need a dairy-free version for one of my guests. Can I actually swap out the full fat ingredients in the frosting?
Absolutely, you can still crack on and make a delicious dairy-free version! Look for high-quality, full fat vegan cream cheese alternatives and solid vegan butter sticks, ensuring they are at room temperature when you begin.
The texture may be slightly softer than the traditional version, so chill the finished fruit pizza thoroughly before slicing. You might also need a little extra confectioners' sugar for stability.
Showstopper Easter Egg Fruit Pizza