Marbled Magic Easy Nospread Tiedye Sugar Cookies
- Unlocking Edible Rainbows: The Allure of Swirled Baking
- Why These Marbled Treats Outshine Standard Sugar Cookies
- Assembling Your Colour Canvas: Dough Components & Supplies
- Precision Pantry List for Perfect Swirl Consistency
- The Technique: Crafting Distinct Dough Portions
- Mastering the Marble Effect: Layering for Maximum Impact
- Baking for Beauty: Ensuring the Cookie Holds Its Shape
- Troubleshooting Your Tie Dye Cookies: FAQs Answered
- Creative Flourishes Beyond the Basic Swirl
- Recipe FAQs
- 📝 Recipe Card
Unlocking Edible Rainbows: The Allure of Swirled Baking
There is something inherently joyful about creating something visually stunning that you can then eat. These Tie Dye Cookies aren't just another batch of simple cut-outs; they are masterpieces born from patience and a dash of vibrant imagination.
Forget the endless piping and flooding required by detailed royal icing work; here, the artistry is baked right into the dough itself, resulting in Colorful Cookies that promise delight with every slice.
They are perfect for brightening any occasion, transforming a simple afternoon snack into a memorable event. We’re embarking on a journey to create perfectly soft, vanilla scented cookies encased in mesmerizing, naturally occurring psychedelic patterns.
Why These Marbled Treats Outshine Standard Sugar Cookies
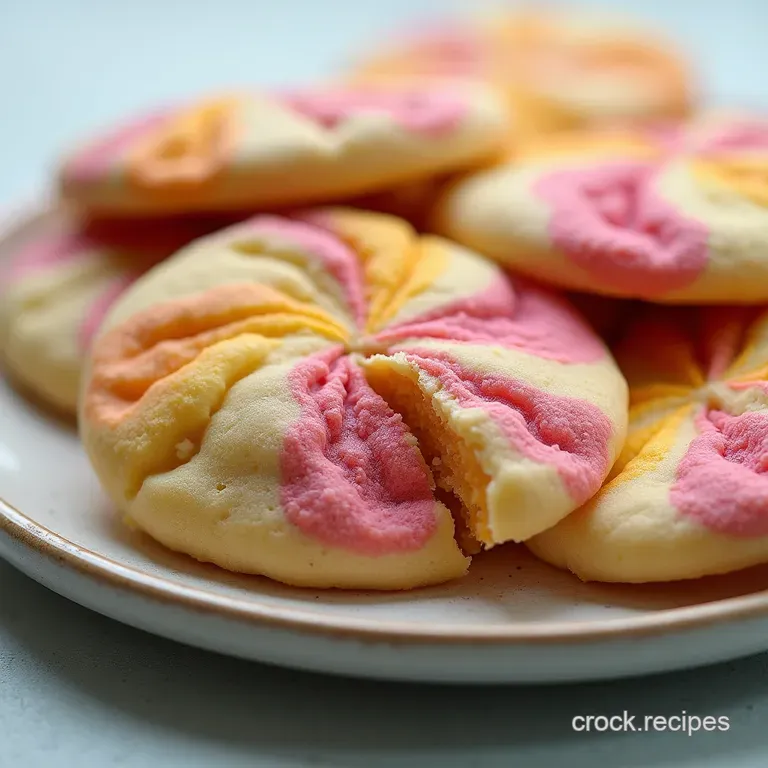
What sets this particular style apart from its standard sugar cookie cousins is the element of surprise. Every single slice yields a unique pattern, meaning no two cookies are ever exactly alike. This "wow" factor makes them an ideal centerpiece for celebrations.
They are a guaranteed hit for any event, positioning them perfectly as Tie Dye Birthday Party Food , offering a level of fun that standard single colour batches simply can't match.
The flavour remains classic a buttery, melt-in-your mouth vanilla experience but the presentation elevates them to gourmet status.
Setting the Stage for Spectacular Tie Dye Cookies
The foundational success of these swirled delights hinges entirely on the dough. We are aiming for a sturdy, no-spread sugar cookie base. This firmness is non-negotiable because the dough needs to maintain its sharp, layered structure through creaming, colouring, rolling, and the heat of the oven.
Achieving this robust texture starts with precise ingredient temperatures and careful mixing, ensuring we create a dough that behaves exactly as intended when we start arranging our colours.
The Secret to Vibrant Hues Without Bleeding
The key to achieving that crisp, bright Tie Dye Cookies Recipe look without colours migrating into unwanted areas lies in the type of colouring used. Liquid food colourings are water based and will thin out your dough, leading to spreading and muddied patterns. Our secret weapon?
high-quality Gel Food Coloring Recipes . Gels are highly concentrated pigments suspended in a thick base, allowing you to achieve deep, saturated colours using only a tiny dot, adding virtually no extra moisture to the dough whatsoever.
A Nod to Nostalgia: Baking Up Bold Fun
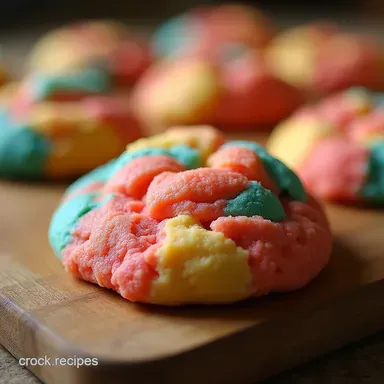
These cookies tap into a wonderfully vibrant aesthetic, reminding us of groovy 60s and 70s art. While sophisticated in technique, the result is pure, unadulterated fun, making them an absolute winner for Kid Approved Meals Cookies .
The process itself watching the distinct colours blend slightly as you roll the log is almost as rewarding as the final baked product. It’s an activity that encourages creativity and produces incredibly satisfying results that look far more complex than they actually are.
Assembling Your Colour Canvas: Dough Components & Supplies
To start crafting our edible rainbows, we must first establish a reliable, firm base dough. This recipe yields roughly 24 standard sized cookies, requiring a balance of dry and wet ingredients to prevent crumbling or spreading.
The initial preparation involves making a classic, rich vanilla sugar cookie dough, which will then be strategically portioned and coloured. Having your supplies ready beforehand especially the plastic wrap for forming the log will make the subsequent layering process much smoother.
Precision Pantry List for Perfect Swirl Consistency
A successful Tie Dye Cookies Icing base (in this case, the dough itself) requires accurate measurements. We rely on the classic ratios of butter, sugar, and flour that define a premium shortbread style cookie.
Remember, accuracy in measuring the flour spooned lightly into the cup and levelled off prevents a dry final product.
The Butter, Sugar, and Flour Foundation
For the dough base, you will require 1 cup (2 sticks) of softened, unsalted butter paired with 1 1/2 cups of granulated sugar, creamed until perfectly light and fluffy. To this rich base, incorporate 2 large eggs, ensuring they are at room temperature to emulsify properly.
Finally, the structure comes from 3 cups of all-purpose flour, mixed with 1 teaspoon of baking powder and 1/2 teaspoon of salt. This combination ensures tenderness without sacrificing the structure needed for slicing.
Selecting the Best Gel Food Colouring for Intensity
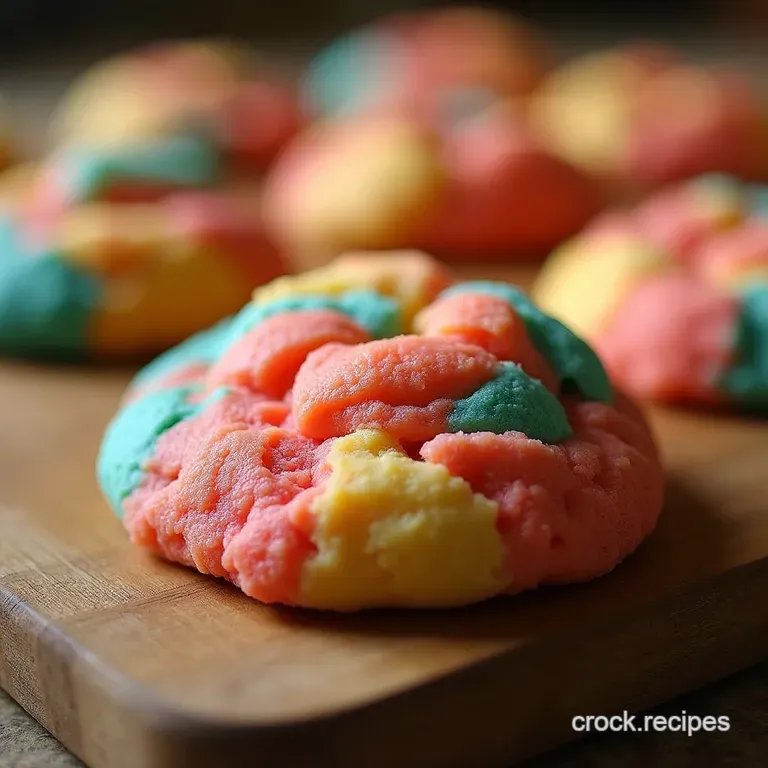
For our vibrant effect, we need at least five distinct colours, plus the main white portion. Choose concentrated gel colours in shades like bright blue, sunny yellow, deep red, forest green, and perhaps a rich purple.
These high pigment gels ensure that even a small amount of colour won't alter the dough's texture, which is paramount for maintaining the crisp lines of our swirl.
Essential Mixing Implements You'll Need Right Now
While a stand mixer simplifies the creaming process, a sturdy hand mixer works just as well. Beyond the mixer, you’ll need several small bowls to house your individual colour portions.
Crucially, have ample quantities of plastic wrap or cling film on hand; this acts as your rolling guide and press, enabling you to form a tight log without squeezing out the air bubbles or compromising the layered arrangement.
Related Recipes Worth Trying
- Chewy Creepy Chocolate Chip Cookies Recipe for Halloween — Bake spooky treats that actually taste incredible Get our recipe for perfectly chewy Creepy Chocolate Chip Cookies using black cocoa
- The Ultimate Creamsicle Orange Cookies From Scratch — Bake these soft zesty Creamsicle Orange Cookies today This easy recipe delivers that perfect nostalgic orangevanilla flavour combination Get the full guide
- The Ultimate 3Ingredient Shortbread Cookies Recipe — Discover the best shortbread cookies recipe for meltinyourmouth texture This easy classic shortbread requires just three ingredients for buttery perfection
The Technique: Crafting Distinct Dough Portions
Once the vanilla dough base is perfectly mixed creamy, smooth, and just barely combined once the flour is added the artistry begins. Divide the dough into seven manageable portions. Six of these should be roughly equal in size, designated for your chosen colours.
The seventh portion should be slightly larger; this will remain the base ‘white’ portion of your swirl. Gently mix each of the smaller portions with a small dab of gel colour until uniformly pigmented. Handle these portions minimally to avoid activating too much gluten.
Mastering the Marble Effect: Layering for Maximum Impact
The swirling illusion is achieved through strategic layering rather than messy mixing. On a large sheet of plastic wrap laid flat on your counter, gently press or roll the white dough into a wide, rectangular slab. Next, take your coloured dough portions.
Flatten each coloured portion slightly, then lay them side-by-side in stripes directly on top of the white base. Press the colours together gently so they touch along the long edges. Now, using the plastic wrap as your tool, carefully begin to roll the entire assembly tightly, like rolling a jelly roll or Swiss roll.
The goal is a compact, uniform log where the colours are visible in distinct bands when viewed from the end.
Baking for Beauty: Ensuring the Cookie Holds Its Shape
This stage is where all the prep work pays off. Proper chilling and temperature control prevent the patterns from blurring into an indistinct mass.
step-by-step Dough Preparation and Colour Distribution
Follow the layering process described above to form your tight, colourful log. Ensure the outer wrap is pulled taut to compress the layers evenly.
Rolling and Stacking: How to Create the Perfect Log
Once wrapped, the log must be firm enough to slice cleanly. Place it in the refrigerator for a minimum of two hours. This chilling time is essential; if the dough is soft, slicing will drag the colours together, ruining the definition you worked so hard to create.
Chilling Secrets: Preventing Unwanted Spreading During Bake Time
After slicing your chilled log into even 1/4 inch rounds, place them on parchment lined baking sheets. A crucial tip for achieving the crisp edges characteristic of great Tie Dye Cookies Icing -free décor is to place the entire tray into the freezer for about 10 minutes immediately before they go into the oven.
A super chilled cookie hits the hot oven, and the fat sets quickly, minimizing lateral spread.
Cooling Considerations for Crisp Edges
Bake the cookies at 350° F ( 175° C) for about 10 to 12 minutes. They are done when the edges look just set, perhaps displaying the faintest hint of golden colour.
Let them rest on the hot baking sheet for five minutes this allows the centre to firm up before transferring them carefully to a wire rack to cool completely.
Troubleshooting Your Tie Dye Cookies: FAQs Answered
Even with the best intentions, baking sometimes presents minor surprises. Understanding how to correct common issues ensures your next batch of Tie Dye Cookies Bon Appetit success.
The main challenge often encountered is spreading. If your cookies spread too much, it generally points to two culprits: dough that wasn’t chilled sufficiently, or an over reliance on liquid ingredients (like liquid colouring or too much vanilla).
If the dough felt slightly tacky when you were mixing the base, that’s the primary warning sign. Always prioritize chilling time.
Creative Flourishes Beyond the Basic Swirl
While the swirling pattern is the star, there are many ways to enhance these cookies aesthetically and flavourfully.
Shelf Life and Airtight Storage Tips for Freshness
Because these are a simple sugar cookie without icing, they store exceptionally well. Once completely cooled, place them in an airtight container layered with parchment paper to prevent sticking. They will retain peak freshness and that delightful buttery flavour for up to a week at room temperature.
Flavor Twists: Adding Extracts to Your Dough Base
To move beyond pure vanilla, consider substituting half the vanilla extract with another complementary flavour. Almond extract lends a classic wedding cookie note, while a half teaspoon of lemon or orange extract can really make the colours "pop" with brightness, especially if you are serving them alongside lighter desserts.
Fixing Cookies That Spread Too Much at High Temperatures
If you find your cookies have spread prematurely, there’s no fixing the current batch, but you can prevent it next time. In addition to freezing the slices before baking, ensure your oven thermometer is accurate.
Ovens running too cool can prolong the baking time, giving the butter more time to melt before the flour structure sets. A hot, fast bake is your friend here.
Glazing Versus Simple Dusting: Finishing Touches
For a simpler, faster finish, a light dusting of confectioners' sugar over the cooled cookies provides a beautiful, snowy contrast to the intense colours. If you prefer a glazed finish, use a very thin vanilla Tie Dye Cookies Royal Icing .
Mix 1 cup of powdered sugar with just 1-2 tablespoons of milk or water until pourable but still thick. Drizzle lightly across the cookies; resist the urge to flood the whole cookie, as this will obscure the beautiful swirl pattern underneath.

Recipe FAQs
Why are my Tie Dye Cookies spreading out like a puddle in the summer sun?
Spreading is usually down to two culprits: the dough not being cold enough or using liquid food colouring. Make sure your dough log chills for the full two hours it needs to be rock solid! Also, stick to gel colours, as liquid colouring throws off the flour-to-fat ratio, leading to a greasy, flat result.
Can I skip chilling the dough for these Tie Dye Cookies? I’m in a rush!
Honestly, you shouldn't try it, mate. Chilling is non-negotiable for slice and-bake cookies, especially ones with this many colours. A firm log ensures you get those crisp, vibrant edges when you slice them; if it's soft, you’ll end up with a colourful, shapeless blob.
What’s the secret to getting such bright, vibrant colours without them looking muddy?
The key lies in using high-quality gel food colouring and not overmixing the dough once the colour is added. You want to mix just until you achieve that uniform shade, then stop immediately. Also, leave one large section of dough white; this contrast stops the colours from bleeding into a murky brown when baked.
How long will these Tie Dye Cookies last, and what’s the best way to store them?
These cookies are brilliant for making ahead! Store the fully cooled cookies in an airtight container at room temperature; they should keep nicely for about a week, provided they don't disappear before then.
For longer storage, you can freeze the baked cookies for up to three months, just layer them with parchment paper.
My dough feels a bit tough after chilling; is it ruined?
Not at all! If the dough is too hard straight from the fridge, just let it sit on the counter for about 10 to 15 minutes before slicing. This slight warming makes cutting easier without compromising the structure needed for baking. It's the difference between a clean cut and a cracked edge!
Easy Tie Dye Cookies
Instructions:
Nutrition Facts:
| Calories | 150 |
|---|---|
| Fat | 7g |
| Fiber | 0.5g |
