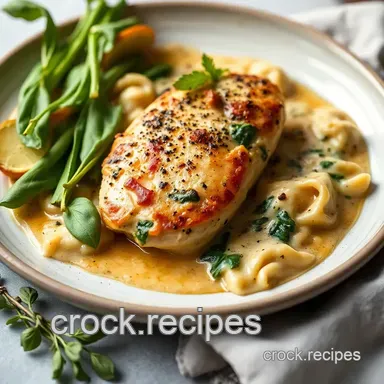
Baked Chicken Spinach Ricotta Delight in 40 Minutes
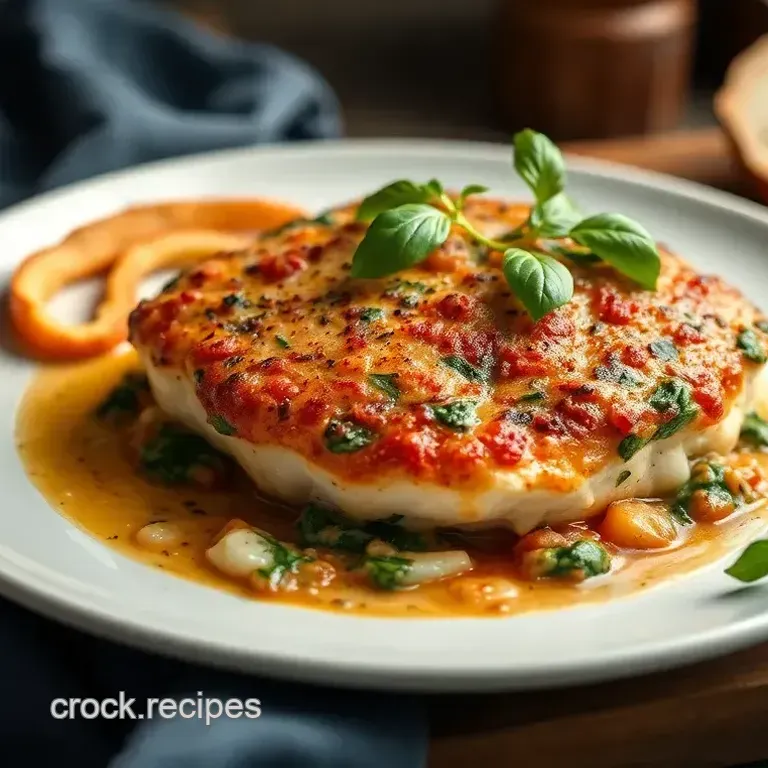
- Total Time: 10 min active + 30 min cook
- Taste & Texture: A savory, robust crust with a creamy cheese center
- Ideal for: A low-carb weeknight meal that feels sophisticated
Baked Chicken Spinach Ricotta Delight
For me, the magic begins the moment garlic hits a hot skillet. There is something about the aroma of olive oil and smoked paprika bubbling together that makes the home feel like a cozy bistro. I used to bake plain chicken breasts, but they almost always turned out rubbery.
Everything shifted once I started stuffing them.
The ricotta is the real star here. I specifically use part-skim because it possesses enough structure to remain inside the chicken without leaking moisture into the meat. Whole milk ricotta can be too runny, while low-fat often tastes chalky.
This balance transforms the Baked Chicken Spinach Ricotta Delight into a hearty comfort dish instead of a restrictive "diet" meal.
Expect a wonderful contrast between the deep mahogany exterior and the creamy, herb-speckled center. It is a protein-heavy meal that achieves richness without needing a heavy cream sauce. Trust me, once you nail the sear, you will never return to basic baked chicken.
Why Most Recipes Fail
Stuffed chicken often fails when moisture isn't properly managed. This method succeeds for several reasons:
The Pre Sear: A 3-4 minute sear on each side develops a crust that preserves the interior's juiciness and adds savory depth.
Dry Spinach: Squeezing the water out of the spinach is essential. If too much moisture remains, the stuffing will become runny and leak during the bake.
Resting Period: Allowing the meat to rest for 5 minutes helps the juices redistribute. If sliced immediately, the filling and juices will spill across the plate.
| Ingredient Choice | Shortcut Option | Impact on Dish |
|---|---|---|
| Fresh Spinach | Frozen Spinach | Frozen works well but needs twice the squeezing to prevent a soggy filling |
| Fresh Garlic | Garlic Powder | Powder is convenient but misses the aromatic, pungent punch of fresh cloves |
| Smoked Paprika | Regular Paprika | Regular lacks the woody, campfire essence that defines the crust |
The Essentials You Need
Before we get the pan hot, let's look at what we are working. Each part of this dish serves a specific purpose.
| Ingredient | What It Does | Best Swap |
|---|---|---|
| Part skim Ricotta | Provides a creamy, rich base | Strained cottage cheese |
| Fresh Spinach | Adds earthy color and nutrients | Finely chopped kale |
| Smoked Paprika | Gives the crust a mahogany color | Cumin or Ancho chili powder |
| Parmesan Cheese | Adds a salty, umami kick | Pecorino Romano |
Gathering Your Essentials
I prefer having all my ingredients ready before I start cooking. It makes the whole experience much more relaxed.
- 1/2 cup (125g) part skim ricotta cheese Why this? It offers a firmer texture than whole milk ricotta
- 1/2 cup (30g) fresh spinach, finely chopped and squeezed dry Why this? For a touch of vibrancy and earthiness
- 2 tbsp (10g) grated Parmesan cheese
- 1 clove (5g) garlic, minced
- 1/8 tsp (0.75g) salt
- 1/8 tsp (0.3g) black pepper
- 1 (6 oz / 170g) boneless, skinless chicken breast Why this? A lean protein that is easy to stuff
- 1 tbsp (15ml) olive oil
- 1/2 tsp (1g) smoked paprika
- 1/2 tsp (1g) dried oregano
- 0.5g salt
- 0.5g black pepper
If your chicken breast is too thin, feel free to use a larger one and scale the filling accordingly. Just ensure the pocket is deep enough to secure the ricotta.
Necessary Kitchen Tools
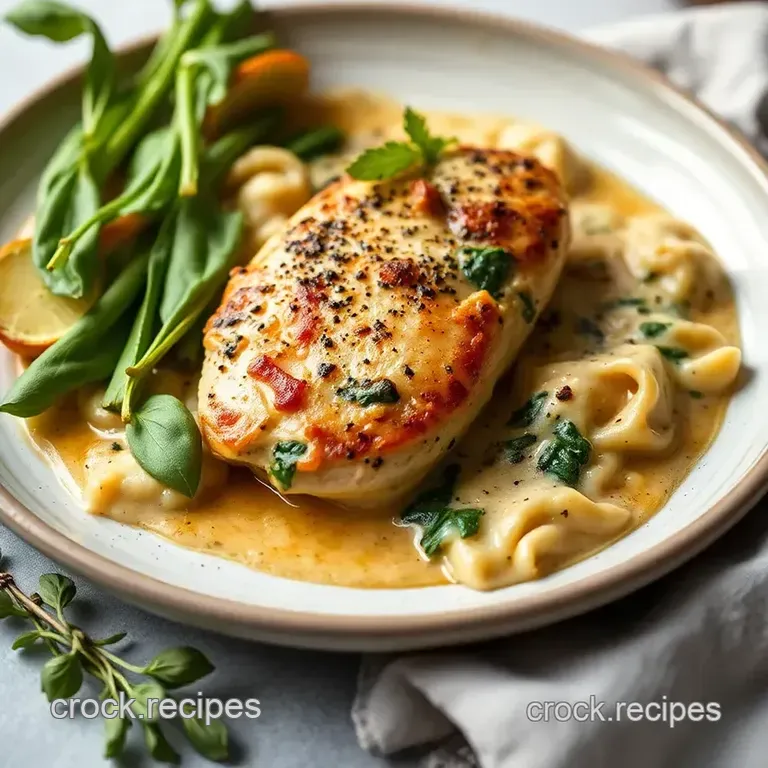
A professional kitchen isn't required, though a few key tools simplify the process.
- Oven Safe Skillet: I recommend cast iron or stainless steel. This allows you to sear on the stovetop and transfer the pan directly into the oven to minimize cleanup.
- Meat Thermometer: Use this to ensure the chicken reaches the target temperature of 165°F (74°C).
- Small Mixing Bowl: For prepping the filling.
- Paper Towels: To pat the chicken dry. If the surface is damp, the meat will steam rather than sear.
Prep and Cooking Steps
Let's dive in. Use these instructions to achieve a beautiful golden crust and a creamy, silky center.
Phase 1: Preparing the Filling
In a small bowl, mix together the ricotta, squeezed spinach, Parmesan, and minced garlic. Stir until the ingredients are uniform and the spinach is well-distributed. Season with salt and pepper. Note: The filling should be firm enough to stay put when pressed with a spoon.
Phase 2: Stuffing and Searing
Cut a pocket into the thickest part of the chicken breast, being careful not to slice all the way through. Pack the ricotta mixture tightly into the opening. Pat the chicken dry and season with olive oil, paprika, oregano, salt, and pepper.
Get a pan hot over medium-high heat. Brown the chicken for 3–4 minutes per side. Cook until a mahogany colored crust forms. You should smell the paprika toasting and the garlic becoming aromatic.
Phase 3: The Final Bake
Move the seared chicken to a baking dish or stay in the oven-safe skillet. Cook at 375°F (190°C) for 15–20 minutes. Check with your thermometer until the thickest part reaches 165°F (74°C).
Take the pan out of the oven and let the meat sit for 5 minutes. This is the hardest part, but it keeps the juices inside the meat.
Fixing Common Problems
Even the best home cooks run into a few hiccups. Here is how to handle them.
Preventing Filling Leaks
If you see cheese bubbling out of the sides, it usually means the spinach was too wet or the pocket was cut too wide. To fix this next time, use a clean kitchen towel to wring the spinach until no more water drips out. For extra security, you can use a toothpick to pin the opening of the pocket shut before searing. If you're dealing with very loose fillings, you might try something like Cream Cheese Chicken which has a slightly different binding property.
Avoiding Dry Chicken
Chicken breasts can go from juicy to rubbery in about two minutes. The key is the thermometer. Do not rely on the "cut it open to check" method because that lets all the steam escape.
If you're using a very large breast, you might need to lower the oven temp to 350°F (175°C) and bake it longer to ensure the middle cooks without the outside drying out.
Fixing Pale Chicken
If your chicken looks grey instead of golden, your pan wasn't hot enough. You should hear a loud sizzle the second the meat hits the oil. If it's quiet, wait another minute for the oil to shimmer before adding the chicken. Also, make sure you pat the meat dry.
Moisture on the surface of the chicken creates steam, which prevents that beautiful brown crust from forming.
Serving Your Dish
This dish is hearty on its own, but it loves a bit of company on the plate. I usually serve it with roasted asparagus or a simple arugula salad with a lemon vinaigrette to cut through the richness of the ricotta.
For something even more comforting, you could serve this over a bed of garlic mashed potatoes or quinoa. Since the ricotta is so satisfying, you don't need a heavy side. If you have guests and want to turn this into a full Italian style feast, this pairs beautifully with a Decadent Maggianos Style Lasagna as a secondary option for the table.
Quick Decision Guide: Extra tang? → fold in 1 tsp lemon zest. More bite? → add 1/4 tsp red pepper flakes. Heartier filling? → add 1 tbsp chopped sun dried tomatoes.
Storage and Scraps
If you have leftovers, store them in a glass container in the fridge for up to 3 days. To reheat, I recommend using the oven or an air fryer at 325°F (160°C) for about 10 minutes. The microwave tends to make the chicken rubbery and the cheese too soft.
For freezing, wrap the seared (but not yet baked) chicken tightly in foil and plastic wrap. It will stay good for about 2 months. Just bake from frozen at 350°F (175°C), adding about 10-15 minutes to the total cook time.
Don't toss your spinach stems. If you have a lot of them, throw them into a freezer bag with other veggie scraps like onion ends and carrot peels. Once the bag is full, simmer them in water to make a light vegetable broth for your next soup.
Taste Variations to Try
Once you've got the base recipe down, you can start playing with the flavors. This Baked Chicken Spinach Ricotta Delight is a great canvas.
The Sun Dried Tomato Twist Fold in two tablespoons of chopped sun dried tomatoes and a pinch of dried basil to the ricotta mixture. This gives it a punchy, Mediterranean vibe. For a similar flavor profile in a different format, you might enjoy my Tomato Garlic Chicken which uses a similar savory base.
The Zesty Lemon Version Add a teaspoon of lemon zest and a pinch of nutmeg to the cheese. The nutmeg is an old school Italian trick that makes the ricotta taste richer and more complex. It pairs perfectly with the fresh spinach.
The dairy-free Alternative You can swap the ricotta for a firm almond based ricotta and use nutritional yeast instead of Parmesan. Keep the searing and baking process exactly the same. The texture will be slightly different, but the smoked paprika crust still delivers that satisfying savory hit.
Extra Protein Boost If you want to make this even more filling, add a tablespoon of finely chopped cooked pancetta or bacon bits to the filling. The smokiness of the meat complements the smoked paprika on the outside of the chicken.
Recipe FAQs
Can I use frozen spinach?
Yes, provided it is thawed and squeezed completely dry.
Tip: Press the leaves between paper towels to remove every drop of water.
How to keep the filling inside?
Stuff the ricotta mixture firmly into the pocket and press the edges closed.
Tip: Sear the chicken on the side of the pocket first to help seal the meat.
Is it true I need to pound the chicken flat?
This one's false: Slicing a pocket into the thickest part preserves the breast's volume and juiciness.
Tip: Use a small, sharp knife to create a clean slit without cutting all the way through.
When is the meat fully cooked?
The center should reach 165°F (74°C) according to a meat thermometer.
Tip: Rest the chicken for 5 minutes before slicing to keep the juices inside.
Which reheating method is best?
Heat in an oven or air fryer at 325°F (160°C) for 10 minutes.
Tip: Skip the microwave to avoid a rubbery texture.
What complements this dish well?
This chicken pairs perfectly with a side of creamy white sauce.
Tip: Serve with extra steamed spinach for a more nutrient-dense meal.
Spinach Ricotta Chicken in 40 Minutes