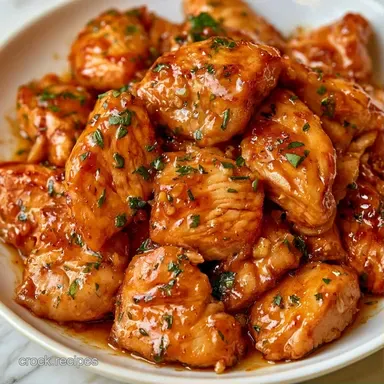
Honey-Glazed Slow Cooker Garlic Ginger Chicken
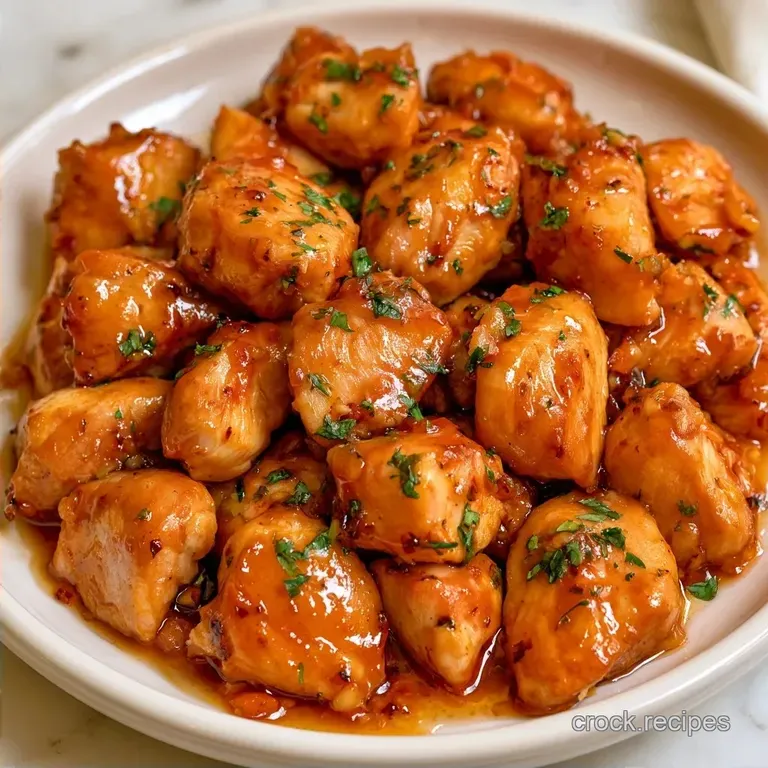
- Time:10 minutes active + 6 hours cooking
- Taste & Feel: A sticky, glossy glaze with a bold ginger punch
- Perfect for: Hectic weeknights, affordable meal prepping, or those new to the Crockpot
While the scent of garlic and ginger searing in a pan is wonderful, there's a unique magic to the fragrance of a slow cooker after six hours. It's a concentrated, savory aroma that permeates the entire home.
Years back, I attempted to make a "healthier" version by swapping honey for a budget sugar substitute and using lean chicken breasts. It was a complete failure. The meat turned into rubbery cardboard and the sauce had a strange, metallic aftertaste.
That experience taught me that authentic ingredients and the correct cut of meat are non-negotiable. This version of Slow Cooker Garlic Ginger Chicken is what happens when you stop overcomplicating things and let the Crockpot do the heavy lifting.
How to Get it Right
- Thighs over Breasts: Chicken thighs have more collagen. This breaks down into gelatin over six hours, giving the meat a velvety texture that doesn't dry out.
- Fresh Aromatics: Grating the ginger and garlic instead of using powder releases the natural oils. This keeps the flavor bright and punchy.
- The Slurry Step: Slow cookers trap steam, which keeps the sauce thin. Simmering the liquid in a pan at the end is the only way to get that sticky, restaurant style cling.
Tools You Will Need
A standard 6-quart slow cooker is ideal for the amount of meat required. Should you be using a smaller model, simply cut the recipe in half.
I recommend using a small saucepan for the final thickening process. Thicken the sauce on the stove instead of inside the Crockpot to avoid cornstarch clumps and maintain better control over the consistency.
For the preparation, a microplane or fine grater is incredibly helpful. It transforms the garlic and ginger into a smooth paste that blends perfectly into the sauce, ensuring there are no large, spicy chunks.
The Building Blocks
| Component | Role | Substitution Tips |
|---|---|---|
| Chicken Thighs | Primary protein and fat source | Breast meat is an option but dries out more easily |
| Honey | For sweetness and a thick glaze | Maple syrup provides a woodier flavor |
| Soy Sauce | Savory, salty foundation | Use coconut aminos for a low-sodium version |
| Fresh Ginger | Zesty, peppery warmth | Use 1/4 tsp ground ginger, though it's less potent |
For the Protein
- 2 lbs boneless, skinless chicken thighs Selection: Keeps the meat tender during longer cooking
- 1 tsp kosher salt
- 1/2 tsp black pepper, cracked
For the Ginger Glaze
- 1/3 cup low sodium soy sauce Selection: Delivers umami without overpowering the dish
- 1/4 cup honey
- 2 tbsp apple cider vinegar Selection: Brightens the flavor and cuts the sugar
- 1 tbsp toasted sesame oil Selection: Adds a deep, nutty essence
- 6 cloves garlic, finely grated
- 2 tbsp fresh ginger, grated
- 1 tsp red pepper flakes
For the Final Thicken
- 1 tbsp cornstarch
- 1 tbsp cold water
Cooking Details
| Metric | Detail |
|---|---|
| Prep Time | 10 minutes |
| Cook Time | 6 hours (Low) or 3 hours (High) |
| Total Time | 6 hours 10 minutes |
| Servings | 6 |
Right then, let's talk about the timing. If you have the luxury of time, always go for the Low setting. It's a gentler heat that preserves the integrity of the meat.
If you're in a rush, the High setting works, but the chicken might not be quite as fall apart tender. Seriously, don't skip the 6 hour window if you can avoid it.
From Prep to Plate
- Salt and pepper the chicken thighs.
- Place the thighs in a single layer at the base of the slow cooker. Note: Avoid stacking them too high to ensure they are coated evenly.
- In a medium bowl, whisk together soy sauce, honey, vinegar, sesame oil, grated garlic, grated ginger, and red pepper flakes.
- Drizzle the sauce mixture over the chicken until all pieces are well covered.
- Cover and set to Low; cook for 6 hours until the chicken pulls apart with ease.
- Transfer the cooked chicken to a platter.
- Pour the leftover liquid from the Crockpot into a small saucepan.
- Mix cornstarch and cold water in a small cup to create a slurry.
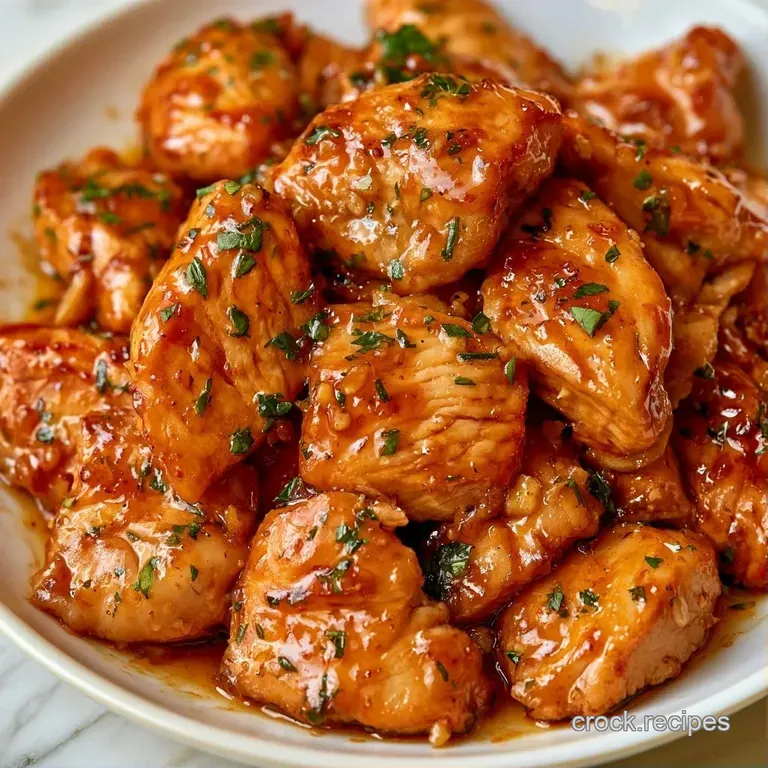
- Stir the slurry into the simmering sauce for 2-3 minutes until the liquid becomes glossy and thick.
- Spoon the thickened glaze over the chicken and serve immediately.
Chef's Tip: For a richer color, brown the chicken thighs in a pan for 3 minutes per side before transferring them to the slow cooker. This adds a charred flavor that the Crockpot can't achieve.
Fixing Common Issues
Many people find slow cooker meals end up with a watery sauce. This occurs because the chicken releases significant moisture during cooking, which remains trapped by the sealed lid. To fix this, we transfer the sauce to a pan at the end to thicken it.
Rubbery meat is usually the result of using chicken breasts or cooking on High for too long. For the best results, use thighs and the Low setting. If you prefer breasts, check them after 3 hours on High to ensure they don't overcook.
If the sauce tastes too salty, a bit of apple cider vinegar or lime juice can help balance the flavors. This typically happens if you used regular soy sauce instead of the low-sodium variety.
| Problem | Root Cause | Solution |
|---|---|---|
| Sauce is too thin | Chicken released too much moisture | Simmer in a pan with cornstarch slurry |
| Meat is rubbery | Overcooked or used lean cuts | Use thighs and cook on Low |
| Glaze is too salty | High sodium soy sauce | Stir in some honey or lime juice |
Storage Guidelines
Once you've finished your meal, store the leftovers in a glass container. It stays fresh in the refrigerator for about 3 to 4 days.
When you reheat it, do it gently. If you microwave it on high, the honey in the glaze can burn or the chicken can toughen up. I prefer heating a portion in a small pan with a splash of water to loosen the sauce.
You can freeze this dish for up to 2 months. Let it cool completely before freezing. When you're ready to eat it again, thaw it in the fridge overnight and reheat it on the stove.
To avoid waste, save any leftover ginger scraps or garlic peels. I usually toss them into a freezer bag and use them to flavor a basic vegetable broth. It's a simple way to get a bit more use out of your fresh produce.
Easy Ingredient Swaps
If you're looking for a different flavor profile, you can easily pivot. For a more traditional approach, check out my Soy Sauce Chicken recipe which leans more into the savory side.
For those watching their carbs, you can make this Keto friendly by swapping the honey for a monk fruit sweetener or a small amount of allulose. Just be aware that the glaze won't be as sticky.
| Goal | What to change |
|---|---|
| More heat | Add 1 tbsp sriracha or extra red pepper flakes |
| Lighter protein | Use chicken breasts (reduce cook time by 1-2 hours) |
| Thicker glaze | Increase cornstarch to 1.5 tbsp |
If you're on a tight budget, don't worry about buying expensive brand name soy sauce. The store brand usually tastes the same once it's mixed with honey and ginger.
Best Side Dishes
This dish is heavy on the umami and sweet notes, so you need something to balance it. Steamed jasmine rice is the classic choice because it absorbs the extra glaze.
If you want something greener, steamed bok choy or sautéed snap peas work well. The bitterness of the greens cuts through the richness of the honey.
For those who love sticky chicken, this pairs well with the flavors found in Orange Chicken, so feel free to serve them together for a big family feast.
A Note on Food Safety
Always make sure your chicken reaches a safe internal temperature. USDA guidance puts the safe internal temperature at 165°F. Using a digital meat thermometer is the only way to be sure the meat is cooked through without overdoing it.
For more detailed nutritional data on the ingredients used here, you can check USDA FoodData Central.
Recipe FAQs
Can you put raw chicken straight into a slow cooker?
Yes, this is safe. Simply season the chicken thighs and place them in a single layer to ensure they cook evenly throughout the process.
Do I need to sauté raw garlic before adding it?
No, grated raw garlic is perfect. The low, steady heat of the slow cooker mellows the raw sharpness into a rich, aromatic flavor.
Which common mistakes lead to dry slow cooker chicken?
Overcooking is the primary culprit. Cooking thighs beyond the recommended 6 hours on low can cause the proteins to break down too much and lose moisture.
Is it true that you must brown meat before slow cooking for the best flavor?
No, this is a common misconception. While searing adds a crust, the long braise in this specific ginger soy mixture develops plenty of deep flavor on its own.
How to thicken the finished sauce?
Whisk cornstarch and cold water together and stir the slurry into the simmering sauce for 2-3 minutes until it becomes glossy and thick.
What is a good substitute for teriyaki sauce?
Combine soy sauce, honey, and ginger for a clean, homemade taste. For a more versatile blend, try this homemade stir fry sauce.
Why do ginger and soy sauce work so well together?
The salty depth of soy balances the spicy heat of ginger. This pairing creates a classic savory sweet profile that enhances the natural richness of chicken thighs.
Slow Cooker Garlic Ginger Chicken