Managed Melting Middle Chocolate Fondants
- The Panic-Free Path to Molten Perfection
- Why Management is the Key
- Decoding the Gooey Gold
- The Secret Weapons: Ingredients, Spices, and Tools
- Cracking the Code on the Gooey Center Dessert
- Setting Up for Success: Prep Steps
- Mastering the Structure and Timing
- The Final Dash: Precision Baking
- The Secret Sauce: Notes on Nailing the Serve
- Frequently Asked Questions
- 📝 Recipe Card
The Panic Free Path to Molten Perfection
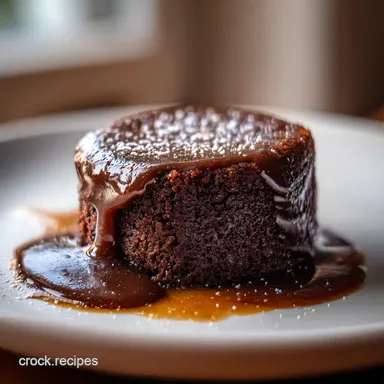
Okay, real talk: Is there anything more devastating than serving a beautiful dessert only to slice into it and find your supposed lava cake is just a dense, dry chocolate muffin? Honestly, I’ve been there too many times.
That heartbreak stops today. This is the truly fail proof chocolate lava cake recipe you need in your life. We are going to nail this through a specific, carefully managed baking technique.
For years, I thought chocolate fondants as they are called in Europe were exclusively for fancy restaurant kitchens. They have a reputation for being the hardest dessert to pull off.
The entire challenge boils down to seconds and temperature control. But the mystery vanishes when you apply some smart rules.
Forget the stress; we are focusing on mastering the chocolate fondant structure using control, not guesswork.
Why Management is the Key
This isn't a complex, three day bake. The prep time is surprisingly fast around 15 active minutes. The difficulty lies solely in precision baking temperature control and achieving the delicate restaurant style fondant timing .
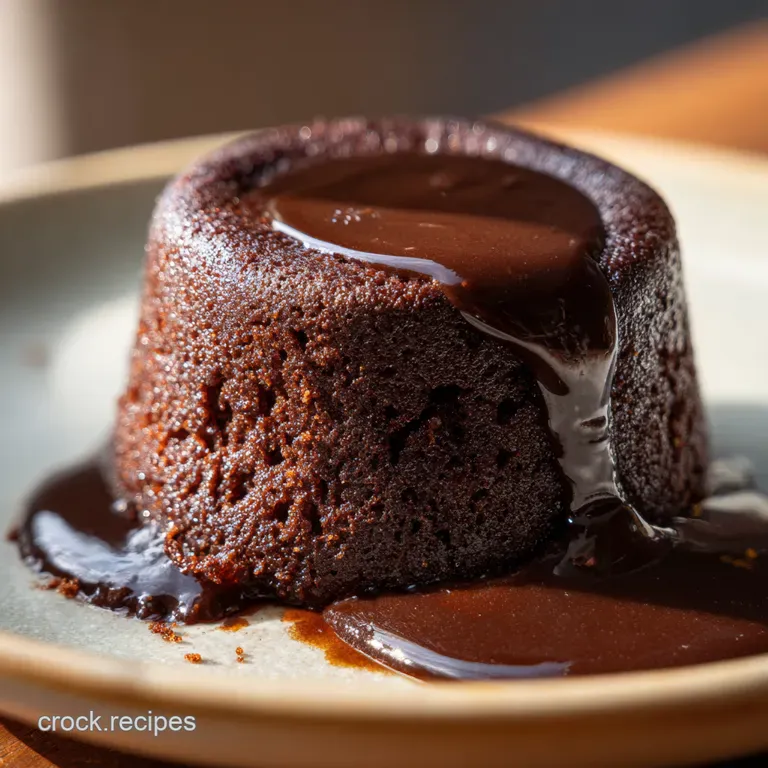
We need to ensure the exterior sets firmly while the core remains a lush, molten river.
This recipe yields four individual desserts. It’s perfect for a luxurious date night or a small, impressive dinner party. We achieve that coveted ooze by using a specific, managed baking technique that relies on chilling the batter.
That crucial cold period ensures the edges start cooking long before the center turns solid. This is how we guarantee achieving the perfect molten middle .
Decoding the Gooey Gold
What makes these fondants stand out is the quality we demand. We require high cocoa dark chocolate essential for deep flavor.
You can’t cheat this step! Using low-quality chocolate results in a sweet, solid cake, not rich, bitter sweet lava. Plus, that high cocoa content means you get a solid hit of healthy antioxidants a nice little bonus for such an indulgent treat, you know?
Before we even mix the eggs, we must nail the preparation. The ramekin preparation and chilling strategy is a massive part of this recipe’s success.
We also use a classic Bain marie chocolate melting technique to keep the chocolate velvety and prevent burning. Following these initial steps means you have already managed the biggest structural risks.
Once we get the batter right, we move into the final step: gooey center dessert instruction . If you follow the clock and the heat setting, you will effortlessly serve a dessert that makes guests gasp.
Don’t skip the chill; it truly is the non-negotiable step that manages the structure. Let's get these foundations sorted!
The Secret Weapons: Ingredients, Spices, and Tools
Honestly, making chocolate fondants terrified me for ages. I’d seen so many colleagues fail at achieving the perfect molten middle .
But trust me, once you break it down, it’s all about precise measurement. This isn't a "chuck it in and see" recipe.
It needs a truly managed baking technique .
Essential Building Blocks
You don't need fancy stuff. You just need quality stuff. The star is definitely the chocolate.
| Ingredient | US Customary | Metric | Why It Matters |
|---|---|---|---|
| Unsalted Butter | 4 oz | 115 g | Must be unsalted. |
| Dark Chocolate (70% min) | 4 oz | 115 g | Use high cocoa dark chocolate essential . |
| Large Eggs | 2 whole + 2 yolks | 2 whole + 2 yolks | These create the structure. |
| Granulated Sugar | 1/4 cup | 50 g | Sweetness balance. |
| All-Purpose Flour | 2 Tbsp | 30 g | The structural 'glue'. |
That high cocoa dark chocolate essential detail? Don't skip it! Low quality chocolate won't melt right. It ends up tasting waxy and solidifying too fast.
If you want that amazing, lava like centre, splurge a bit here.
Enhancing the Gooey Center Dessert
This isn't just about chocolate; it's about making the chocolate pop .
A pinch of fine sea salt (about 1/8 tsp ) goes into the mix. Seriously, salt in chocolate is magic.
It stops the fondant from tasting flat. If you want a quick substitution, add a tiny drop of vanilla extract after melting the butter.
Or, for a massive flavor boost, add 1 tsp of instant espresso powder to the warm chocolate mixture. It enhances the bitterness and complexity.
This is part of the gooey center dessert instruction that often gets missed!
Equipment for Mastering the Chocolate Fondant Structure
We are aiming for a fail proof chocolate lava cake recipe . We need basic tools, but they need to be ready.
- Ramekins: Four standard 6-ounce (175 ml) ramekins. These are crucial. You must butter and cocoa powder them heavily! This is the core of your ramekin preparation and chilling strategy . If you don’t have ramekins, heavy coffee mugs (check they are oven safe!) work in a pinch, but the baking time will vary.
- Kitchen Scale: I know, I know. But for this dessert, precise ingredient management is key. Get one. They are cheap.
- Bain marie Setup: A heatproof bowl over a small pan of simmering water. This is the official Bain marie chocolate melting technique . Don't melt the chocolate straight over heat; it will seize and burn.
- Oven Thermometer: Essential for precision baking temperature control . Ovens lie. If you haven't managed your oven temperature, you might overcook the centre. Seriously, mine runs 25 degrees hot!
If you can managed to execute the chilling and the baking with a proper thermometer, you’ve already won!
Cracking the Code on the Gooey Center Dessert
Right, let’s talk about a dessert that has haunted many a home cook: the chocolate fondant. We all want that glossy, deeply rich outside and the pure, glorious burst of liquid chocolate inside.
Honestly, for years, I served lumpy cakes or undercooked sludge instead. It felt like I needed a PhD just to get the temperature right!
But I cracked the code. This is the fail proof chocolate lava cake recipe you’ve been waiting for. It’s all about control and precision.
If the process is properly managed , you get that stunning result every single time.
Setting Up for Success: Prep Steps
We start with the essentials. Think of this as your mise en place bootcamp. First, the chocolate. Don't skimp here.
The key to that deep, complex flavor is using a high cocoa dark chocolate essential (70% minimum, please!). We melt the butter and chocolate together using the gentle steam method the Bain marie chocolate melting technique .
This avoids scorching the chocolate. Crucially, let it cool to lukewarm! Hot chocolate will scramble your eggs later, and trust me, that smells awful.
While that’s cooling, let's nail the moulds. Your ramekin preparation and chilling strategy is vital. Butter the ramekins super generously.
Then, dust them heavily with cocoa powder. This little trick ensures a clean, elegant release later on.
Mastering the Structure and Timing
The middle stage is all about air and temperature. We need to whip the whole eggs, yolks, and sugar together vigorously for about 3 to 4 minutes .
You want the mixture to be pale, thick, and almost doubled in volume. This huge air pocket is crucial for mastering the chocolate fondant structure .
This whole process is the foundation for our managed baking technique .
Once you’ve gently folded the flour in, here is the game changer, the non-negotiable step for achieving the perfect molten middle : the chill.
We need that batter structure to firm up. Divide the batter and stick those little pots in the fridge for a minimum of 30 minutes .
I know, waiting is torture. But this strategic pause is the secret to perfect restaurant style fondant timing .
The Final Dash: Precision Baking
Now for the adrenaline rush! Preheat that oven to a scorching 425° F ( 220° C) . We want quick, high heat.
The rapid cook ensures the edges bake quickly before the centre can solidify. This is precision baking temperature control in action.
Bake the chilled fondants for exactly 10 to 12 minutes . This is where you stay glued to the oven door.
You are aiming for a cake side that looks set and slightly domed. The dead centre should still look soft or jiggly when lightly tapped.
That wobble means you have executed the gooey center dessert instruction flawlessly! Seriously, the difference between pure success and a boring cake is often less than 60 seconds.
Remove them immediately, rest for 60 seconds , then flip and serve! Pure decadence, perfectly managed .
The Secret Sauce: Notes on Nailing the Serve
Okay, so you’ve navigated the tricky parts, you’ve applied the managed baking technique , and your house smells incredible. This truly is the ultimate fail proof chocolate lava cake recipe if you followed those chilling instructions!
But honestly, the serving part is just as key to achieving the perfect molten middle .
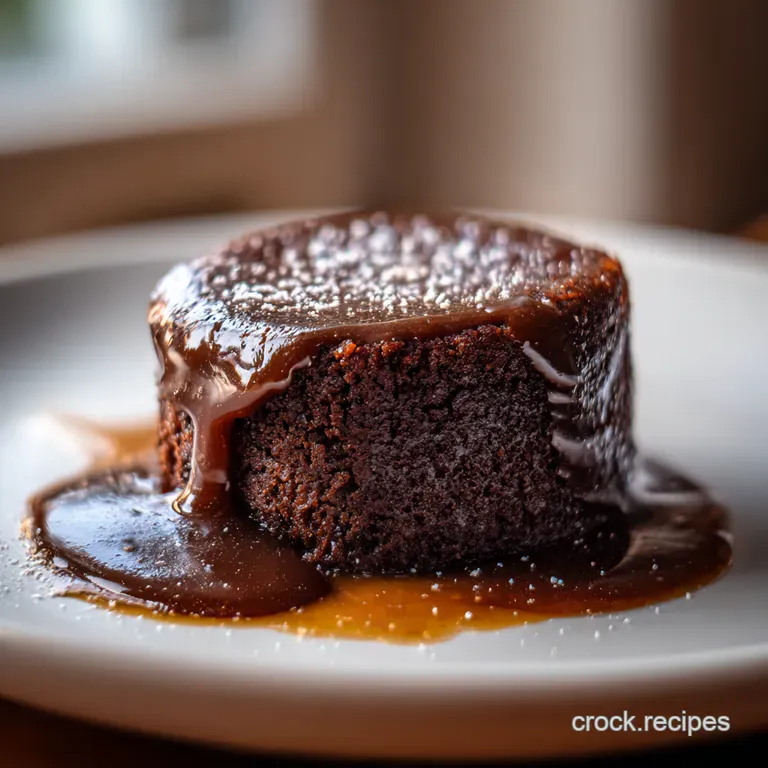
Plating Up Like a Pro
Think elegant, restaurant style fondant timing . The moment they come out of the oven, you have to move fast. My secret for a gorgeous plate? The cold shock! The heat from the fondant needs something icy sharp next to it.
I always serve mine with a tiny scoop of proper vanilla bean ice cream or perhaps a dollop of crème fraîche.
It just makes the whole thing look seriously posh. If you need a little freshness to cut through the richness, a handful of fresh raspberries is your best friend.
Storage & Leftover Life
Let’s be real if you’ve managed to have leftovers, you’ve done something wrong! These are best eaten immediately. If you really must store them, they’ll keep in an airtight container in the fridge for about three days.
Freezing? Don't even try it. Once these are baked, they lose that precious gooey center dessert instruction quality if they hit the deep freeze.
If you are reheating, low and slow is the motto. Place them back in the ramekins and pop them in the oven at 350° F ( 175° C) for just 5 minutes .
If you microwave them, they’ll turn into a chocolate hockey puck. You've been warned!
Easy Swaps and Adaptations
Want a twist? Since high cocoa dark chocolate is essential for flavour, the structure is surprisingly robust. If you’re whipping this up for a gluten-free mate, simply substitute the all-purpose flour with an equal weight of fine almond flour.
It works perfectly and helps with mastering the chocolate fondant structure without fail.
For a seasonal spin in the winter, I love adding a little orange zest into the melted butter mixture. It brings out a lovely warmth.
Honestly, once you’ve got the ramekin preparation and chilling strategy down, you can experiment with flavour.
The Good Stuff Inside
I’m not a nutritionist, obviously, but here’s the quick lowdown. Yes, it’s a decadent treat! But remember, by using 70% or more dark chocolate, you are actually getting decent antioxidants.
Plus, thanks to all those eggs, you’re getting a nice protein hit. It’s certainly a more honest treat than many processed supermarket options, right? This recipe, reliant on precision baking temperature control , lets you know exactly what you are eating.
You’ve got this. Trust your oven, trust your timer, and enjoy every single molten bite.
Frequently Asked Questions
Why did my fondant end up looking like a posh, dense chocolate cake instead of having a gooey middle?
The culprit here is almost always overbaking. The oven timing is incredibly precise a real sprint finish where the difference between molten lava and a solid brownie can be less than 60 seconds. If your oven temperature is slightly off or you leave them in too long, the heat penetrates and solidifies the core.
Why is the chilling stage so important for achieving a truly 'managed' melting middle?
The 30-minute mandatory chilling is your structural guarantee; it allows the process to be effectively 'managed' from start to finish. By firming up the butter and the batter, the cold mixture acts as a heat shield.
This ensures the edges have time to set and create a sturdy exterior wall in the oven before the core has a chance to fully bake and solidify.
Can I prep these fondants ahead of time, or is this a last minute dash for a dinner party?
Absolutely, you can be ahead of the curve! This is the great advantage of the managed method. You can prepare the filled, cocoa dusted ramekins up to 24 hours in advance, then wrap them tightly and keep them chilled in the refrigerator until needed.
When you’re ready to serve, simply bake them directly from the fridge you might just need to add 1 2 minutes to the cook time.
How do I tell if they’re perfectly cooked and not raw or overbaked?
Use the "wobble test" it’s a classic chef’s trick. When you gently shake the baking tray, the sides of the fondants should look completely set and firm, but the very centre, about the size of a two-pence coin, should still look wet and visibly wobble.
If the top has lost all shine and looks uniformly set, they are likely already overdone.
What happens if I use a lower cocoa percentage chocolate, or switch to milk chocolate?
We highly advise against swapping the dark chocolate. Milk or lower quality chocolate contains significantly more sugar and less cocoa butter, meaning it melts at a lower temperature and sets much faster and firmer.
Using a quality 70% dark chocolate provides the necessary bittersweet flavour contrast and ensures a silky, molten texture that stays liquid longer.
Managed Melting Middle Chocolate Fondants